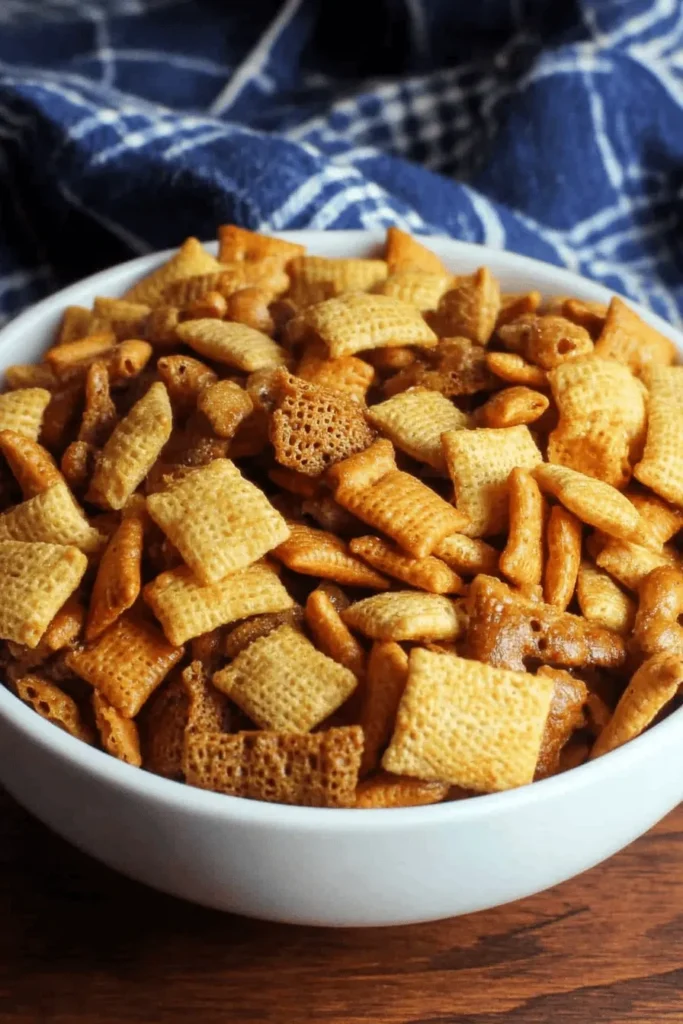
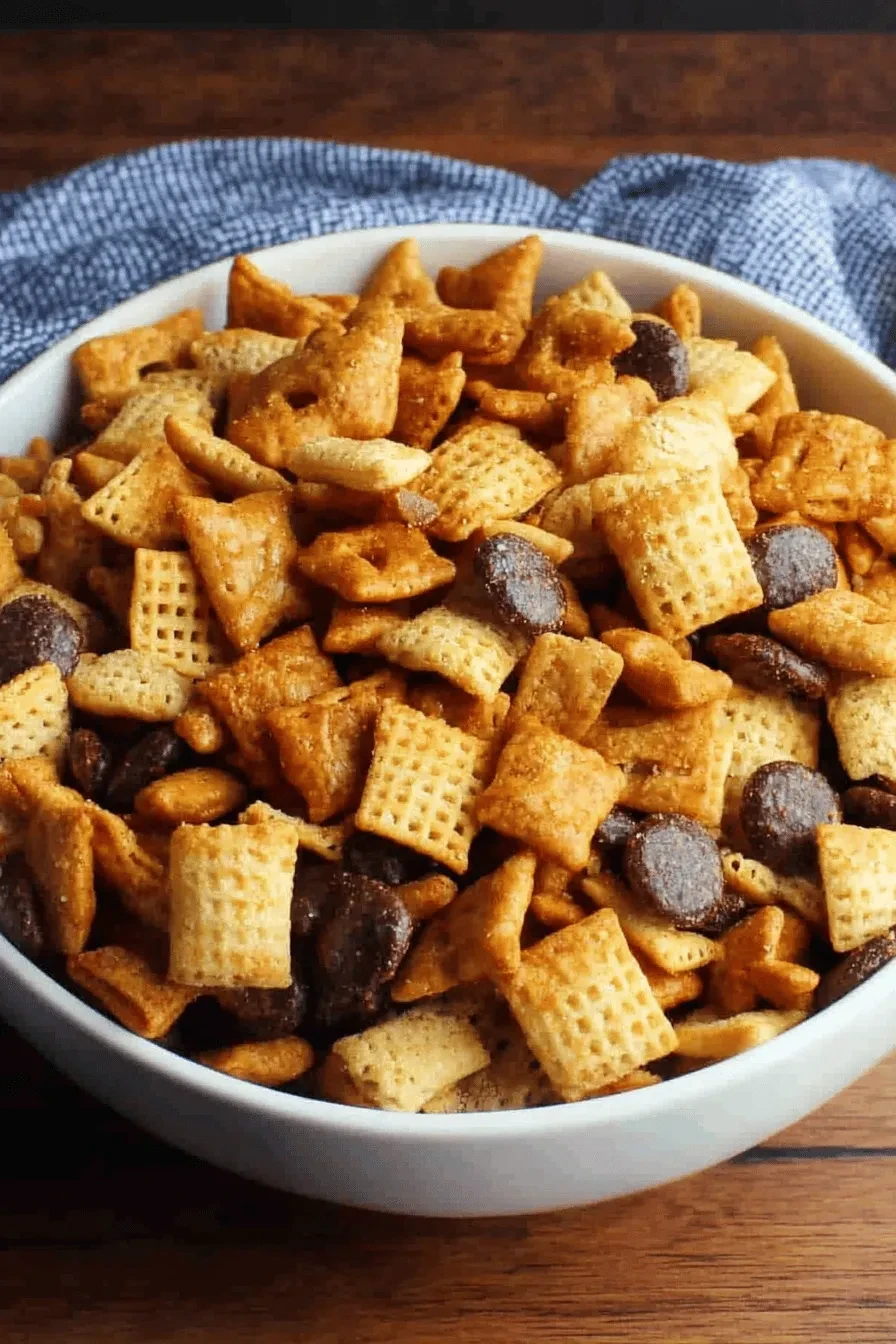
This irresistibly crunchy oven-baked Chex mix is coated with perfectly seasoned butter and baked until golden and crispy. It’s a cherished Christmas tradition in our family that’s too good to save just for the holidays! Each handful delivers that addictive savory crunch that keeps you coming back for more. Below you’ll find my tried-and-true recipe that’s been passed down through generations.

Why You’ll Love This Oven-Baked Chex Mix
- Every piece perfectly coated in savory seasoned butter
- Uses simple pantry ingredients – no flavor packets needed!
- Incredible make-ahead snack that stays fresh for weeks
- Customizable with your favorite crunchy mix-ins
- Perfect for gifting and holiday gatherings
- Makes a big batch for sharing (or not!)
This recipe holds such a special place in my heart. Every Christmas, my grandma would make enormous batches of this buttery, seasoned mix. My brother Clint could polish off an entire container in one sitting! We even joke that my other brother K.C. counts it as his favorite “Christmas cookie.” While store-bought versions are convenient, nothing compares to this homemade mix with its perfect blend of cereals and crispy crackers coated in that irresistible buttery seasoning.
What makes this recipe extra special is how each component gets evenly coated as it bakes, creating perfectly seasoned bites every time. The slow baking process lets all those flavors meld together while crisping up each piece. Trust me – once you make this homemade version, you’ll never go back to store-bought!
Ingredients Overview
Let me walk you through everything you’ll need for this classic snack mix that brings back so many cozy memories in my kitchen!
- Cereal Base: The star trio includes Corn Chex, Wheat Chex, and Rice Chex. Each brings its own texture – corn for heartiness, wheat for nuttiness, and rice for that perfect light crunch. You could swap in Crispix if needed, but the classic Chex combo is my favorite!
- Butter: This is our flavor-carrier! Use real butter, not margarine. When melted, it coats every piece and helps our seasonings stick. Plus, it brings that rich, irreplaceable buttery taste that reminds me of homemade garlic bread.
- Seasoning Blend: Worcestershire sauce, seasoned salt, garlic powder, and onion powder create that savory magic. The Worcestershire adds umami depth while the seasonings bring warmth and zip.
- Mix-ins: Pretzels add salty crunch, while peanuts bring protein and staying power. Just like in my chicken salad recipe, the mix-ins make each handful interesting!
Success Tips & Tricks

- Even Coating is Key: When mixing the butter and seasonings, take your time to ensure every piece gets coated. I like to drizzle slowly and toss gently – rushing this step leads to uneven flavor.
- Baking Temperature Matters: Keep your oven at 250°F (121°C). Higher temperatures can burn the cereal before it gets properly crispy. Trust me, I learned this the hard way!
- Stirring Schedule: Set a timer and stir every 15 minutes during baking. This prevents the bottom pieces from over-browning and helps everything crisp evenly.
- Storage Secrets: Let the mix cool completely before storing – any trapped warmth creates unwanted moisture. Store in airtight containers at room temperature for up to 2 weeks, or freeze for up to 3 months.
Step-by-Step Instructions
Let me walk you through making this family-favorite snack mix! I’ve made this recipe hundreds of times, and these steps will give you perfect results.
- Prep Your Ingredients: Preheat your oven to 250°F (121°C). In a large roasting pan, combine your Chex cereals, peanuts, pretzels, and cheese crackers. Just like my simple 3-ingredient bread, having everything measured and ready makes the process so much smoother.
- Make the Butter Mixture: Melt 6 tablespoons of butter in a small bowl. Stir in the Worcestershire sauce, seasoned salt, garlic powder, and onion powder until well combined.
- Coat the Mix: Pour the seasoned butter mixture over your cereal mixture. Gently stir everything together until all pieces are evenly coated. I like using a rubber spatula to avoid breaking the cereal pieces.
- Bake and Stir: Bake for 1 hour, stirring every 15 minutes. This ensures even cooking and prevents burning. The mix is done when it’s lightly golden and crispy.
- Cool Completely: Spread the mix on paper towels to cool. This takes about 30 minutes and helps achieve that perfect crunch!
Recipe Variations

Just like my favorite spicy guajillo sauce, this recipe is wonderfully adaptable. Here are some of my tested variations that work beautifully:
- Nutty Twist: Replace peanuts with mixed nuts or cashews. My brother’s favorite version includes extra pecans!
- Cracker Switch-Up: Try bagel chips or rye chips instead of cheese crackers. They add such a wonderful crunch, similar to what I do in my 4-ingredient pasta salad.
- Spicy Version: Add 1/2 teaspoon cayenne pepper to the butter mixture. My husband loves this kick!
- Extra Savory: Double the Worcestershire sauce and add 1 teaspoon of ranch seasoning powder.
Pro Tip: When making substitutions, keep the total volume of ingredients similar to maintain the right butter-to-mix ratio. This ensures everything gets evenly coated and crispy.
FAQs & Final Thoughts
Frequently Asked Questions
When stored properly in an airtight container at room temperature, your Chex Mix stays fresh for up to 2 weeks. For longer storage, pop it in the freezer for up to 3 months – it thaws beautifully and maintains that perfect crunch!
While butter gives this mix its classic flavor (like my crispy sourdough discard crackers), you can use olive oil or coconut oil. Just keep in mind it will alter the taste slightly. The key is using the same amount of fat to ensure proper coating.
Soggy Chex Mix usually means too much butter or not enough baking time. Make sure to stir every 15 minutes while baking, and continue baking until everything feels dry and crispy. The cooling step is crucial too – it helps everything crisp up perfectly!
Absolutely! Just make sure you have a large enough roasting pan to spread everything in a single layer. If needed, use two pans and rotate them between oven racks during baking.
Final Thoughts

You know what makes me smile? Seeing this Chex Mix disappear at family gatherings just like it did when my grandma made it. There’s something magical about carrying on these simple traditions – they’re the threads that weave our family stories together. Whether you’re making this for movie night or packaging it up as gifts (my sister-in-law always requests a batch!), I promise this recipe won’t disappoint.
Remember, the beauty of this snack mix is that you can make it your own. Play with the seasonings, swap out ingredients – make it a reflection of your family’s taste! I’d love to hear about your Chex Mix traditions or any creative twists you’ve given this classic recipe. Happy snacking! 🎉

Chex Mix Oven Recipe
Equipment (affiliate links)
- large roasting pan
- wax paper
- airtight container
Ingredients
- 6 Tablespoons butter
- 2 Tablespoons Worcestershire sauce
- 1 1/2 teaspoons seasoned salt
- 1 teaspoon garlic powder
- 1/2 teaspoon onion powder
- 3 cups corn Chex
- 3 cups rice Chex
- 3 cups wheat Chex
- 1 cup peanuts
- 2 cups pretzels
- 2 cups cheese crackers
Instructions
- Preheat oven to 250°F
- Place butter in the bottom of a large roasting pan. Put in oven until butter is melted.
- Add the Worcestershire sauce, seasoned salt, and garlic and onion powders to the melted butter and stir to combine.
- Stir in Chex cereals, peanuts, pretzels and cheese crackers until everything is coated with the spiced butter mixture.
- Bake the cereal mixture for an hour, stirring every 15 minutes.
- Spread baked Chex mix out over wax paper and allow to cool completely before placing in an airtight container to store.

Leave a Reply