This velvety cream cheese filling is a game-changing recipe that transforms ordinary desserts into extraordinary treats. Whether you’re layering it between cake layers, piping it into cupcakes, or spreading it in pastries, this versatile filling adds a rich, cheesecake-like indulgence to everything it touches. I developed this recipe during my pregnancy when my cheesecake cravings were at an all-time high, and it’s become my go-to filling for countless desserts ever since!
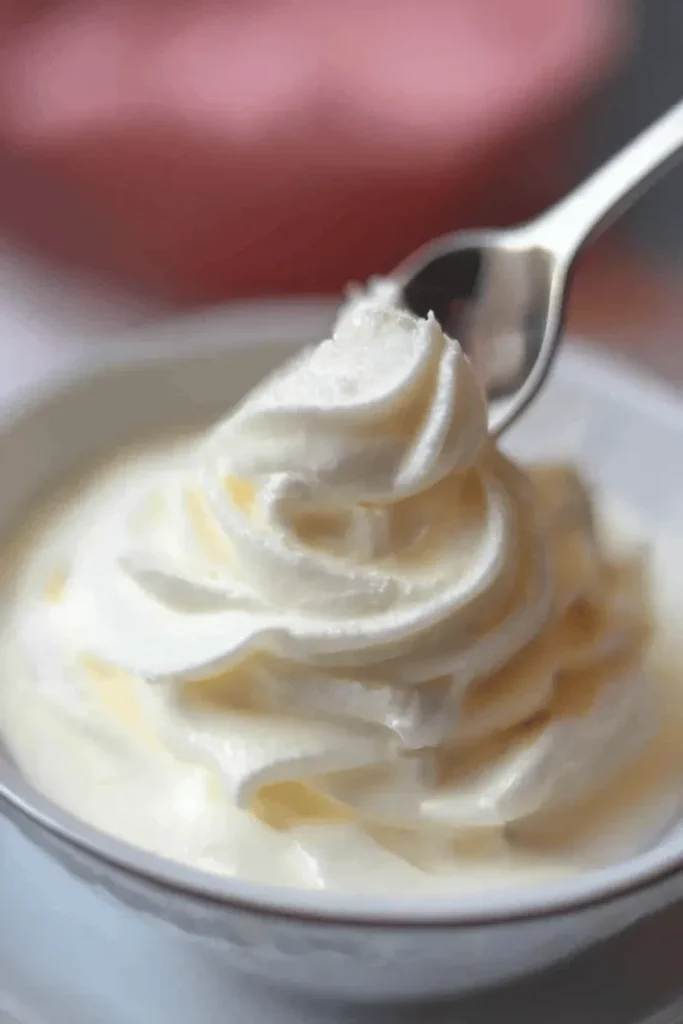
Why You’ll Love This Cream Cheese Filling
- Rich, creamy texture that’s perfectly pipe-able
- Just 4 simple ingredients
- No baking required (unless used in baked goods)
- Versatile enough for cakes, cupcakes, and gluten-free desserts
- Thick and stable enough to hold its shape
- Tastes like cheesecake in filling form
- Perfect make-ahead recipe (stores well in the fridge)
Think of this filling as your secret weapon in the kitchen. It’s incredibly forgiving and adaptable – I’ve used it countless times as a surprise filling in my signature layer cakes, piped it into freshly baked cupcakes, and even baked it into danishes! The cream cheese base provides that perfect tang while the whipped cream adds an irresistible lightness that keeps you coming back for more.
The best part? You can adjust the sweetness to your liking, and it sets beautifully whether you’re using it as is or baking it into your favorite treats. I’ve even caught myself sneaking spoonfuls straight from the bowl – it’s that good! Trust me, once you master this filling, you’ll find yourself dreaming up new ways to use it in all your baking projects.
Key Ingredients & Their Roles
Let me walk you through the stars of this creamy filling – each one plays a crucial part in creating that perfect cheesecake-like texture I’ve come to love!
- Cream Cheese (8 oz brick) – The foundation of our filling! Always use full-fat cream cheese at room temperature – trust me, I’ve learned the hard way that cold cream cheese leads to lumpy filling. Similar to my strawberry cheesecake cookies, the cream cheese provides that signature tangy richness we all crave.
- Icing Sugar (1/3 cup) – I specifically choose powdered sugar because it dissolves seamlessly into the cream cheese, creating that silky-smooth texture. While granulated sugar works in a pinch, powdered sugar ensures no graininess in your filling.
- Vanilla Extract (1 tsp) – Pure vanilla extract adds that warm, aromatic sweetness that complements the tanginess of cream cheese perfectly. Skip the imitation stuff – real vanilla makes a noticeable difference!
- Heavy Whipping Cream (1/2 cup) – This magical ingredient transforms our filling from dense to cloudlike. The fat content helps stabilize the mixture, making it perfect for piping into those delightful cheesecake creations.
Baker’s Tips for Perfect Results
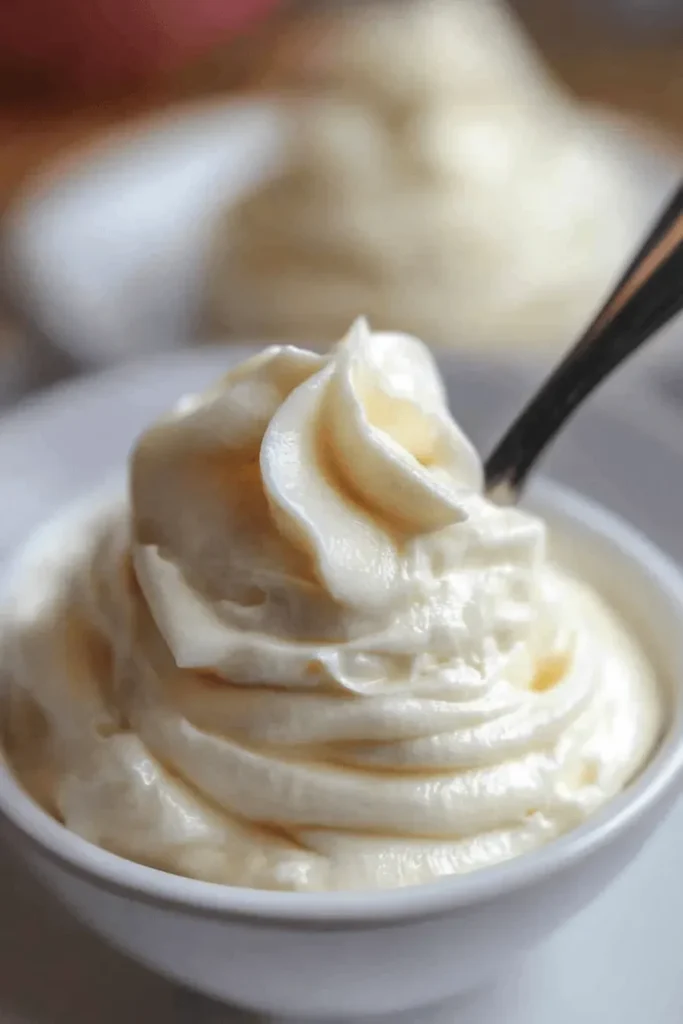
I’ve made this filling hundreds of times, and these tips will help you nail it every single time:
- Temperature Matters – Let your cream cheese sit at room temperature for at least 1 hour. Cold cream cheese is the enemy of smooth filling!
- Beat Smart – Start with low speed when beating the cream cheese to prevent air bubbles, then increase speed gradually as you add other ingredients.
- Chill Strategy – If your filling seems too soft, pop it in the fridge for 15-20 minutes before piping. But don’t let it get too cold, or it’ll be tough to pipe smoothly.
- Storage Wisdom – Keep your filling refrigerated in an airtight container. While it’s best used within 2 days, I’ve successfully used it up to 3 days when stored properly.
Step-by-Step Instructions
Let me walk you through making this dreamy cream cheese filling that’s as versatile as it is delicious. Just like my favorite strawberry swirl cheesecake, getting the texture just right makes all the difference!
- Prep your cream cheese: Start with room temperature cream cheese – this is crucial! Leave it out for about 1 hour before starting. Cold cream cheese will leave you with lumps.
- Initial beating: In your mixer bowl, beat the softened cream cheese until completely smooth and creamy, about 2-3 minutes. Scrape down the sides of the bowl as needed.
- Add sweetness: Mix in the icing sugar and vanilla extract until well combined. The mixture should be silky smooth.
- Finish with cream: Pour in the heavy whipping cream and beat until the mixture becomes thick and white, usually 2-3 minutes. Be careful not to overbeat!
Pro Tips:
- Your cream cheese filling should be thick enough to hold its shape but still creamy enough to spread easily
- Always store this filling in the refrigerator until ready to use
- For best results, use full-fat cream cheese and heavy cream
Recipe Variations and Creative Uses
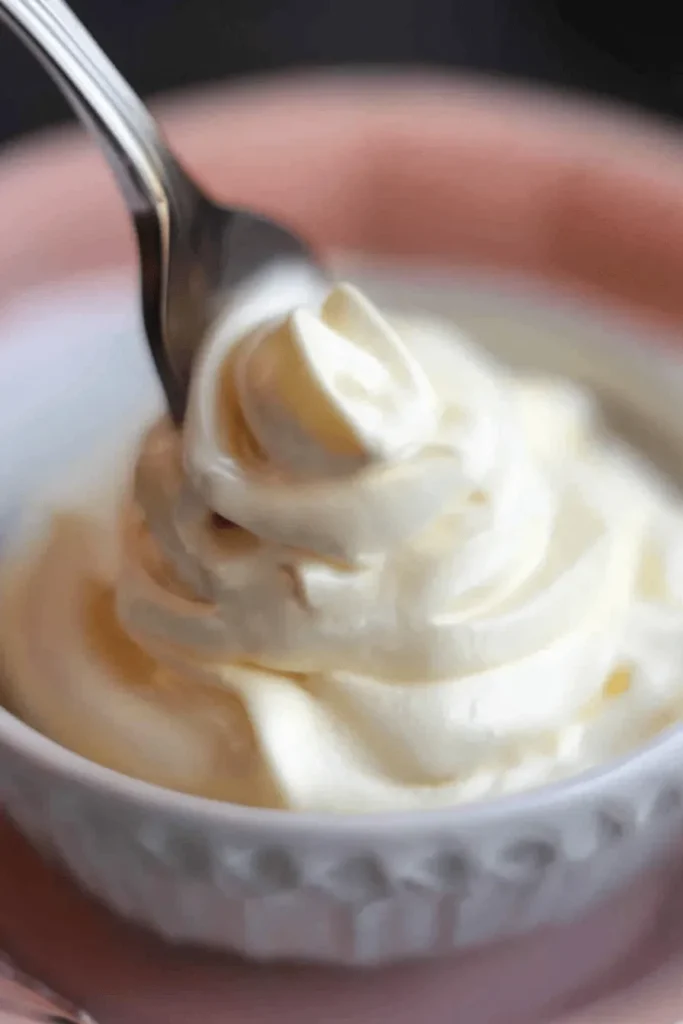
This versatile filling reminds me of the creamy layer in my heavenly strawberry dessert. Here are some of my favorite ways to use it:
Baking Applications
- Coffee Cake Filling: Spread between layers of your favorite cinnamon roll cake for extra richness
- Danish Centers: Pipe into the middle of pastries before baking (375°F for 15-18 minutes)
- Cupcake Filling: Core cooled cupcakes and fill with this creamy goodness
No-Bake Options
- Fruit Dip: Serve with fresh strawberries, peaches, or apple slices
- Crepe Filling: Spread inside warm crepes and top with fresh berries
- Parfait Layers: Layer with crushed cookies and whipped cream
Make-Ahead Tip: This filling keeps well in the refrigerator for up to 2 days. Just give it a quick whip before using to restore its creamy texture!
FAQs & Final Thoughts
Yes! This cream cheese filling keeps beautifully in the refrigerator for up to 2 days. Just give it a quick whip before using to restore its creamy texture. Make sure to store it in an airtight container.
Lumpy filling usually means your cream cheese wasn’t soft enough before mixing. Always let it sit at room temperature for about an hour before starting. If you’re in a hurry, cut it into small cubes to speed up softening.
While you can use low-fat cream cheese, I really recommend full-fat for the best texture and flavor – just like in my favorite strawberry cheesecake brownies. Low-fat versions tend to produce a thinner filling that might not hold up as well.
I don’t recommend freezing this filling on its own, as it can become grainy when thawed. However, once baked into pastries or cakes, these treats freeze beautifully!
Final Thoughts
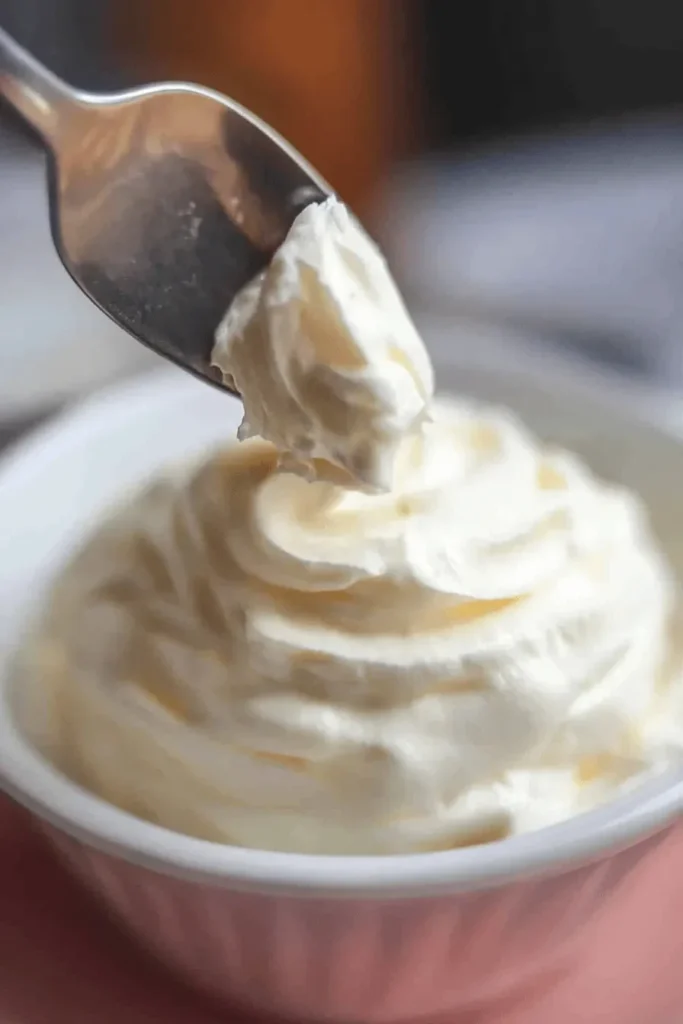
Oh my goodness, friends – I can’t tell you how happy I am to share this cream cheese filling recipe with you! It’s been my secret weapon in countless desserts, and I just know you’re going to love it as much as I do. Whether you’re spreading it between cake layers, piping it into cupcakes, or getting creative with your own dessert ideas, this filling is sure to bring smiles to everyone’s faces.
Remember, don’t be afraid to play around with different uses for this filling – some of my favorite recipes came from happy kitchen experiments! And please, please share your creations with me – nothing makes me happier than seeing how you’ve used this recipe to create something wonderful in your own kitchen! Happy baking! ♥
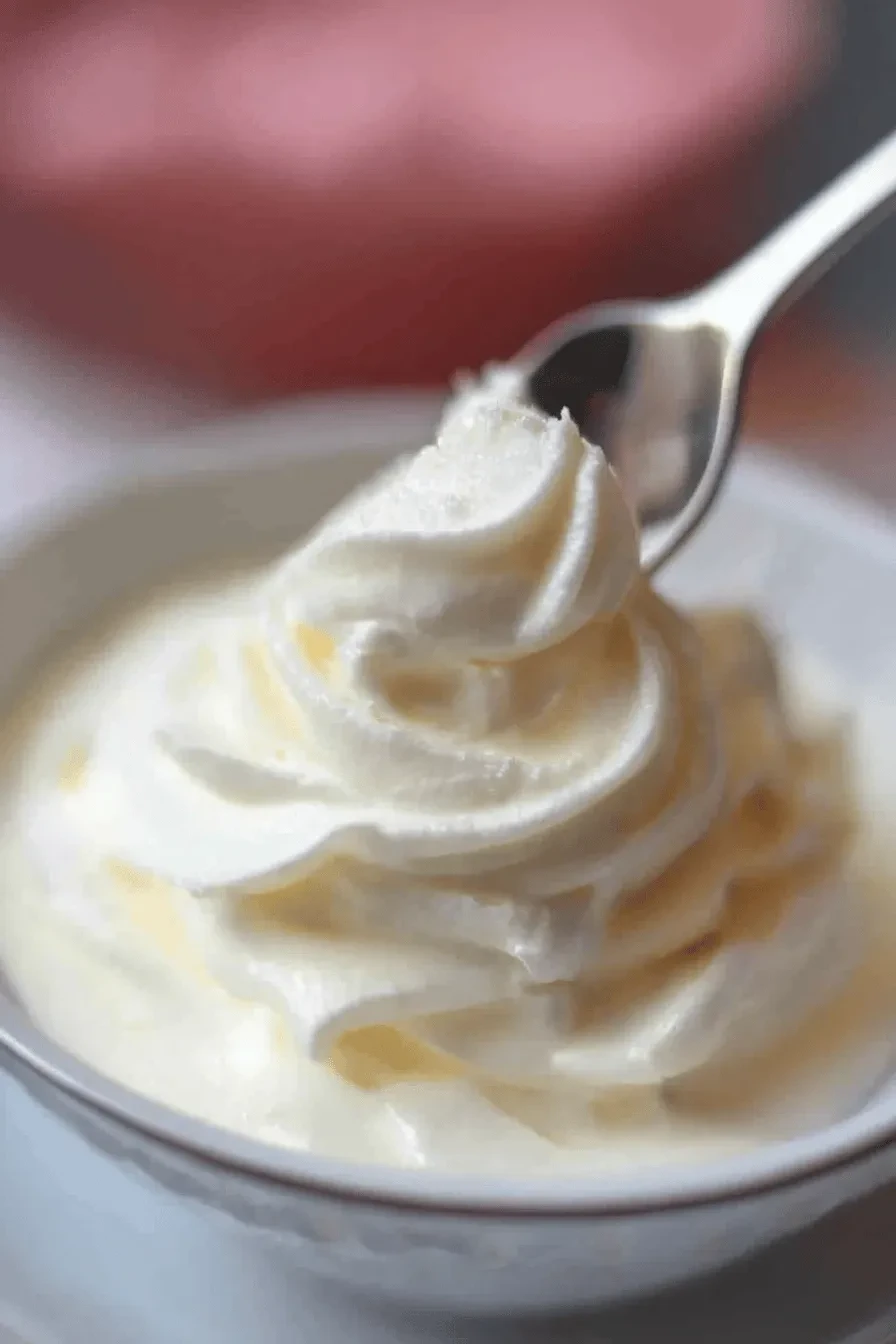
Cream Cheese Filling
Equipment (affiliate links)
- 1 Bowl
Ingredients
Ingredients
- 1 brick (8oz) cream cheese softened
- 1/3 cup icing sugar
- 1 tsp. vanilla
- 1/2 cup heavy whipping cream
Instructions
- In the bowl of an electric mixer, beat the cream cheese until smooth.
- Add the sugar and vanilla; beat until thoroughly combined.
- Beat in the cream, and whip until thick and white. Serve immediately or refrigerate until using. Best used within 1-2 days.

Leave a Reply