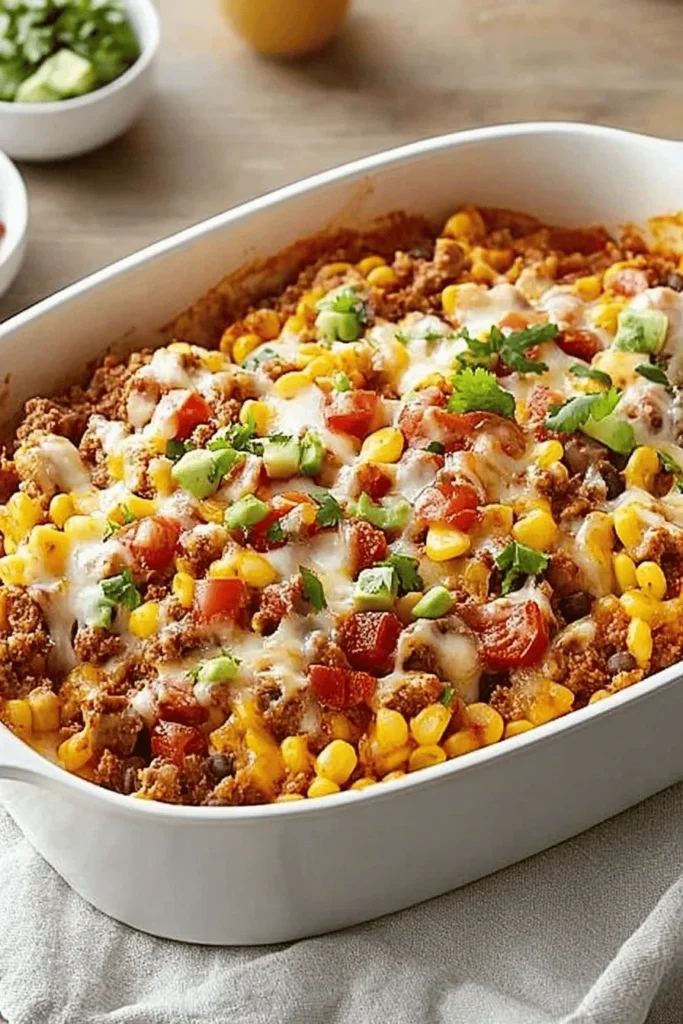
This crave-worthy walking taco casserole transforms everyone’s favorite portable snack into a crowd-pleasing dinner masterpiece! Loaded with seasoned ground beef, melty cheese, and crunchy corn chips, it’s the perfect solution for busy weeknights or game day gatherings. Best of all? It captures all the fun of traditional walking tacos without the mess of individual bags.
Why You’ll Love This Walking Taco Casserole
- Quick and family-friendly one-pan meal
- Perfect for feeding a hungry crowd
- Customizable with endless topping options
- Makes leftovers that reheat beautifully
- No individual assembly required
- Great make-ahead option for busy nights
- Kid-approved and adult-loved
- Pairs perfectly with other favorite comfort foods
This recipe takes me back to county fairs and football games, but transforms those memories into a cozy family dinner. The magic happens when the corn chips get slightly softened under the blanket of melty cheese while still maintaining their satisfying crunch around the edges. And just wait until you smell that taco-seasoned beef bubbling away in the oven – it’s absolutely irresistible!
The best part? You can set out all your favorite toppings and let everyone customize their portion. My family goes crazy for the fresh lettuce, diced tomatoes, and a generous dollop of sour cream. And between us, I always set aside some extra chips for serving – they disappear faster than cake at a birthday party!
Key Ingredients That Make This Recipe Shine
Let me walk you through the stars of this walking taco casserole! Each ingredient plays a crucial role in creating that perfect blend of textures and flavors we’re after.
- Ground Beef: I prefer using 80/20 ground beef here – that bit of fat keeps everything juicy and flavorful. If you’re looking to lighten things up, you could swap in ground turkey or try my zesty Mexican chicken instead.
- Corn Chips: These are the foundation of our casserole! While Fritos are traditional, any sturdy corn chip works. Just make sure to use fresh, crispy chips – that first-opened-bag crunch is what we’re after!
- Mexican Cheese Blend: This magical mix of cheeses melts into the most gorgeous, gooey blanket. The blend typically includes cheddar, Monterey Jack, and asadero cheese. For extra kick, pepper jack is fantastic too!
- Seasoned Tomatoes: I use diced tomatoes with green chilies (like Ro-Tel) for the perfect balance of acidity and mild heat. Don’t drain them – that flavorful liquid seasons our meat perfectly.
Success Tips for the Perfect Walking Taco Casserole
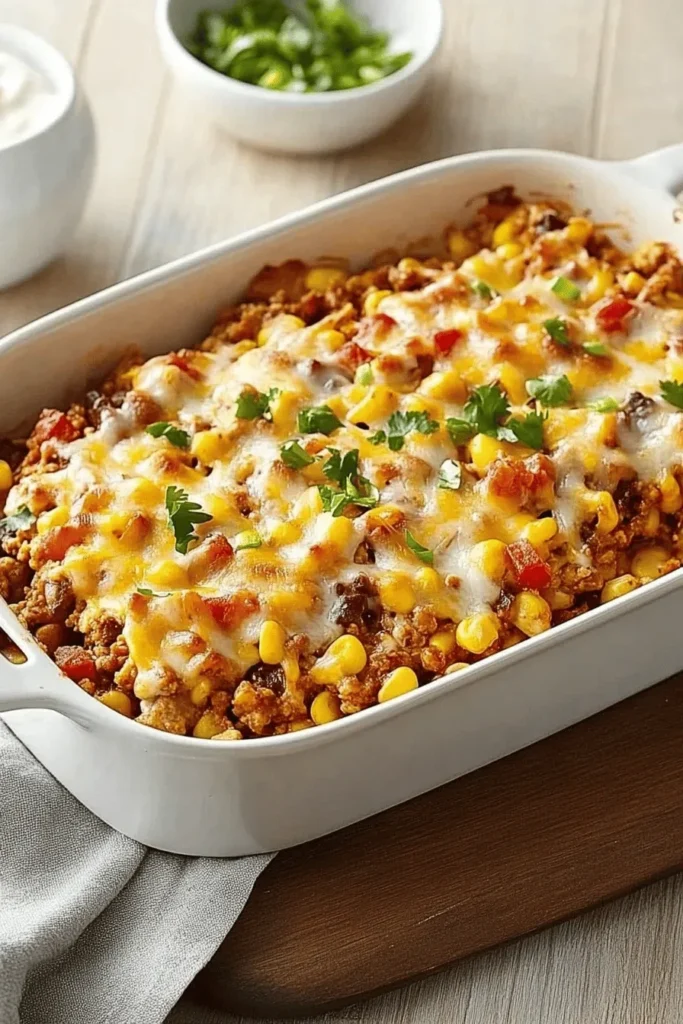
After making this countless times (and learning from a few soggy mishaps!), here are my non-negotiable tips for taco casserole success:
- Layer Like a Pro: Think of this like building the perfect nachos. Create an even base layer of chips, then distribute that seasoned meat mixture evenly. Nobody wants that sad corner piece with no toppings! Try my bang bang sauce drizzled on top for an unexpected twist.
- Temperature Matters: Make sure your meat mixture has slightly cooled before adding it to the chips. Too hot, and you’ll start softening those chips before they even hit the oven.
- Don’t Overbake: We’re just looking to melt that cheese and warm everything through – about 15-20 minutes max. Any longer and those chips will start to soften.
- Timing is Everything: Plan to serve this right when it comes out of the oven. This isn’t one of those casseroles that gets better as it sits!
Step-by-Step Instructions
Let me walk you through making this crowd-pleasing walking taco casserole! I’ve made this countless times for potlucks and family dinners, and these detailed steps will help you nail it every time.
Prepare the Base Layer
- Preheat your oven to 350°F and grease a 13×9-inch baking dish.
- Heat canola oil in a large skillet over medium heat.
- Brown 2 pounds of ground beef with diced onion until the meat is no longer pink and onions are tender (about 6-7 minutes). Pro tip: Break up the meat into small, even crumbles using a wooden spoon.
- Stir in your homemade taco seasoning blend along with the undrained tomatoes and green chiles.
- Simmer until slightly thickened (2-3 minutes), stirring frequently.
Layer and Bake
- Spread your corn chips in an even layer across the bottom of your prepared baking dish.
- Pour the meat mixture evenly over the chips.
- Sprinkle generously with Mexican cheese blend.
- Bake for 15-20 minutes, until the cheese is melted and bubbly.
Recipe Variations
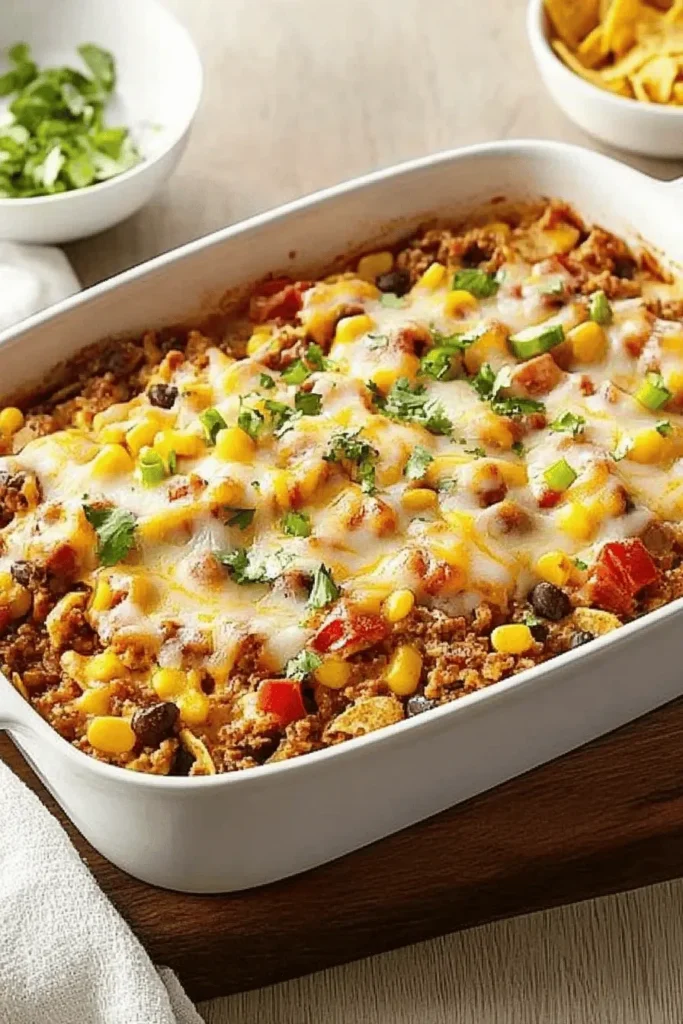
This casserole is incredibly versatile – here are some of my favorite ways to switch things up:
Protein Swaps
- Ground Turkey or Chicken: Perfect for a lighter version
- Vegetarian Option: Use plant-based crumbles or double up on beans
- Shredded Meat: Try using leftover shredded chicken or pork
Mix-Ins and Toppings
- Add a layer of Mexican street corn for extra flavor
- Layer in black beans or refried beans for added protein
- Try different chip varieties – Doritos or tortilla chips work great
Make It a Meal
- Serve alongside slow cooker chicken for big gatherings
- Create a topping bar with fresh lettuce, diced tomatoes, and sour cream
- Set up a salsa station with mild, medium, and hot options
Remember, these variations are just starting points – feel free to get creative with your favorite taco toppings and ingredients!
FAQs & Final Thoughts
Frequently Asked Questions
Absolutely! Most corn chips are naturally gluten-free, but always check the package. Just make sure your taco seasoning is gluten-free or make your own blend at home.
The key is layering just before baking! If you’re prepping ahead, keep your meat mixture (which pairs wonderfully with homemade guajillo sauce) separate from the chips until you’re ready to bake. You can also serve the chips on the side for everyone to add their own.
The meat mixture stays fresh in the fridge for up to 4 days. For best results, store the meat mixture separately from any remaining chips. When reheating, add fresh chips and cheese before popping it in the oven.
You sure can! Simply double all ingredients and use two 13×9-inch baking dishes. The baking time remains the same – just watch for that perfectly bubbly cheese on top!
Final Thoughts
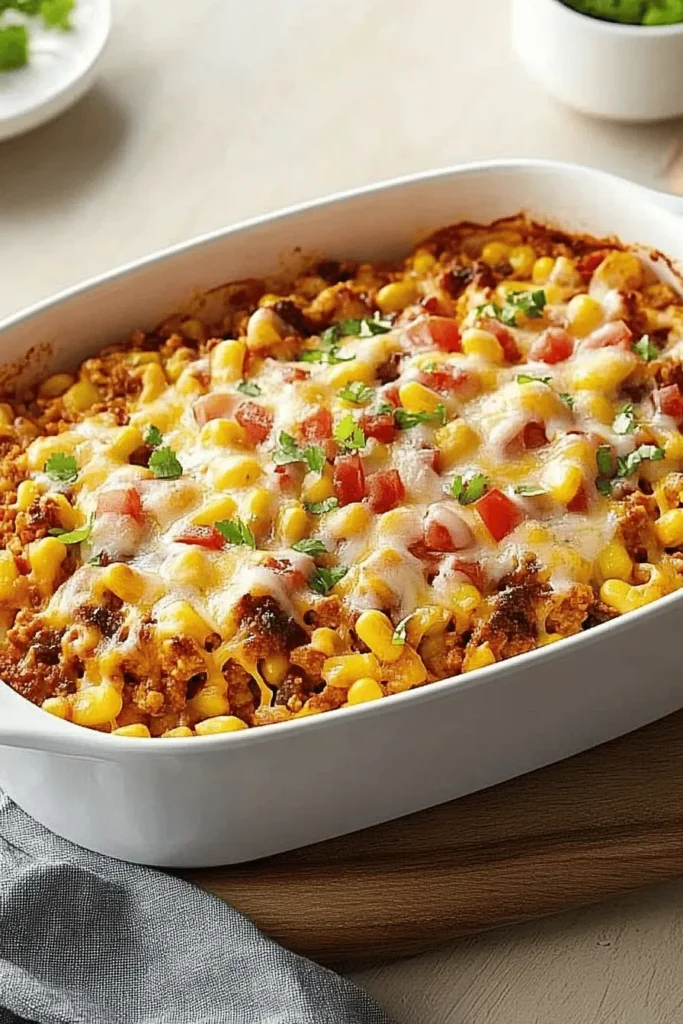
I can’t tell you how many times this walking taco casserole has saved dinner at my house! It’s one of those recipes that brings smiles all around – perfect for busy weeknights or casual gatherings with friends. The beauty of this dish is how customizable it is – my kids love loading theirs up with extra cheese, while I pile on the fresh veggies and a dollop of sour cream.
Don’t be afraid to make it your own! Switch up the toppings, try different chips, or spice things up with your favorite hot sauce. And please, let me know in the comments below how your family enjoys it. Happy cooking, friends! 🌮✨
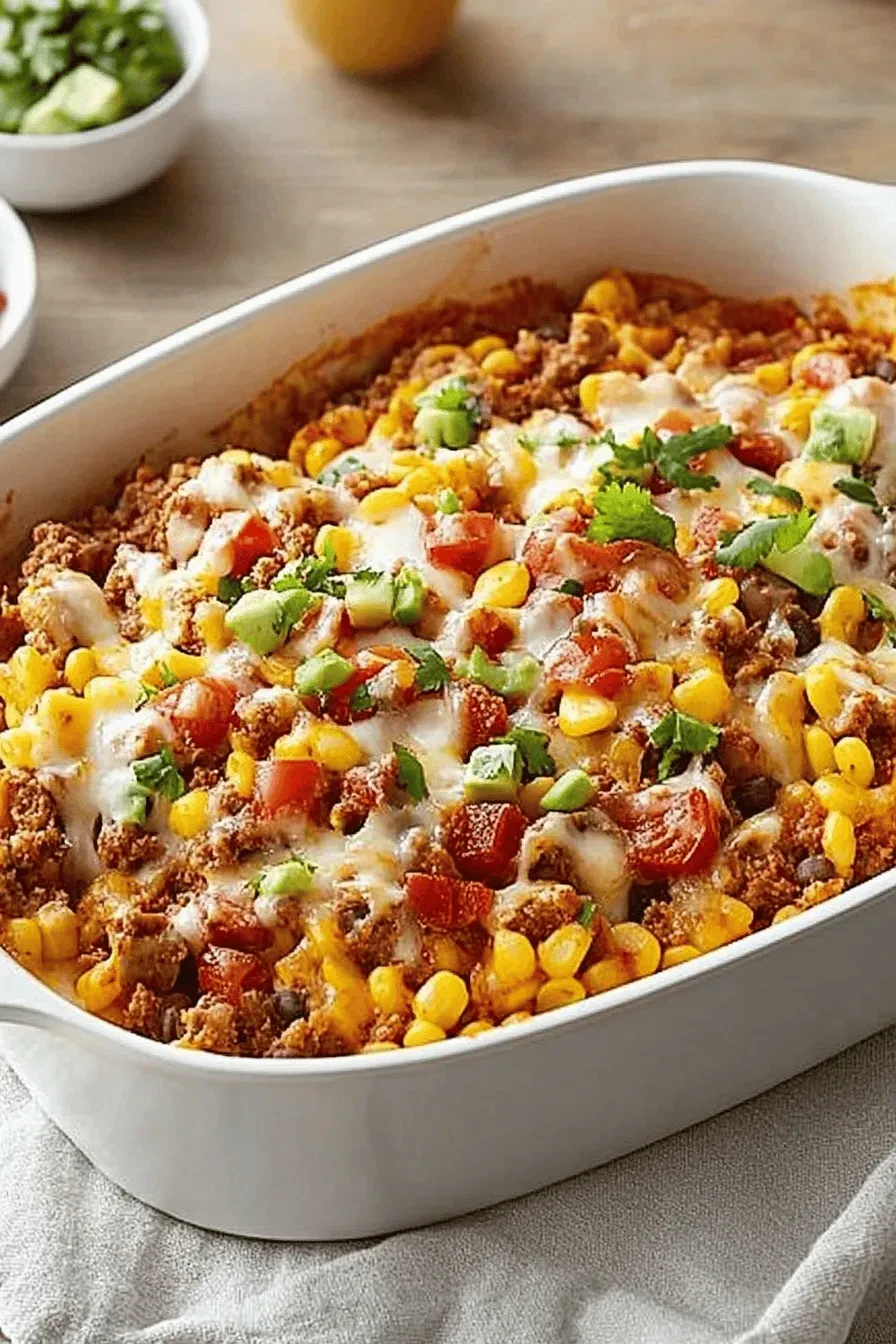
Walking Taco Casserole
Equipment (affiliate links)
- 1 Large Skillet
- 1 13 x 9-in. baking dish greased
Ingredients
- 1 teaspoon canola oil
- 1 pound ground beef
- 1 small onion chopped
- 1 package (1 ounce) taco seasoning
- 1 can (10 ounces) diced tomatoes and green chiles undrained
- 1 can (15-1/2 ounces) pinto beans rinsed and drained
- 1 can (15-1/4 ounces) whole kernel corn drained
- 1 package (9-1/4 ounces) corn chips
- 2 cups shredded Mexican cheese blend
- Toppings Sliced green onion, sliced black olives, pico de gallo, sour cream, chopped avocado, guacamole, sliced jalapenos
Instructions
- Preheat oven to 350°. In a large skillet, heat oil over medium heat. Add ground beef and onion; cook until beef is browned and onions are tender, 6-7 minutes. Stir in seasoning mix and diced tomatoes with green chiles. Bring to a simmer, cook until thickened, 2-3 minutes, stirring constantly. Stir in beans and corn.1 pound ground beef, 1 small onion, 1 teaspoon canola oil, 1 package (1 ounce) taco seasoning, 1 can (10 ounces) diced tomatoes and green chiles, 1 can (15-1/2 ounces) pinto beans, 1 can (15-1/4 ounces) whole kernel corn
- Layer corn chips in greased 13 x 9 -in. baking dish. Spoon taco meat evenly on top. Sprinkle with shredded cheese. Bake until cheese is bubbly, 15-20 minutes. Serve with toppings, as desired.1 package (9-1/4 ounces) corn chips, 2 cups shredded Mexican cheese blend, Toppings

Leave a Reply