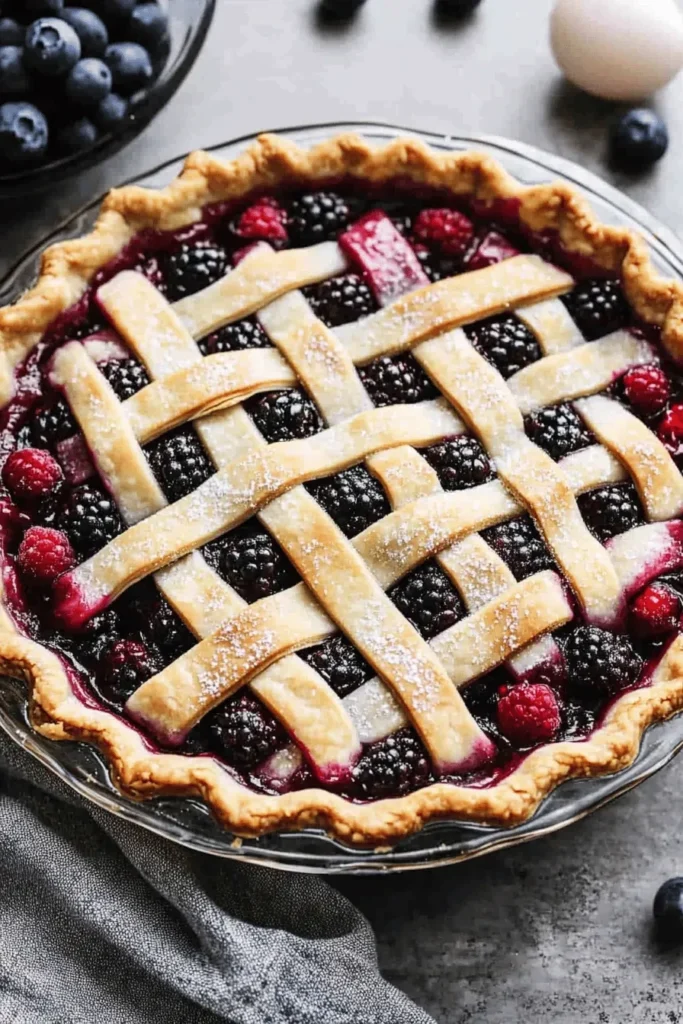
This show-stopping triple berry pie is everything a homemade pie should be – perfectly sweet-tart berries nestled in a flaky all-butter crust that’s guaranteed to impress. After years of testing different ratios and techniques, I’ve perfected this recipe to achieve that perfect slice that holds its shape while still being irresistibly juicy. Whether you use fresh summer berries or frozen fruit, this pie delivers restaurant-quality results right from your kitchen!
Why You’ll Love This Triple Berry Pie
- Perfect consistency – holds its shape when sliced but still deliciously juicy
- Less sugar than traditional recipes to let the natural berry flavors shine
- Works beautifully with either fresh or frozen berries
- Make-ahead friendly – can be prepared up to 24 hours in advance
- Foolproof lattice crust instructions for a stunning presentation
- The ideal balance of sweet and tart flavors
- A welcome addition to any dessert spread, especially alongside my triple berry crisp
Let me tell you a secret – I’ve been testing berry pie recipes for years, trying to achieve that perfect slice that doesn’t turn into berry soup when you cut into it. The key is cooking the filling first and using just the right amount of cornstarch to thicken it perfectly. When you pull this beauty out of the oven, the filling will be luxuriously thick and glossy, with plump berries that keep their shape instead of turning to mush.
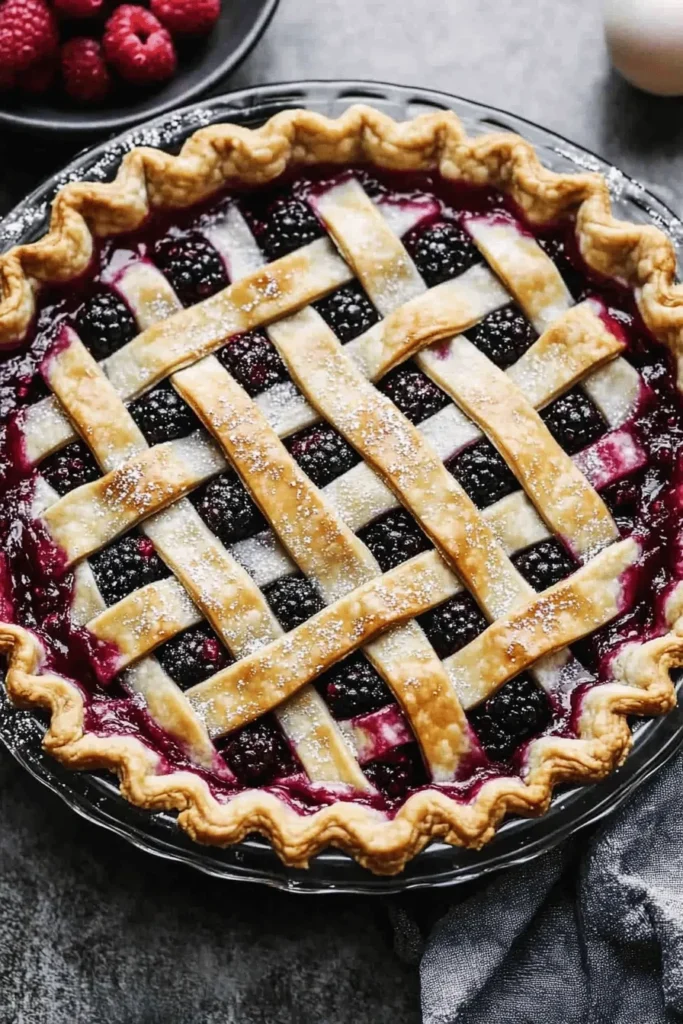
I love using a combination of raspberries, blackberries, and blueberries – each brings its own unique flavor and texture to the party. The raspberries break down slightly to create that perfect saucy consistency, while the blackberries and blueberries stay pleasantly plump. And can we talk about that gorgeous color? The deep purple-red filling peeking through the golden lattice crust is absolutely stunning!
Essential Ingredients for Triple Berry Success
Let me walk you through exactly what you’ll need to create this showstopping pie! Each ingredient plays a crucial role in achieving that perfect slice.
- Fresh or Frozen Berries: You’ll need 7 cups total – about 2⅓ cups each of raspberries, blackberries, and blueberries. Here’s my favorite baker’s secret: I absolutely love using Costco’s frozen berry blend! The berries are consistently big, beautiful, and perfectly ripe. No need to thaw them first – they can go straight from freezer to saucepan.
- Cornstarch: This is our pie’s best friend for achieving that perfect slice-able consistency. Four tablespoons might seem like a lot, but trust me – it’s the magic amount that gives you a filling that holds together without being gummy.
- Fresh Lemon Juice: Just a tablespoon brightens all the berry flavors and balances the sweetness. Don’t skip this!
- Butter: A couple tablespoons stirred into the hot filling creates an irresistible richness and shine. I use unsalted so I can control the salt level.
- Sugar: One cup is all you need – I’ve carefully tested this amount to let the natural berry flavors shine through without being too sweet or tart.
Essential Tips for Berry Pie Success
After years of pie-making (and plenty of berry-stained aprons), I’ve learned exactly what makes the difference between good and GREAT berry pie. Here are my non-negotiable tips:
- Cook your filling first: This step is absolutely critical for that perfect slice! Cooking the berries before baking helps control the amount of liquid and ensures the filling will set beautifully. Plus, you can taste and adjust the sweetness before it goes in the crust.
- Master the cornstarch method: Never add cornstarch directly to hot filling – it’ll clump! Instead, create a slurry with some of the berry juice first. When you add this back to the pot, you’ll get perfectly smooth, glossy results.
- Cool completely: I know it’s tempting to dig in right away, but letting your pie cool for several hours is essential for clean, picture-perfect slices. If you cut into it too soon, you’ll have berry soup! For best results, let it cool at room temperature for at least 4 hours, or make it a day ahead and chill overnight.
Looking for more berry desserts? My triple berry crisp uses the same wonderful combination of berries with a crispy oat topping!
Step-by-Step Berry Pie Assembly
Let me walk you through my foolproof method for creating the perfect triple berry pie! After countless pies over the years, I’ve streamlined this process to ensure success every single time.
Preparing the Berry Filling
- Cook the berries: Combine your berries, sugar, and lemon juice in a large saucepan. Simmer gently for 5-10 minutes until the berries release their juices. The kitchen will smell absolutely heavenly!
- Create the thickener: Here’s my game-changing trick – spoon about ½ cup of the hot berry juice into a small bowl and whisk in the cornstarch until completely smooth. This prevents any lumps from forming in your filling.
- Thicken the filling: Pour this cornstarch mixture back into your simmering berries, stirring gently. Watch the magic happen as the filling transforms into a glossy, thick sauce. Just be careful not to mash those beautiful berries!
Creating the Perfect Lattice
Don’t let a lattice crust intimidate you! Here’s my simple technique that makes it almost foolproof:
- Roll your chilled dough into a 12-inch circle
- Cut into 10-12 even strips using a pizza cutter
- Lay 5-6 strips parallel across your filled pie
- Fold back every other strip halfway
- Place a perpendicular strip across the center
- Repeat the weaving process, working from the middle outward
Delicious Variations and Serving Ideas
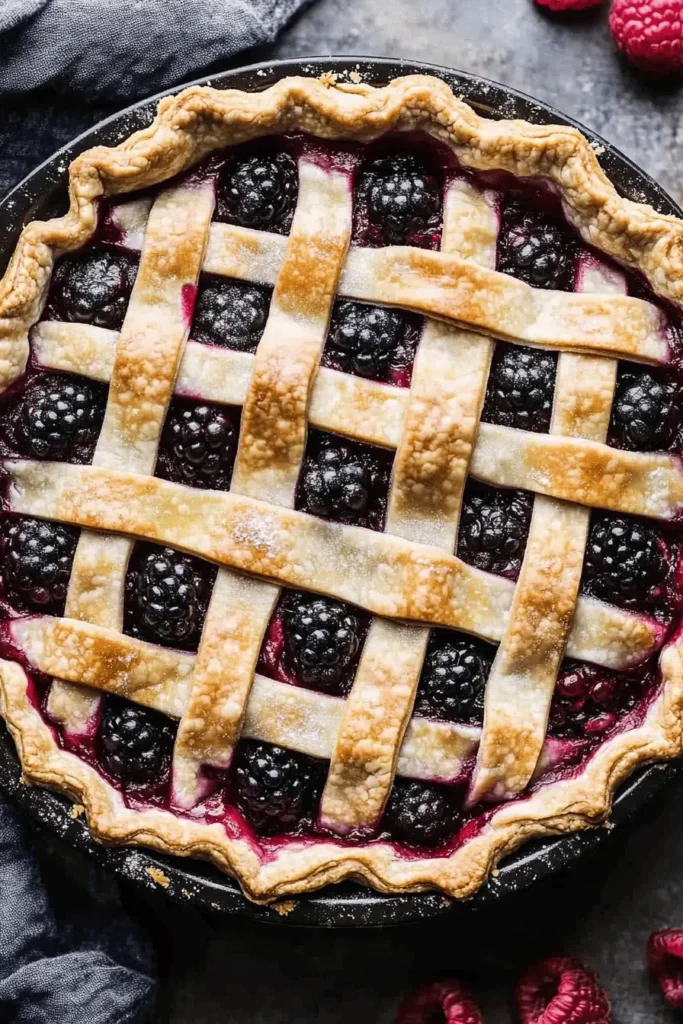
While this classic triple berry pie is absolutely perfect on its own (especially alongside my traditional apple pie), here are some wonderful ways to make it your own:
- Berry Combinations: Try different ratios of berries – I love making it extra heavy on the blackberries during peak season
- Warming Spices: Add ¼ teaspoon cinnamon or cardamom to the filling for a cozy twist
- Serving Suggestions: A scoop of vanilla bean ice cream or fresh whipped cream takes this pie to heavenly heights
Make-Ahead Tip: The filling can be made up to 3 days ahead and stored in an airtight container in the refrigerator. Just bring it to room temperature before assembling your pie.
FAQs & Final Thoughts
Frequently Asked Questions
Absolutely! I actually prefer using frozen berries, especially the triple berry mix from Costco. There’s no need to thaw them first – just cook them straight from frozen. The berries will release their juices as they warm up, creating that perfect saucy consistency.
The most common reason is not letting the pie cool completely before slicing. The filling needs at least 4 hours to set properly. Also, make sure you’re cooking the filling until it’s noticeably thickened before adding it to your crust. Like my lemon chiffon pie, patience is key for the perfect slice!
Pre-cooking the filling is the secret! This method controls the amount of liquid going into your pie. Also, make sure your oven is fully preheated and place the pie on the bottom third rack of your oven to help the bottom crust cook through.
You bet! The whole pie can be made 24 hours in advance and stored in the refrigerator. You can also prepare just the filling up to 3 days ahead. Let the pie come to room temperature before serving for the best flavor.
Final Thoughts
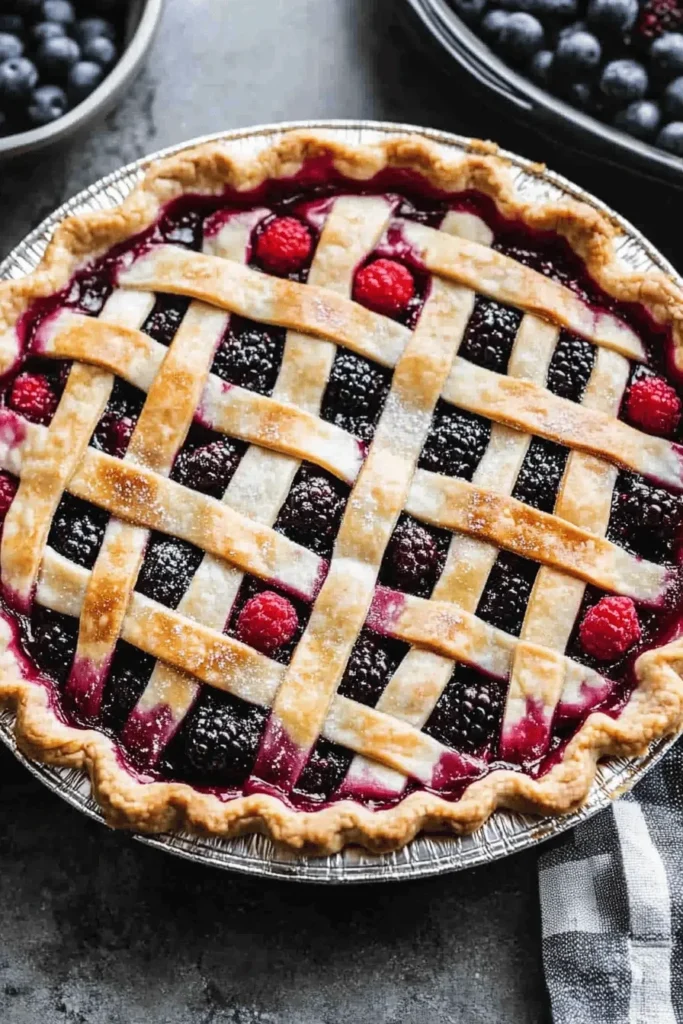
My heart just bubbles with joy every time I pull this gorgeous triple berry pie from the oven! That moment when the kitchen fills with the sweet-tart aroma of berries and butter is pure magic. While it might seem like there are lots of steps, I promise each one is worth it for those perfect, clean slices of juicy berry goodness.
Remember, pie-making is a labor of love – don’t rush it! Take your time with the lattice, let it cool completely, and get ready for the oohs and aahs when you present this beauty at your next gathering. And if your first attempt isn’t picture-perfect? That’s okay! Every pie baker started somewhere, and even the “ugly” ones taste absolutely delicious. Happy baking, friends! 💕
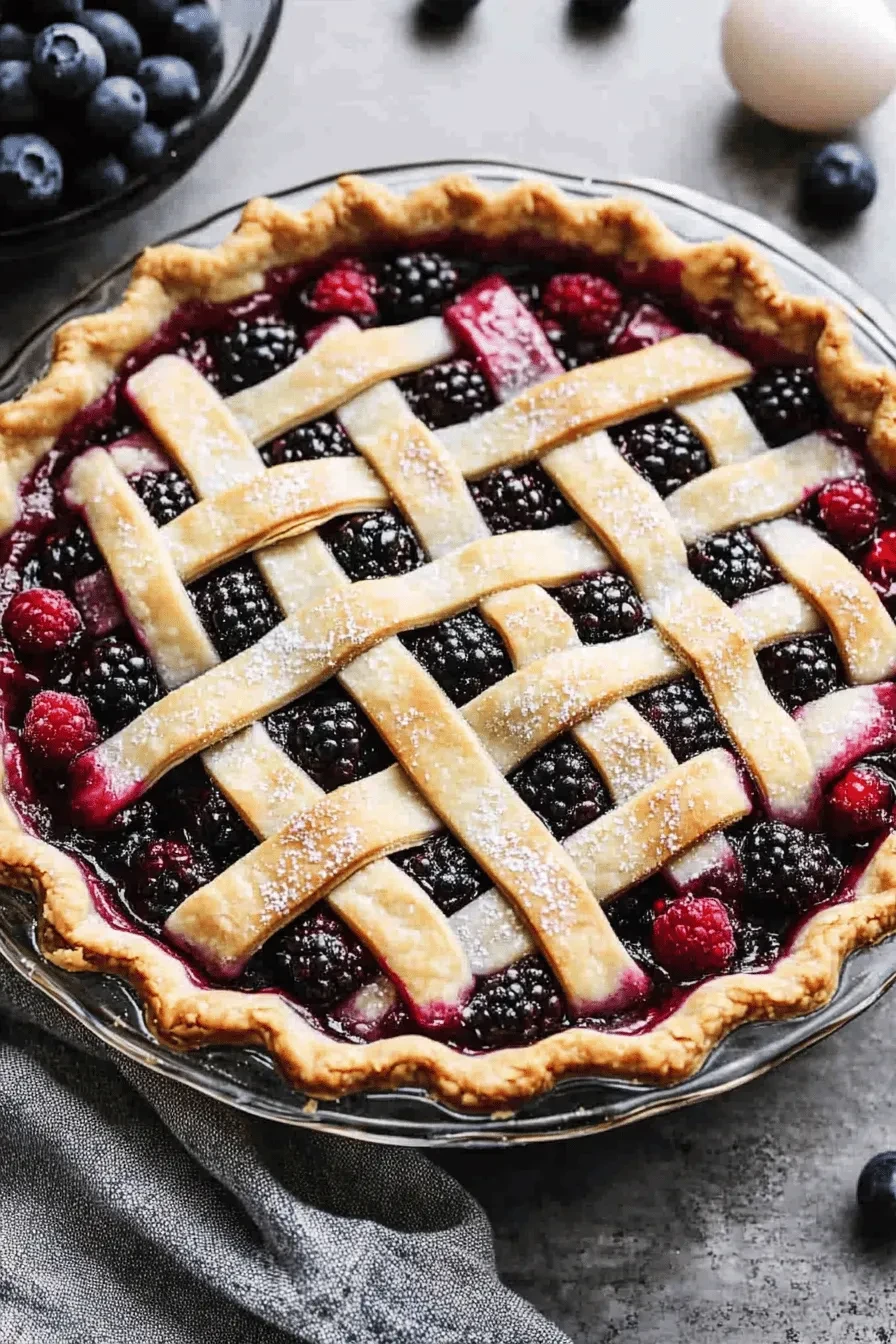
TRIPLE BERRY PIE
Equipment (affiliate links)
- Pie Pan
Ingredients
- homemade pie crust for a 9” deep dish pan. This recipe makes 2 crusts: one for the bottom and one for the top
- 7 cups fresh or frozen raspberries, blueberries and blackberries about 2 ⅓ cups of each type of berry*
- 1 cup granulated sugar (plus a little extra to sprinkle on top of the pie)
- 1 Tablespoon lemon juice
- 4 Tablespoons cornstarch
- 2 Tablespoons butter
- 1 large egg white beaten with a fork
Instructions
- Cook berries: Add berries, sugar and lemon juice to a large saucepan over medium heat.
- Simmer, until warm and juicy, about 5-10 minutes, gently stirring occasionally. (You can taste it at this point and see if it’s sweet enough for your liking. I don’t like to make mine too sweet, but if you want it sweeter you can add ¼ cup more sugar.)
- Thicken filling: Spoon out about ½ cup of the juice from the pan into a bowl. Stir cornstarch into the juice until smooth.
- Bring pot of berries back to a simmer and slowly pour in the cornstarch. Gently stir mixture (being careful not to mash the berries), until thickened, about 2-5 minutes.
- Cool and add to pie shell. Remove from heat and stir in the butter. Allow to cool for 15 minutes. Pour mixture into unbaked pie shell (in a 9 in deep dish pan).
- Add lattice top or a whole top with holes pricked on top for steam to escape. (See directions for lattice crust below).
- Pinch the edges of the top and bottom pie crusts together and crimp the edge, if you like. Brush a thin layer of beaten egg white over the top of the pie and sprinkle lightly with sugar.
- Bake at 400 degrees F for 40-45 minutes. Check it after about 25 minutes and place a piece of tinfoil over it if the top crust is getting too brown.
- Remove to a wire cooling rack and allow to cool for several hours. Once cooled completely, you can cut into it or cover it and refrigerate it overnight to serve the next day.
- Roll out crust. Roll our your crust on a lightly floured counter or on a piece of parchment paper. (I like to place a piece of parchment paper on top of a damp kitchen towel to keep it from moving around). Roll the pie crust into a large circle that’s about 1-2 inches larger than then top edge of your pie dish.
- Cut strips. Use a pizza cutter to strips. cut them as wide as you’d like them to be (there’s really no right or wrong way).
- Lay first layer of strips.Lay your longest strip across the middle of the pie then lay a few shorter strips on either side, parallel to each other and spaced evenly.
- Fold pack even numbered strips.Fold back the second and 4th strip and lay a shorter strip of dough perpendicular to other dough strips. Unfold those dough strips over the new strip.
- Fold back odd numbered strips: Fold back the first, third and fifth strips in the same direction and lay another dough strip across the pie. Unfold the first, third and fifth strips over the new strip.
- Repeat steps 4 and 5 until pie is covered with a lattice crust.
- Trim dough strips.If you dough strips hang over the edge of the pie, trim them to the edge.
- Pinch crusts together.Pinch the lattice top with the bottom crust to form one unified outer edge.Crimp edges.

Leave a Reply