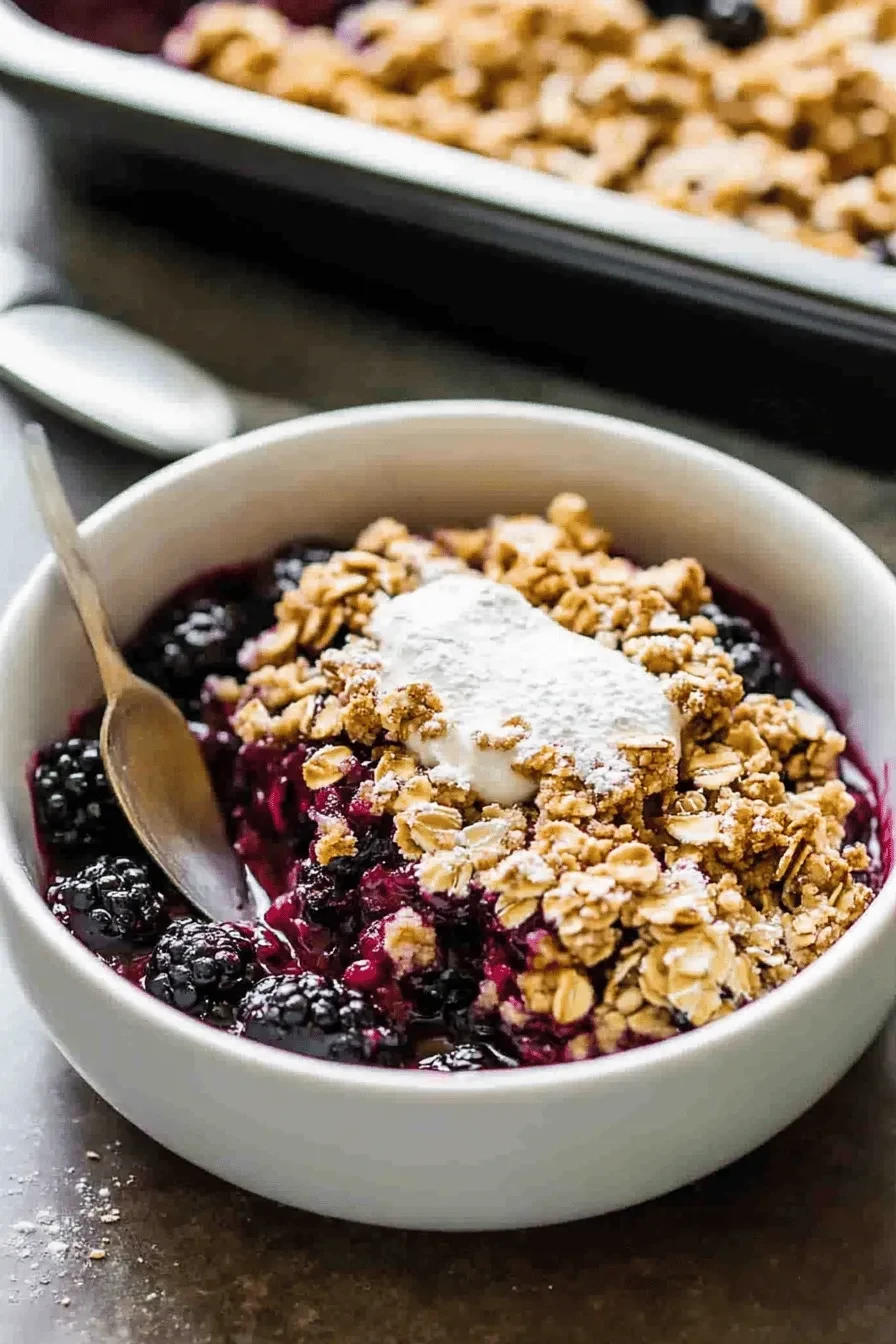
This cozy triple berry crisp is one of my favorite ways to enjoy summer berries all year round! Made with a blend of juicy raspberries, blueberries, and blackberries nestled under a buttery oat crumble topping, it’s the perfect balance of sweet fruit and crunchy streusel. Best of all, you can make it with frozen berries, so there’s no need to wait for berry season. I’ve tested this recipe countless times to get that perfect saucy-but-not-runny filling and golden brown topping that stays crisp for days.
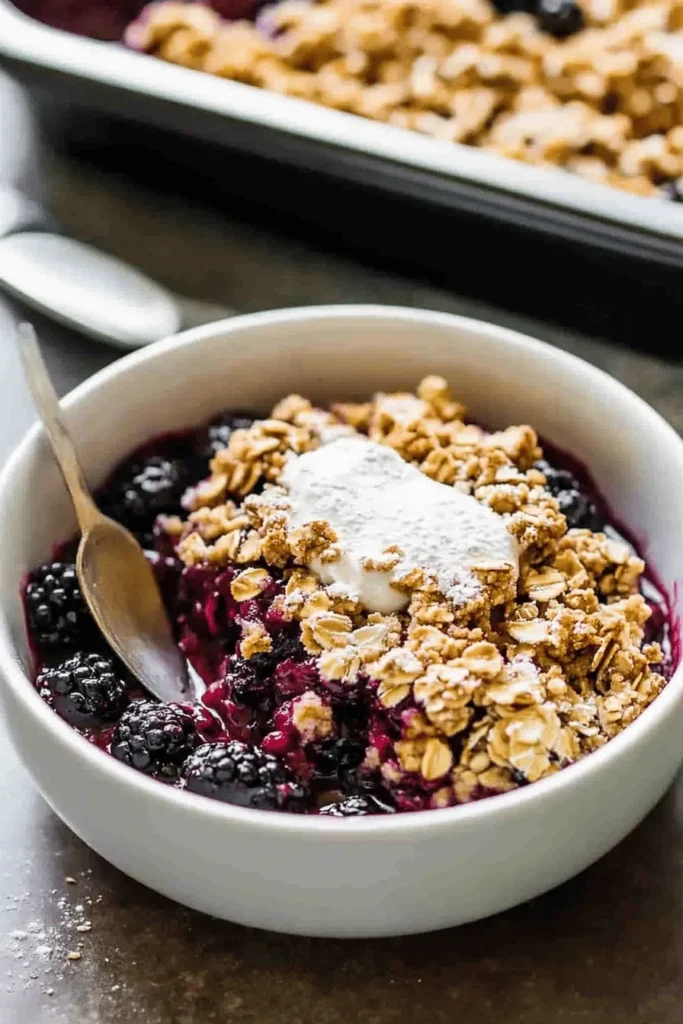
Why You’ll Love This Triple Berry Crisp
- Uses frozen berries – cheaper and just as delicious as fresh!
- Perfect consistency – thickened filling that holds its shape
- Golden, buttery oat topping that stays crispy
- No fancy ingredients or equipment needed
- Make-ahead and freezer-friendly
- Incredible served warm with vanilla ice cream
- Way easier than making my favorite fruit pies
I’ve learned a few secrets to making the absolute best berry crisp over the years. The key is using good-quality frozen berries (I love the triple berry blend from Costco) and just the right amount of thickener in the filling. Too much flour makes it gummy, too little leaves you with berry soup! I also melt the butter for the topping instead of cutting it in cold – this creates those perfect buttery crumbles that get delightfully crispy in the oven.
While testing this recipe, I discovered that letting the frozen berries thaw slightly while preparing the topping gives you the perfect filling consistency. The berries release just enough juice to create a luscious sauce without becoming watery. And don’t skip the vanilla and touch of lemon juice – they really make the berry flavors pop!
Key Ingredients for Berry Crisp Success
Let me walk you through everything you’ll need to make this cozy berry crisp! The ingredients are simple, but each one plays an important role in creating that perfect balance of juicy fruit and buttery crunch.
- Frozen Berry Blend: My secret weapon is using Costco’s triple berry mix – those plump raspberries, blackberries, and blueberries are picked at peak ripeness. The berries release the perfect amount of juice as they bake, creating a luscious filling without getting watery. Fresh berries work too, but frozen ones give you that consistently perfect result.
- Old-Fashioned Oats: Quick oats just won’t cut it here! We need those hearty old-fashioned oats to create that classic crispy, nubbly texture on top. They hold their shape while baking and don’t turn mushy like quick oats can.
- Brown Sugar: The molasses in brown sugar adds such lovely caramel notes and helps create those irresistible crispy clusters in our topping. I use light brown sugar, but dark works beautifully too if you want an even richer flavor.
- Butter: Here’s where my recipe differs from most – I melt the butter instead of cutting it in cold. This coats every oat and bit of flour evenly, giving you the most incredible crispy topping that stays crunchy for days.
My Tested Tips for the Perfect Berry Crisp
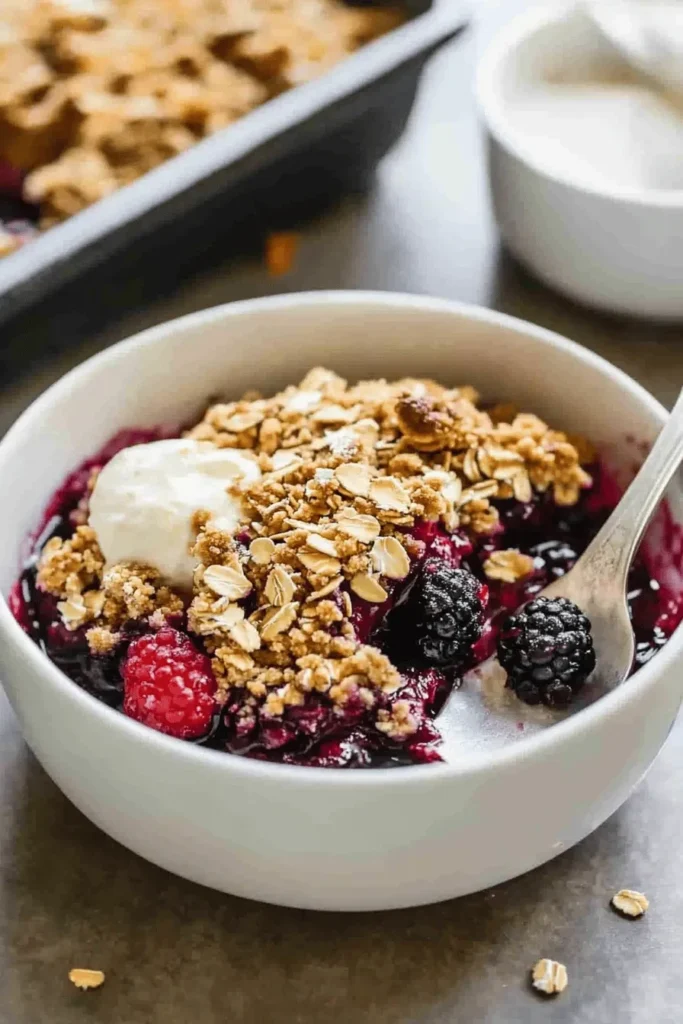
- Let those frozen berries thaw slightly while you prep the topping. About 10-15 minutes at room temperature is perfect – they’ll release just enough juice to create that saucy filling without becoming soggy. Like my skillet cookie recipe, temperature matters!
- Don’t skip the lemon juice and vanilla in the filling. That tiny bit of acid brightens all the berry flavors, while vanilla adds wonderful warmth and depth. These small touches make a big difference!
- Watch the baking time carefully. You want the filling to be bubbling at the edges and the topping golden brown – usually 40-45 minutes. If the top starts browning too quickly, loosely tent with foil.
- Let it rest after baking. I know it’s tempting to dig right in, but giving it 7-10 minutes helps the filling set up perfectly. Plus, it’ll be screaming hot straight from the oven!
Step-by-Step Berry Crisp Instructions
Let me walk you through making this cozy berry crisp! I’ve perfected this method through countless test batches in my kitchen. The process is simple but there are a few key steps that make all the difference.
Making the Buttery Oat Topping
First, we’ll prepare that irresistible crumble topping. In a mixing bowl, combine:
- Old-fashioned oats (they give the best texture)
- All-purpose flour
- Brown sugar (for that caramel-like sweetness)
- Granulated sugar
- Cinnamon and a pinch of salt
Pour in your melted butter and stir until you get these beautiful, buttery crumbles. The mixture will be slightly wet – that’s exactly what we want! Set this aside while we prep the filling.
Preparing the Berry Filling
Here’s my favorite part! In a large bowl, gently toss together:
- Your frozen berry mix (still slightly frozen)
- A touch of flour (this prevents a soupy filling)
- Sugar
- Vanilla extract
- A squeeze of fresh lemon juice
Baker’s Tip: Don’t overmix the berries – we want them to keep their shape!
Creative Recipe Variations
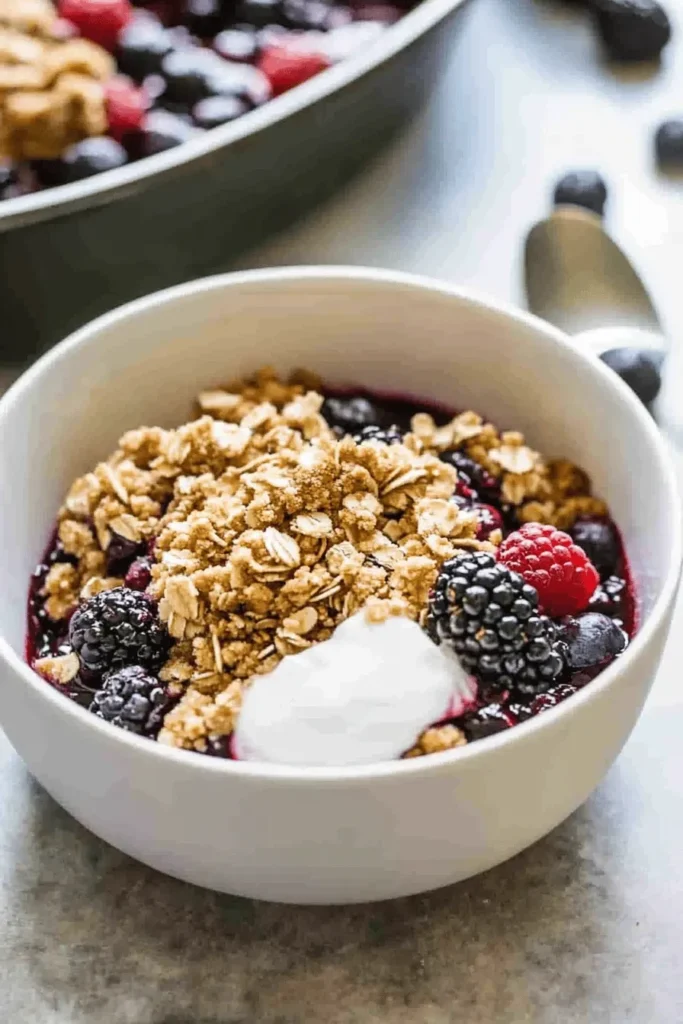
While this classic version is absolutely perfect, sometimes it’s fun to switch things up! Here are some of my favorite ways to customize this berry crisp:
Berry Combinations
- Summer Berry Blend: When fresh berries are in season, try a mix of strawberries and raspberries just like in my favorite summer desserts
- Single Berry Version: Use all blueberries or all blackberries
- Mixed Fruit: Add some diced peaches or apples to your berry mix
Topping Twists
- Stir ½ cup chopped pecans into the crumble
- Add ¼ teaspoon almond extract to the topping
- Sprinkle extra cinnamon-sugar over the top before baking
Pro Tip: For extra decadence, drizzle some caramel sauce over the finished crisp just before serving. The warm caramel with the tart berries is absolutely heavenly!
FAQs & Final Thoughts
Yes! While I prefer frozen berries for their convenience and consistent results, fresh berries work beautifully too. Just reduce the baking time by about 5 minutes since fresh berries release juice more quickly. Keep an eye on the topping to prevent over-browning.
If your crisp turns out runny, it’s likely because the berries released too much juice during baking. Make sure to use the full amount of flour called for in the filling, and don’t let frozen berries thaw completely before baking. A little thawing (10-15 minutes) is perfect!
The secret is melting the butter and thoroughly coating all the dry ingredients. This creates a protective layer that helps maintain crispiness. Also, let the crisp cool for at least 7-10 minutes before serving – this helps set both the filling and topping.
Absolutely! Bake the crisp completely, cool it, then cover with foil. It keeps beautifully in the fridge for up to 5 days. Warm individual portions in the microwave, or pop the whole dish in a 350°F oven for 15-20 minutes to re-crisp the topping.
Final Thoughts
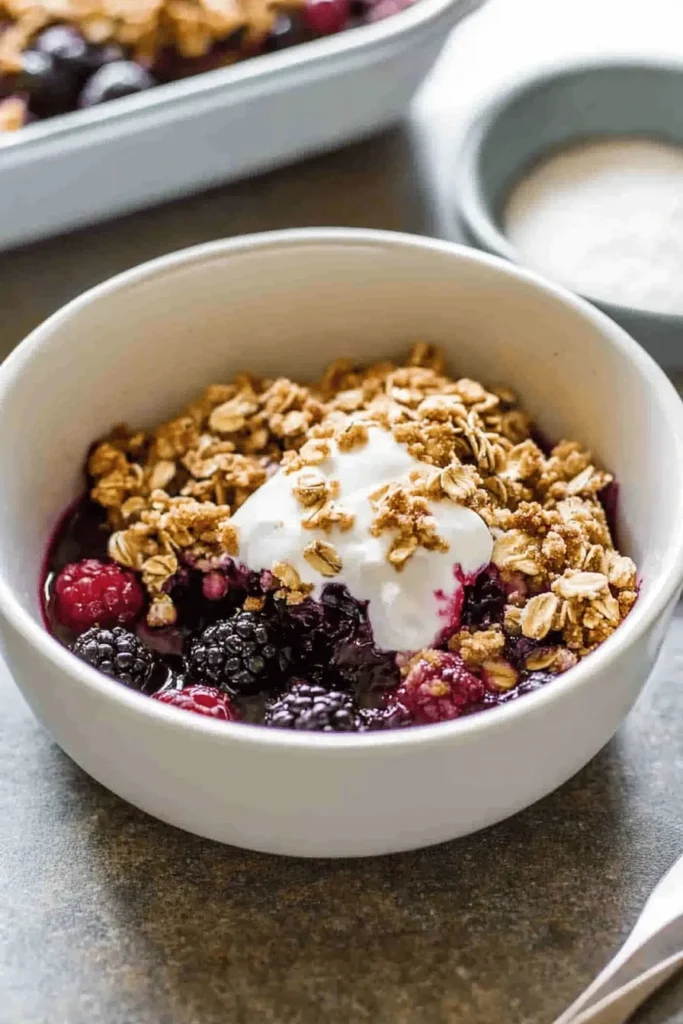
There’s something so special about pulling a bubbling berry crisp from the oven – it’s like a warm hug in dessert form! This recipe has become a staple in my kitchen, perfect for both cozy winter nights and summer gatherings. Just like my fresh berry salad, it’s a wonderful way to enjoy berries year-round.
I’d love to hear how this recipe turns out in your kitchen! Share your berry combinations and topping variations – every time I make this, I’m amazed at how versatile it is. Don’t forget that scoop of vanilla ice cream on top – it’s non-negotiable in my book! Happy baking, friends! 🍓
TRIPLE BERRY CRISP
Equipment (affiliate links)
- 8×8’’ casserole dish or pie plate
- Wire rack
Ingredients
- 1 cup old-fashioned rolled oats
- 1 cup all-purpose flour
- 1/4 cup granulated sugar
- 3/4 cup light brown sugar
- 1 teaspoon ground cinnamon
- dash salt
- 2/3 cup unsalted butter melted
- 4 1/2 cups frozen berries **raspberries, blackberries and blueberries
- 1/4 cup all-purpose flour
- 1/4 cup granulated sugar
- 1/4 teaspoon salt
- 1/2 teaspoon lemon juice
- 1 teaspoon vanilla extract
Instructions
- Preheat oven to 350 degrees F.
- Make the topping first by combining the oats, flour, sugar, brown sugar, cinnamon and salt. Stir to combine.
- Pour in the melted butter and stir to incorporate. Set aside.
- In another bowl add the frozen berries, flour, sugar, salt, lemon juice and vanilla extract and toss gently to combine.
- Pour mixture into an 8×8’’ or similar size casserole dish or pie plate. Glob the topping ingredients evenly over the top (I say “glob” because the mixture will be softer than your normal dry crumble topping, because of the melted butter).
- Bake for 40-45 minutes until the topping is golden brown and berries are bubbling around the edges.
- Remove from the oven, place on a wire rack, and allow to cool for at least 7-10 minutes before serving. Serve with a scoop of vanilla ice cream, if desired.
- Cover leftovers and store in the refrigerator for up to 5 days.

Leave a Reply