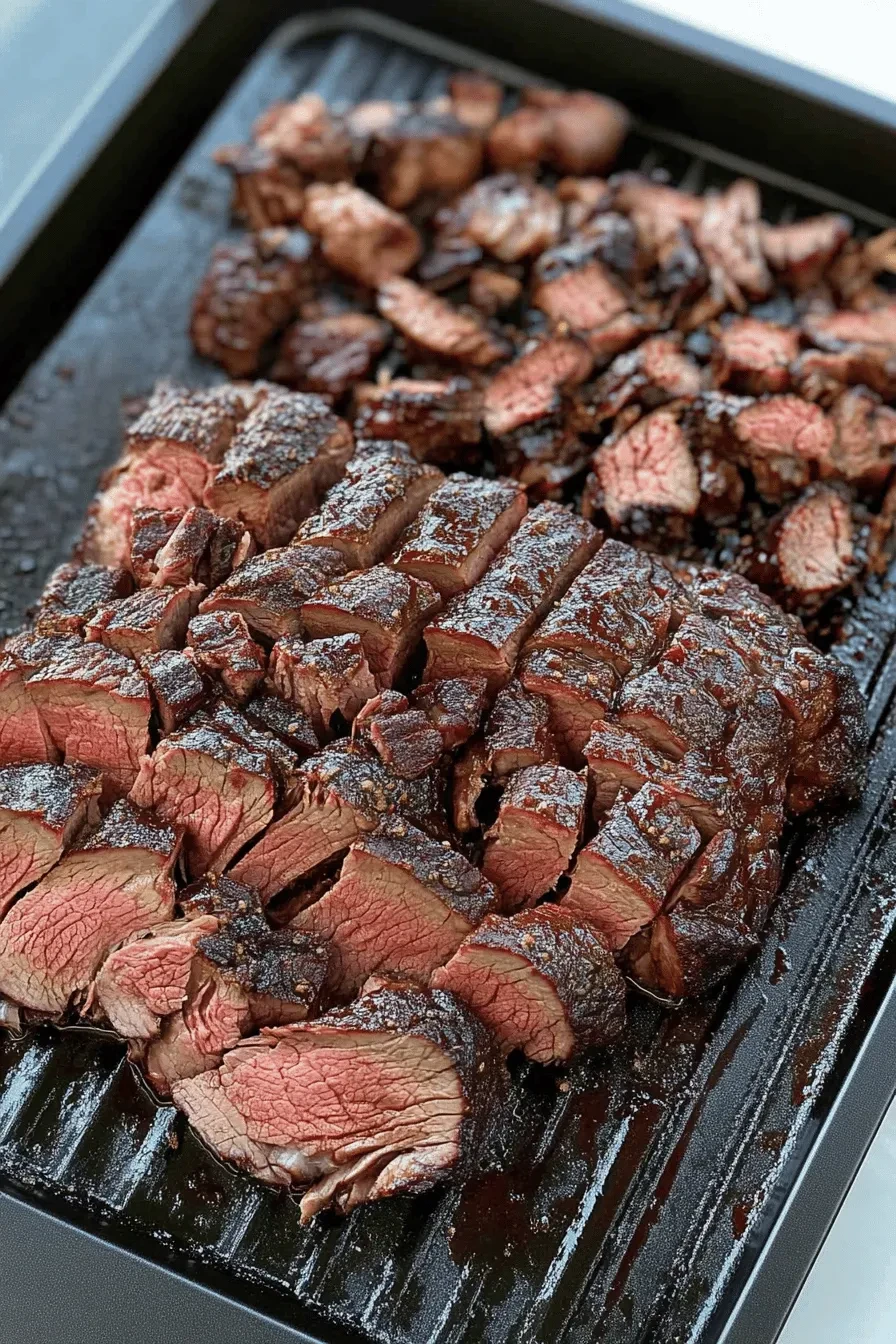
This tender and juicy smoked chuck roast is your gateway to amazing backyard barbecue without the intimidating commitment of a full brisket. Perfect for both newcomers and seasoned grillers, this recipe delivers that coveted melt-in-your-mouth texture and rich, smoky flavor you crave. Below, I’ll share my tried-and-true method that turns this humble cut into a BBQ masterpiece!
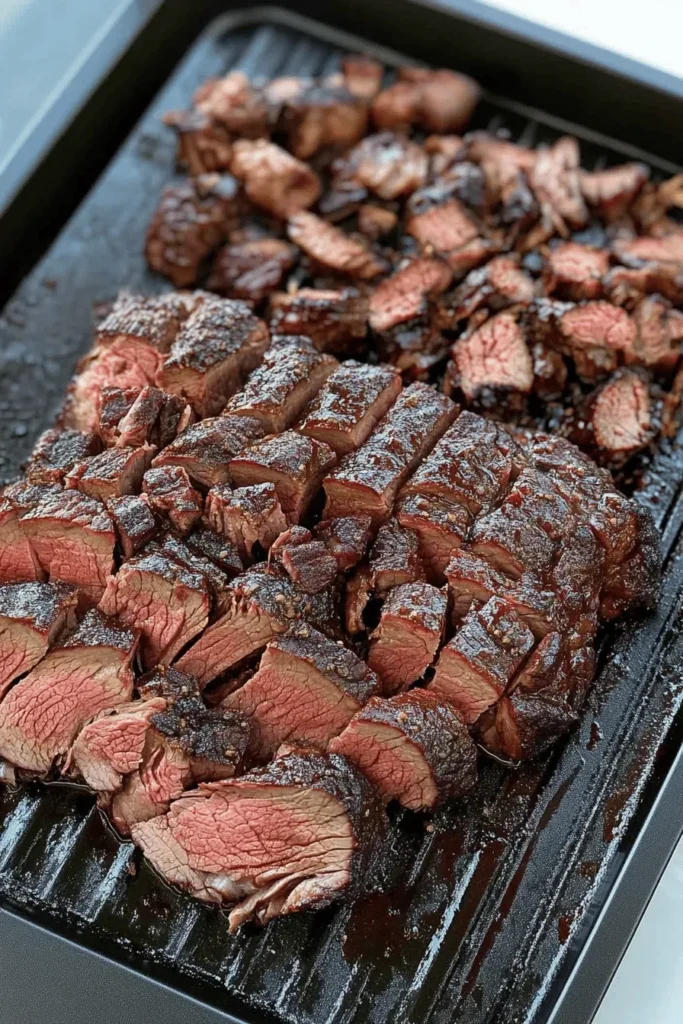
Why You’ll Love This Smoked Chuck Roast
- Perfect beginner-friendly alternative to brisket
- No pre-dawn wake-up calls needed
- Budget-friendly yet incredibly flavorful
- Achieves that sought-after “bark” on the outside
- Transforms into butter-tender, succulent meat
- Versatile enough for sandwiches, tacos, or standalone star
- Makes amazing leftovers (if there are any!)
If you’re new to smoking meats, you’ll love how forgiving this recipe is compared to my smoky and tender meatloaf. Chuck roast has plenty of marbling and connective tissue that breaks down during the smoking process, creating that incredible texture we all love in great barbecue. The best part? You don’t need to be a pit master to achieve incredible results – just follow my simple steps and watch the magic happen!
I’ve tested this recipe countless times to perfect the balance of smoke flavor, tenderness, and that beautiful bark on the outside. While brisket might be the traditional choice, this chuck roast delivers all the satisfaction with less stress and a shorter cook time. Trust me, your guests won’t believe this isn’t brisket when you serve it up at your next backyard gathering!
Ingredients Overview
Let me walk you through everything you’ll need for this mouthwatering smoked chuck roast! Each ingredient plays a crucial role in creating that perfect barbecue flavor.
- Chuck Roast (3-5 pounds): Look for a well-marbled piece with nice fat content. This cut comes from the shoulder area and has beautiful intermuscular fat that melts during the smoking process, keeping your meat juicy. Think of it like making my favorite sloppy joes – the right meat makes all the difference!
- Kosher Salt & Black Pepper: The classic Texas-style seasoning duo. I use a 50/50 mix, about 1 tablespoon each per pound of meat. The salt not only seasons but helps create that gorgeous bark we’re after.
- Garlic Powder: Just a touch (1-2 teaspoons) adds depth without overpowering. It melts into the meat’s surface during smoking, creating an amazing flavor base.
- Yellow Mustard: Don’t worry – your roast won’t taste mustardy! This acts as a binder for our seasonings and helps develop that beautiful outer bark.
Success Tips & Tricks
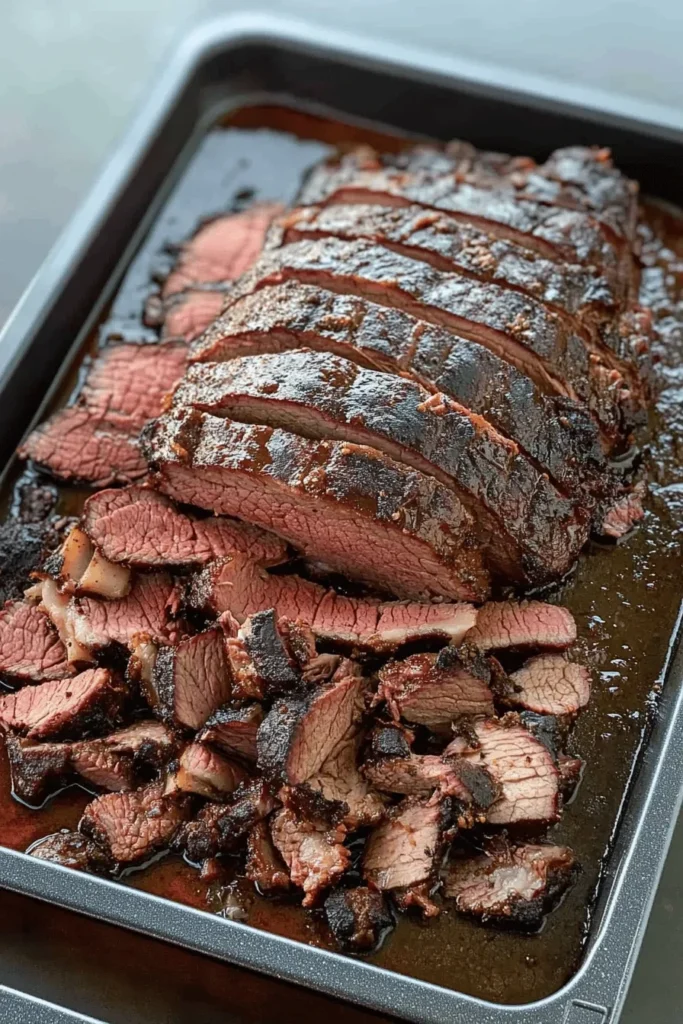
Let me share my top tips for smoking the perfect chuck roast – these come from plenty of trial and error in my own backyard! Just like my hearty hamburger potato soup, it’s all about patience and technique.
- Temperature is Key: Smoke at 225°F-250°F. Going higher might seem tempting, but low and slow is our friend here. This allows the tough connective tissues to break down properly.
- The Stall is Normal: Around 165°F internal temperature, your meat might stop rising in temperature for a while. Don’t panic! This is called “the stall” and it’s perfectly normal. Keep your smoker closed and let science do its thing.
- Rest is Required: When your chuck roast hits 200°F-205°F internal temperature, wrap it in foil and let it rest for at least 30 minutes. This allows the juices to redistribute throughout the meat.
- Slice Against the Grain: This is crucial! Look for the direction of the meat fibers and slice perpendicular to them. This makes each bite tender rather than chewy.
Remember, smoking isn’t just cooking – it’s a labor of love! Don’t rush the process, and you’ll be rewarded with incredibly tender, flavorful meat that might just rival your favorite brisket.
Step-by-Step Instructions
Let me walk you through smoking the perfect chuck roast that rivals any brisket! I’ve broken this down into manageable steps that will have you cooking like a pro.
- Prep the Meat (30 minutes before smoking)
- Pat your chuck roast dry with paper towels
- Apply a generous coating of kosher salt and black pepper
- Let it rest at room temperature
- Prepare Your Smoker
- Preheat to 225°F using your favorite hardwood (I love oak or hickory)
- Fill your water pan to maintain moisture
- The Smoking Process
- Place the roast fat-side up on the smoker
- Smoke until internal temperature reaches 165°F (about 4-5 hours)
- Wrap tightly in butcher paper or foil
- Continue smoking until 200-205°F (about 2-3 more hours)
- The Rest
- Remove from smoker and keep wrapped
- Rest for at least 1 hour (similar to my tender steak bites)
Recipe Variations & Uses
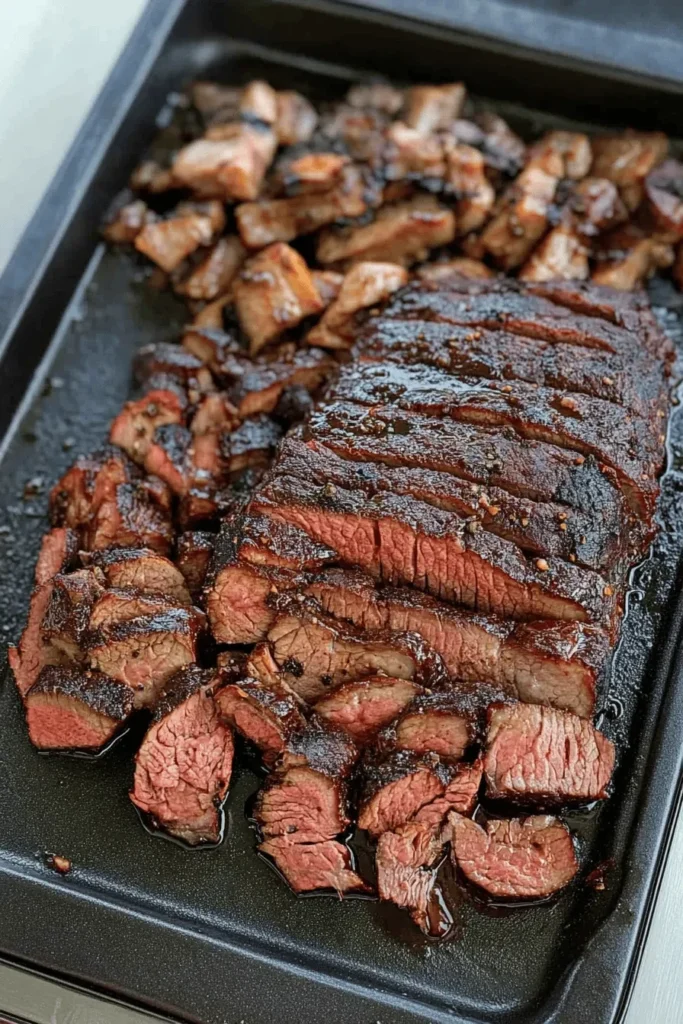
Your smoked chuck roast can be the star of so many amazing meals! Here are some of my favorite ways to serve and repurpose this delicious cut:
Classic Serving Suggestions
- Slice against the grain for a beautiful presentation, perfect with hearty cowboy casserole
- Chop and serve on brioche buns for incredible sandwiches
- Pair with your favorite BBQ sauce on the side
Creative Leftover Ideas
- Dice and add to a warming bowl of soup
- Shred for tacos with pickled onions and cilantro
- Layer into a grilled cheese with sharp cheddar
- Chop finely for loaded nachos
The possibilities are endless – just remember to reheat leftovers gently with a splash of beef broth to maintain moisture. Your smoked chuck roast might even taste better the next day!
FAQs & Final Thoughts
Your chuck roast is ready when it reaches an internal temperature of 200-205°F and feels tender when probed. It should feel like butter when you insert a thermometer – if there’s resistance, let it cook longer.
Tough chuck roast usually means it didn’t cook long enough. Remember, we’re waiting for those connective tissues to break down. Patience is key – don’t rush the process. Keep smoking until you reach that butter-like tenderness.
While you can smoke unwrapped (known as “naked”), wrapping helps push through the stall and maintains moisture. If you’re new to smoking, I definitely recommend wrapping – it’s a foolproof way to achieve tender results, just like when making my hearty biscuits and gravy.
Properly stored in an airtight container, your leftovers will stay fresh in the fridge for 4-5 days. You can also freeze portions for up to 3 months – just wrap them well!
Final Thoughts
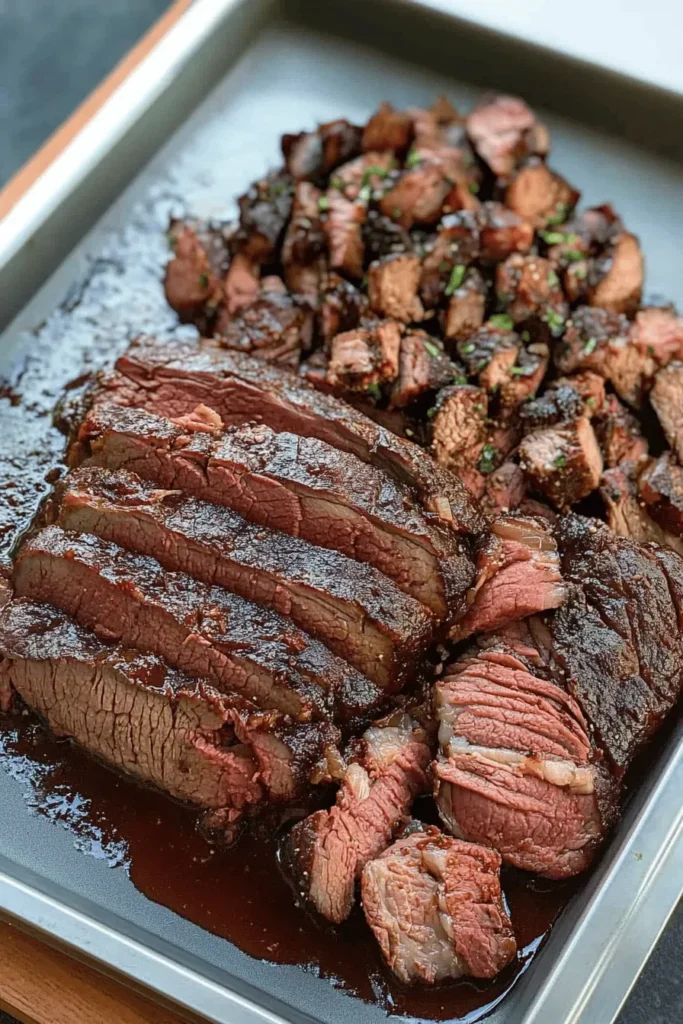
Y’all, don’t let anyone tell you that fantastic barbecue requires an expensive cut of meat! This smoked chuck roast recipe proves that with a little love and patience, you can create something truly magical. I’ve seen countless backyard cooks absolutely nail this recipe on their first try.
Remember to trust the process, keep that temperature steady, and don’t skip the resting period. If you run into any hiccups along the way, drop me a comment below – I’m always here to help! And please, please share your success stories with me. Nothing makes me happier than hearing about your smoking adventures!
Happy smoking, friends! 🔥
Pellet Smoked Chuck Roast
Equipment (affiliate links)
- 1 Smoker Pellet smoker recommended (e.g., Traeger Pro 575). Preheat to 250°F.
- 1 Large bowl For mixing dry rub.
- 1 Wire rack For resting seasoned roasts in the refrigerator.
- 1 Sheet Pan To place under the wire rack and for resting wrapped roasts.
- 1 Meat Thermometer Wireless or grill probe recommended for monitoring internal temperature.
- 1 Butcher Paper or Heavy Duty Foil For wrapping the roasts.
- 1 Cooler (optional) For resting the wrapped roasts.
Ingredients
- 3 small Boneless Chuck Roasts about 2 1/4 pounds each
- 1/4 cup Yellow Mustard (optional binder)
- 2 Tablespoons Kosher Salt
- 2 Tablespoons Black Pepper
- 2 Tablespoons Chili Powder (ancho or guajillo, preferably)
- 2 Tablespoons Dark Brown Sugar
- 2 Tablespoons Ground Coffee
- 1 Tablespoon Garlic Powder
- 1 Tablespoon Onion Powder
Instructions
- Mix the dry rub ingredients together in a large bowl. Coat the roasts in mustard or your choice of binder before seasoning with the dry rub on all sides. For best results, place the seasoned roasts on a wire rack over a sheet pan in the refrigerator overnight or up to 24 hours before smoking.
- To smoke the roasts, preheat a smoker** to 250°F with the lid closed for at least 15 minutes.
- Smoke the roasts for about 3-4 hours until the internal temperature reaches 155°F to 165°F and a nice bark has formed. (I recommend using your grill’s probe or a wireless thermometer to alert you when the roasts come to temperature.)
- Tightly wrap the roasts in butcher paper or heavy duty foil before smoking an additional 2-3 hours until the internal temperature reaches 203°F to 205°F.
- Place the wrapped roasts on a sheet pan in your oven or in a cooler without ice to rest for 30-60 minutes before slicing or chopping.***
Notes
- Beef Selection Notes
You can use this same rub and smoking technique for a larger 4-5 pound roast. The cook times may be surprisingly close due to the water content in larger roasts, but you should always go by internal temperature instead of designated cook time. I would wrap a larger roast once it’s in the 165°F to 175°F range.
Unlike my brisket style tri tip or pulled chuck roast tacos, I wouldn’t spend more for prime cuts. There should be plenty of fat and marbling in USDA choice or even select roasts for juicy and tender smoked chuck roast. If you use select, you can add a bit of beef tallow or butter on top before wrapping. - **Smoker Notes
I used a Traeger Pro 575 and the Traeger Pro Blend wood pellets, which is a blend of oak, hickory, and cherry. Mesquite or the brisket blend pellets would also be great if you can get your hands on them. - ***Slicing Notes
The grain on a chuck roast is a bit unique and is pretty tricky to consistently slice against. You can try to section it off to perfectly slice against the grain, but I find the meat is tender enough that thinly slicing is perfectly fine. And chopping obviously alleviates any concerns about grain direction.

Leave a Reply