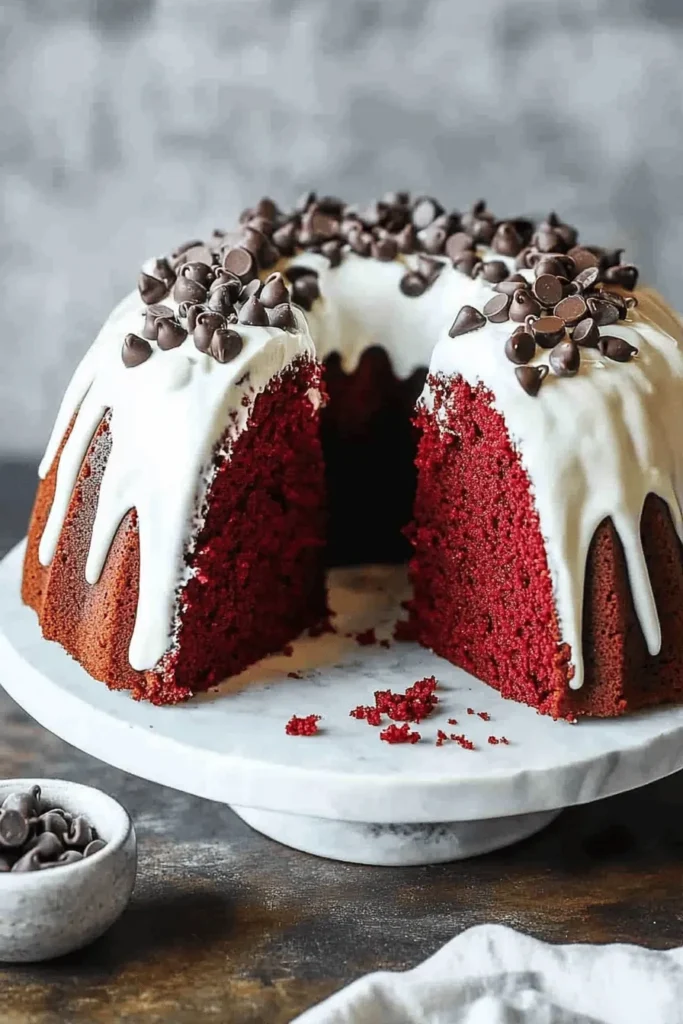
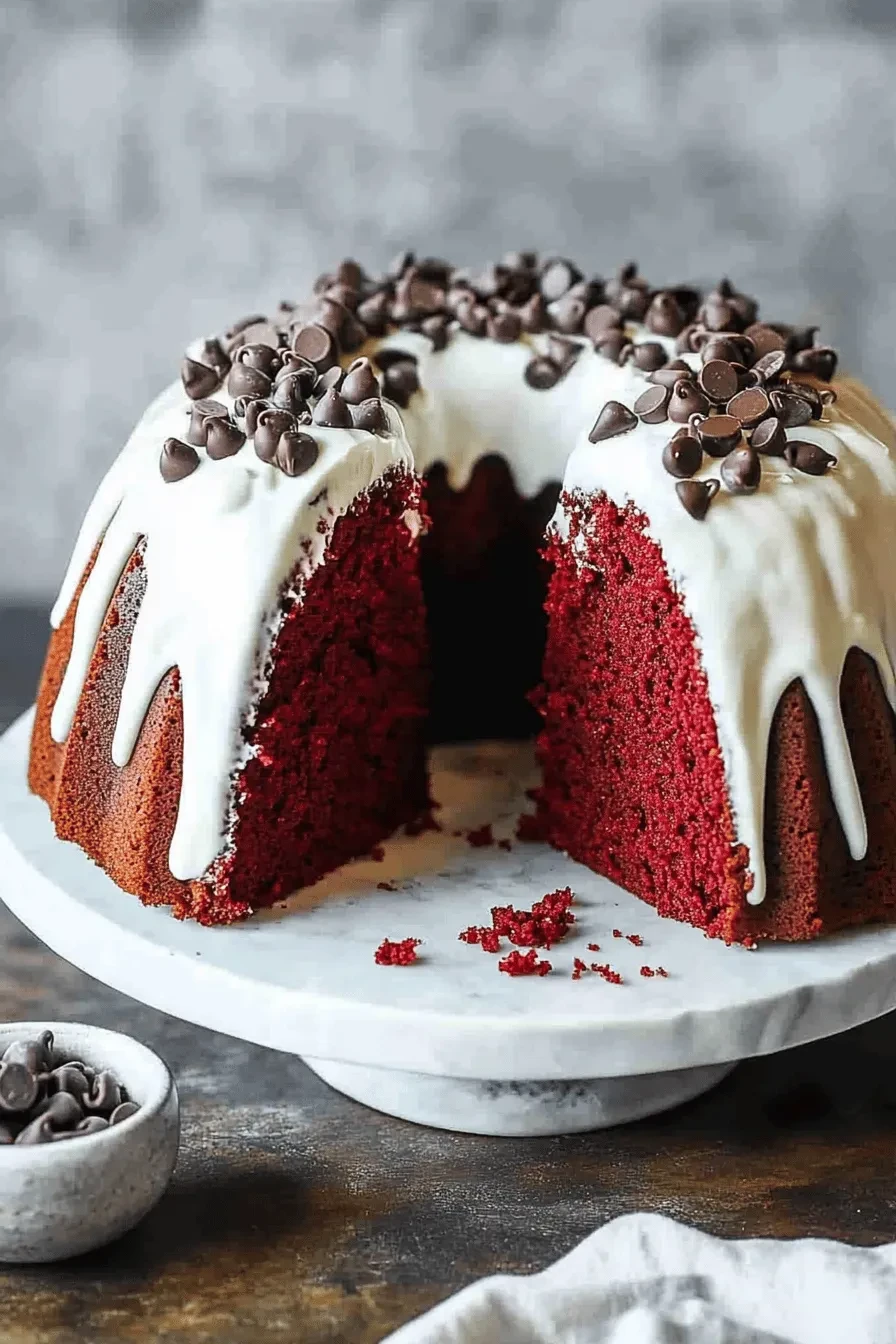
This perfectly moist and rich red velvet bundt cake is pure heaven with its luscious cream cheese frosting. I’ve tested this recipe countless times to achieve that perfect balance of chocolate, vanilla, and signature red velvet tang. The best part? It’s incredibly simple to make but looks absolutely stunning with minimal decorating effort!
Why You’ll Love This Red Velvet Bundt Cake
- Incredibly moist and tender crumb from the perfect butter-oil ratio
- Rich chocolate flavor enhanced with melty chocolate chips
- Gorgeous deep red color that wows every time
- Fool-proof cream cheese frosting that pipes beautifully
- No fussy layers or complicated decorating needed
- Makes an impressive centerpiece for any occasion
- Perfect make-ahead dessert (freezes beautifully!)
I’ve always been a huge fan of red velvet desserts (my red velvet brownies are another favorite!), but there’s something extra special about this bundt version. The cake develops this incredible velvet-like texture that’s impossibly tender, while the exterior gets that slight crispness that bundt cakes are famous for.
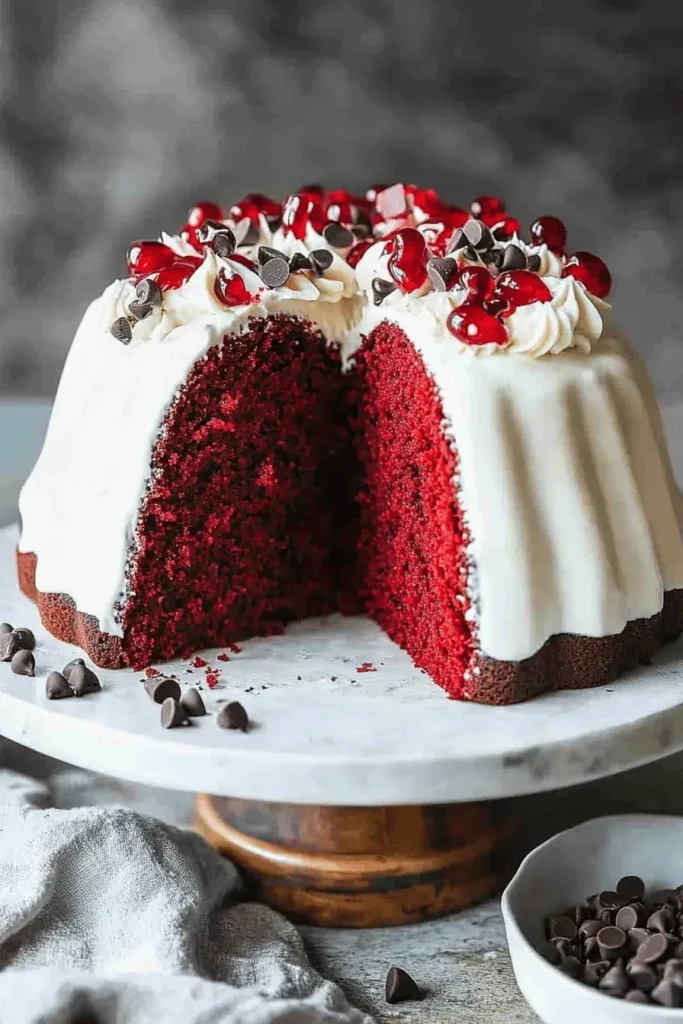
What makes this recipe truly special is the addition of chocolate chips – they create these lovely pockets of melted chocolate throughout the cake that take the chocolate flavor to the next level without overpowering that classic red velvet taste. And let’s talk about that cream cheese frosting! I’ve designed it to be the perfect consistency for draping over those beautiful bundt ridges – thick enough to hold its shape but still gorgeously creamy.
Trust me, once you try this method of making red velvet cake, you’ll never want to go back to traditional layers. It’s simply perfect for everything from holiday celebrations to casual weekend baking. Plus, the leftovers (if you have any!) taste even better the next day with your morning coffee – I speak from delicious experience! 😉
Key Ingredients for Success
Let me walk you through the star players that make this red velvet bundt cake absolutely irresistible!
- Butter and Oil Combo: This dynamic duo creates the most incredibly moist texture. The butter adds rich flavor while the oil keeps the cake tender for days. I’ve tested countless ratios and found this combination gives the perfect crumb structure.
- Buttermilk: Don’t skip this ingredient! It adds that classic red velvet tanginess and reacts with the vinegar to create the most tender crumb. No buttermilk on hand? Mix 1 tablespoon lemon juice or white vinegar with regular milk and let it sit for 5 minutes.
- Natural Cocoa Powder: Just enough to add that subtle chocolate note without overpowering the distinctive red velvet flavor. I specifically use natural (not Dutch-process) cocoa powder because it works best with the cake’s chemistry.
- Red Food Coloring: I prefer gel food coloring since it’s more concentrated – you’ll need less to achieve that gorgeous deep red color. If using liquid coloring, you might need slightly more to get the same rich hue.
- Mini Chocolate Chips: My secret weapon! They distribute perfectly throughout the batter and create little pockets of melted chocolate heaven. Try my favorite chocolate bundt cake if you’re craving even more chocolate goodness!
Essential Baking Tips
- Master the Pan Prep: Nothing’s more heartbreaking than a stuck bundt cake! Create a foolproof barrier by thoroughly greasing every nook and cranny with softened butter, then dust with flour. Tap out excess flour over your sink.
- Room Temperature Ingredients: This isn’t just baking snobbery – room temp eggs, butter, and buttermilk blend more evenly and trap more air, creating that perfect velvet texture we’re after.
- Don’t Overmix: Once you start adding flour, mix just until combined. Overmixing develops gluten, which can make your cake tough instead of tender. I like to fold in the chocolate chips by hand using a rubber spatula.
- Check Early: Start checking for doneness around 35 minutes. A toothpick should come out with just a few moist crumbs – not wet batter. Every oven is different, and overbaking is the quickest way to a dry cake.
Step-by-Step Baking Instructions
Let me walk you through making this showstopping red velvet bundt cake! I’ve perfected these steps through countless test batches in my kitchen.
Preparing Your Pan
The secret to a perfect release starts here! Take a few extra minutes to:
- Generously coat every ridge with softened butter using a pastry brush
- Dust thoroughly with flour, tapping out excess
- Set your oven to 350°F (175°C) and place rack in center position
Making the Batter
- Whisk dry ingredients first – this prevents cocoa powder clumps
- Beat butter and sugar until light and fluffy (about 3-4 minutes) – don’t rush this step!
- Add eggs one at a time, then vanilla, vinegar, and food coloring
- Alternate flour mixture and buttermilk in 3 additions, ending with flour
- Gently fold in chocolate chips – they’ll create perfect melty pockets throughout
Baker’s Tip: If your batter looks slightly curdled after adding eggs, don’t panic! It’ll smooth out once you add the dry ingredients. Just like in my red velvet brownies, the magic happens during baking.
Creative Variations & Serving Ideas
Frosting Options
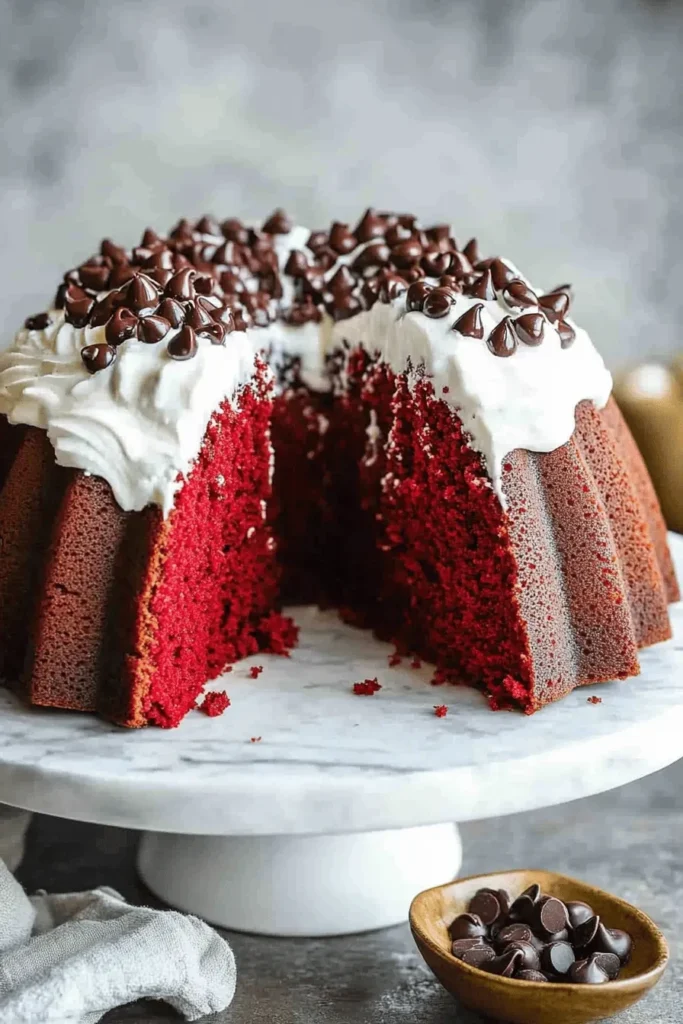
- Classic Cream Cheese: My go-to choice – pipe in swooping lines between bundt ridges
- White Chocolate Drizzle: Melt 6 oz white chocolate with 2 tbsp cream for an elegant finish
- Chocolate Ganache: Perfect for serious chocolate lovers
Festive Touches
Transform this cake for any occasion:
- Dust with gold shimmer powder for holiday glamour
- Scatter fresh berries around the base for summer serving
- Add crushed peppermint during Christmas season
- Sprinkle with toasted pecans for extra crunch
Make-Ahead Magic: This cake actually gets better after a day! The flavors deepen and the texture becomes even more velvety. Just store under a cake dome at room temperature for up to 24 hours before serving.
FAQs & Final Thoughts
Frequently Asked Questions
The most common reason is insufficient pan preparation. Be very thorough when greasing every nook and cranny with softened butter, then dust completely with flour. Don’t forget the center tube! Let the cake cool for exactly 10 minutes before inverting – any longer and it may stick.
While the classic red color is traditional, you can skip the food coloring. Your cake will be a lovely light brown color but will still have that wonderful red velvet flavor and texture. The cocoa powder, buttermilk, and vinegar are what give red velvet its distinctive taste.
Store any extra frosting in an airtight container in the refrigerator for up to 5 days. When ready to use, let it come to room temperature and give it a quick whip with your mixer to restore its creamy texture.
Yes! This cake freezes beautifully for up to 3 months. You can freeze it frosted or unfrosted – just wrap it well in plastic wrap and aluminum foil. Thaw overnight in the refrigerator before serving.
Final Thoughts
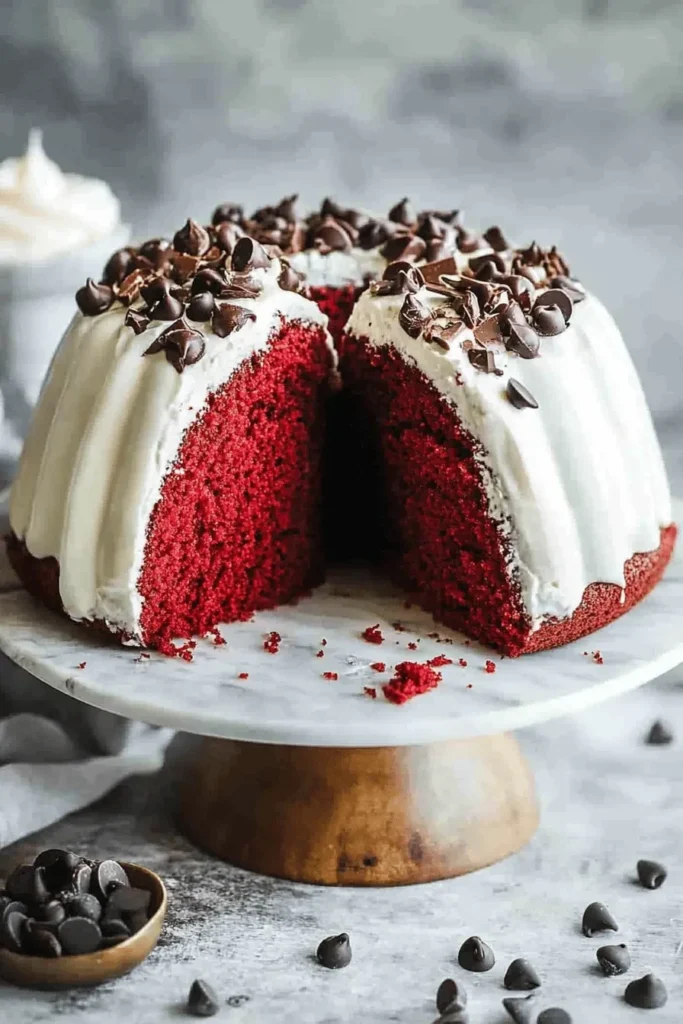
I just can’t express how much joy this red velvet bundt cake brings to my kitchen! It’s one of those recipes that never fails to make people’s eyes light up when they see it, and their smiles grow even bigger with that first bite. If you’re a chocolate lover, you might also want to try my German chocolate brownies for another special treat!
Remember, baking should be fun, and this recipe is perfectly designed for both beginners and experienced bakers. Don’t worry if your first attempt isn’t picture-perfect – what matters is that incredible taste! I’d absolutely love to hear how your cake turns out, so please leave a comment below sharing your experience. Happy baking, friends! 🎂
RED VELVET BUNDT CAKE
Equipment (affiliate links)
- Bundt pan Grease the bundt pan
- Wire cooling rack
Ingredients
- 2.75 cups all-purpose flour
- 0.25 cup unsweetened cocoa powder
- 1 teaspoon baking soda
- 0.75 teaspoon salt
- 2 cups granulated sugar
- 0.75 cup unsalted butter room temperature
- 0.33 cup oil vegetable or canola oil
- 3 large eggs
- 2 large egg yolks
- 1 Tablespoon vanilla extract
- 1.5 teaspoons vinegar
- 1 ounce liquid red food coloring
- 1.33 cups buttermilk
- 1.5 cups chocolate chips optional
- 12 ounces cream cheese room temperature
- 0.25 cup butter room temperature (salted or unsalted)
- 1.5 teaspoons vanilla extract
- 2.5-3 cups powdered sugar to taste
Instructions
- Preheat oven to 350 degrees F. Grease the bundt pan (see my tips above) and set aside.
- To a mixing bowl add flour, baking soda, salt and cocoa powder and whisk well to combine.
- In another bowl add the sugar and butter and cream together with an electric mixer until pale and fluffy, 4-5 minutes.
- Add oil and mix. Add eggs and yolks, one at a time, mixing after each addition. Add vanilla, vinegar and red food coloring.
- Add about ⅓ of the flour mixture and stir to combine. Add half of the buttermilk and stir to combine. Repeat, alternately adding the flour and then buttermilk, ending with flour.
- Fold in chocolate chips, if using.
- Pour batter into prepared bundt pan and smooth into an even layer. Bake in preheated oven for 40-55 minutes or until a toothpick inserted into the center of the cake comes out clean.
- Cool in cake pan for 10 minutes and then invert onto a wire cooling rack to cool completely.
- Beat cream cheese and butter together until smooth. Add vanilla. Add powdered sugar, one cup at a time, until frosting has the consistency and taste you desire.
- Frosting can be made days in advance. Refrigerate in an airtight container, or freeze.
Notes
* Store the cake covered in the fridge for up to 5 days. Freeze (frosted or unfrosted), covered well, for up to 3 months.

Leave a Reply