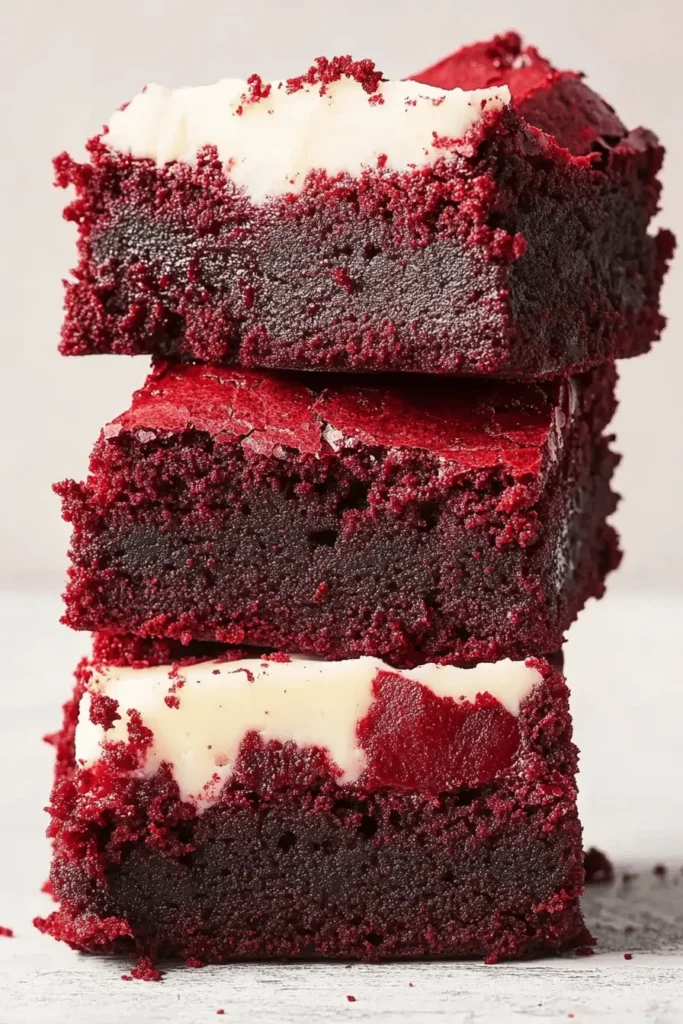
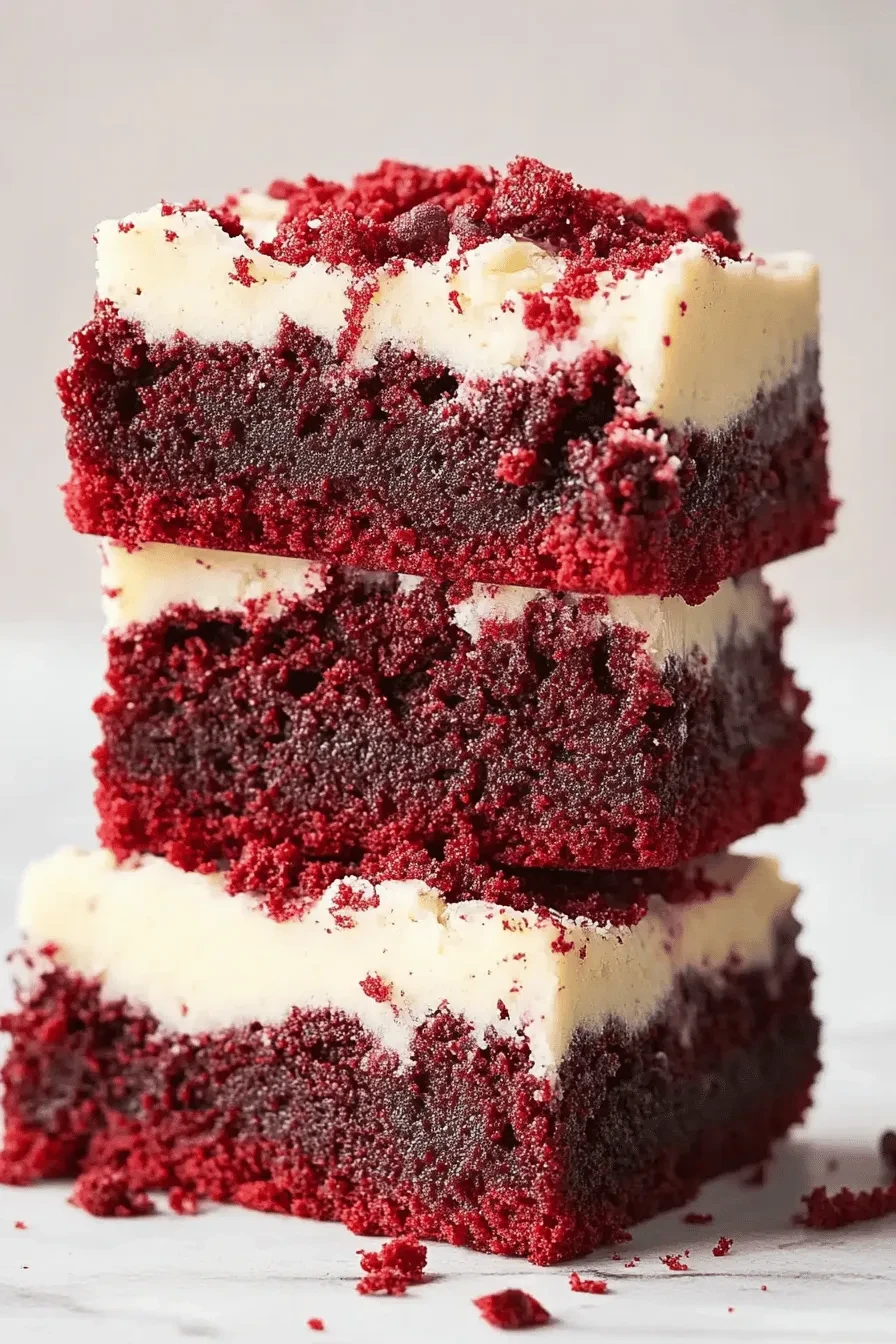
These decadent red velvet brownies combine two of my favorite desserts into one irresistible treat! With a perfectly fudgy texture, stunning red color, and crowned with silky cream cheese frosting, they’re guaranteed to become your new favorite. After countless tests in my kitchen (and many happy taste-testers!), I’ve perfected this recipe to give you brownies that are rich, moist, and packed with that classic red velvet flavor.
Why You’ll Love These Red Velvet Brownies
- Perfect fusion of fudgy brownies and red velvet cake
- Stunning red color that wows every time
- Rich chocolate flavor with that signature red velvet tang
- Topped with luxurious cream cheese frosting
- No mixer needed for the brownie batter
- Great make-ahead dessert (similar to my chocolate covered Oreos)
- Ideal for Valentine’s Day, holidays, or any celebration
Let me tell you – developing this recipe was quite the delicious journey! I wanted to create something that wasn’t just another cakey red velvet dessert disguised as a brownie. These beauties have that perfect brownie texture – fudgy and rich, with a slight chew and that coveted crackly top. The cream cheese frosting adds the perfect tangy sweetness that every red velvet treat needs.
What makes these brownies extra special is the careful balance of butter and oil (for that perfect fudgy texture), along with just the right amount of cocoa powder to give you that subtle chocolate flavor without overpowering the classic red velvet taste. And trust me, using gel food coloring makes all the difference – it gives you that gorgeous red color without affecting the texture.
The secret to getting these just right? Precision in measuring (especially the flour!) and not overbaking. When that toothpick comes out with a few moist crumbs, they’re done. Let them cool completely before adding that dreamy cream cheese frosting – I know it’s tempting to rush, but patience makes perfect here!
Key Ingredients For Perfect Red Velvet Brownies
Let me walk you through the star players that make these brownies absolutely irresistible! This recipe combines the best elements of traditional red velvet cake with the fudgy decadence of brownies.
- Butter & Oil Combo: We’re using both for good reason! Butter provides that rich, irreplaceable flavor (like in my favorite cannoli dip), while oil keeps these brownies perfectly moist and fudgy for days.
- Cocoa Powder: Dutch-processed cocoa is my go-to here. It gives that subtle chocolate note classic to red velvet without overwhelming the other flavors. Trust me, the type matters – natural cocoa can make these too acidic!
- Vinegar: Don’t skip this! A splash of white wine vinegar creates that distinctive red velvet tang and reacts with the other ingredients for the perfect texture. White vinegar works too if that’s what you have.
- Red Gel Food Coloring: After countless tests, gel coloring is non-negotiable. Liquid food coloring just won’t give you that stunning red color we’re after, and you’ll end up using way too much.
Success Tips & Tricks
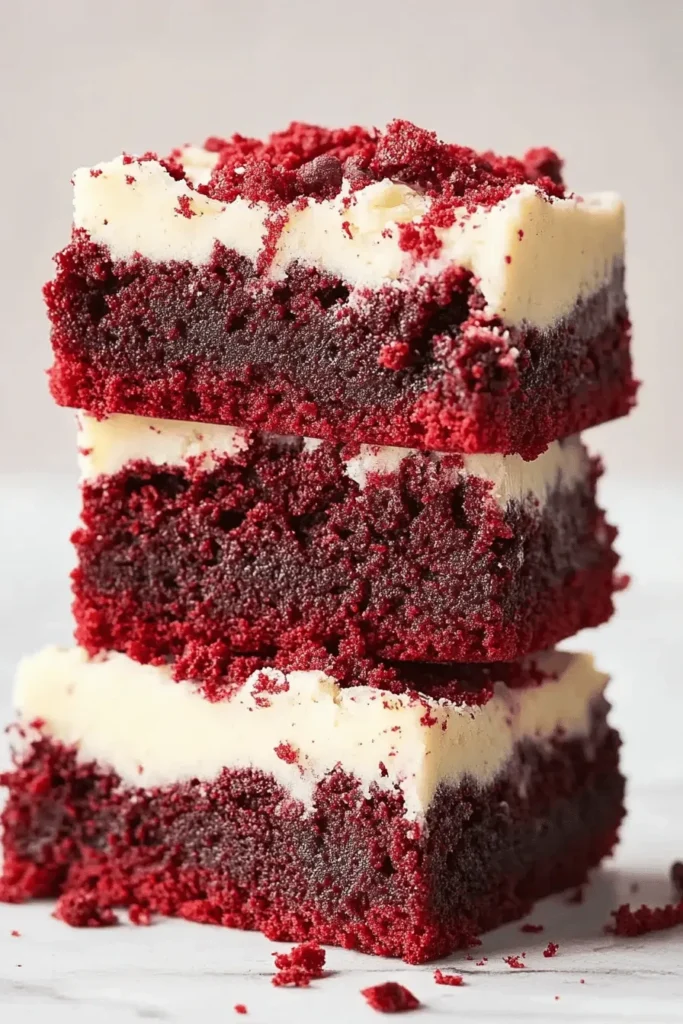
After testing this recipe more times than I can count (my family wasn’t complaining!), I’ve discovered some game-changing tips that make the difference between good and great red velvet brownies.
- Watch Your Mixing: Just like making my cloud-like Oreo fluff, over-mixing is your enemy here. Stir until ingredients are just combined – we want fudgy brownies, not cake!
- Temperature Matters: Room temperature eggs and butter are crucial. Cold ingredients won’t blend properly, leading to uneven texture. I set mine out about an hour before baking.
- The Toothpick Test: Here’s my secret – when testing for doneness, look for moist crumbs on your toothpick, not completely clean. A few fudgy bits mean you’ll have that perfect brownie texture once cooled.
- Cooling Patience: I know it’s tempting, but don’t rush the cooling process! These need a full hour to set properly. Trust me, your patience will be rewarded with perfectly sliceable, fudgy squares.
Step-by-Step Instructions
Let me walk you through making these irresistible red velvet brownies! After countless test batches, I’ve perfected every step to give you that perfect balance between fudgy brownie and red velvet cake texture.
Making the Brownie Base
- Preheat your oven to 350°F (180°C) and line an 8-inch pan with parchment, leaving overhang for easy removal.
- Melt your butter until just liquid – I like using 30-second microwave intervals to prevent overheating. Just like my favorite cannoli cake, temperature control is key!
- In a large bowl, whisk together your melted butter, white sugar, and brown sugar until combined. The mixture should look like wet sand.
- Add eggs one at a time, plus the extra yolk, whisking gently after each. Stir in vanilla.
- Mix in oil and cocoa powder until smooth. Here’s my favorite trick: in a separate small bowl, combine 2 tablespoons of batter with red gel coloring until fully incorporated, then mix back into the main batter.
- Gently fold in flour, cornstarch, and salt just until combined – overworking the batter will make tough brownies!
Baking Tips
- Don’t overbake! Pull them when a toothpick comes out with moist crumbs, around 20-25 minutes
- Let cool completely before frosting – just like with my strawberry cheesecake cookies, patience is key
- For clean cuts, refrigerate briefly after frosting
Recipe Variations
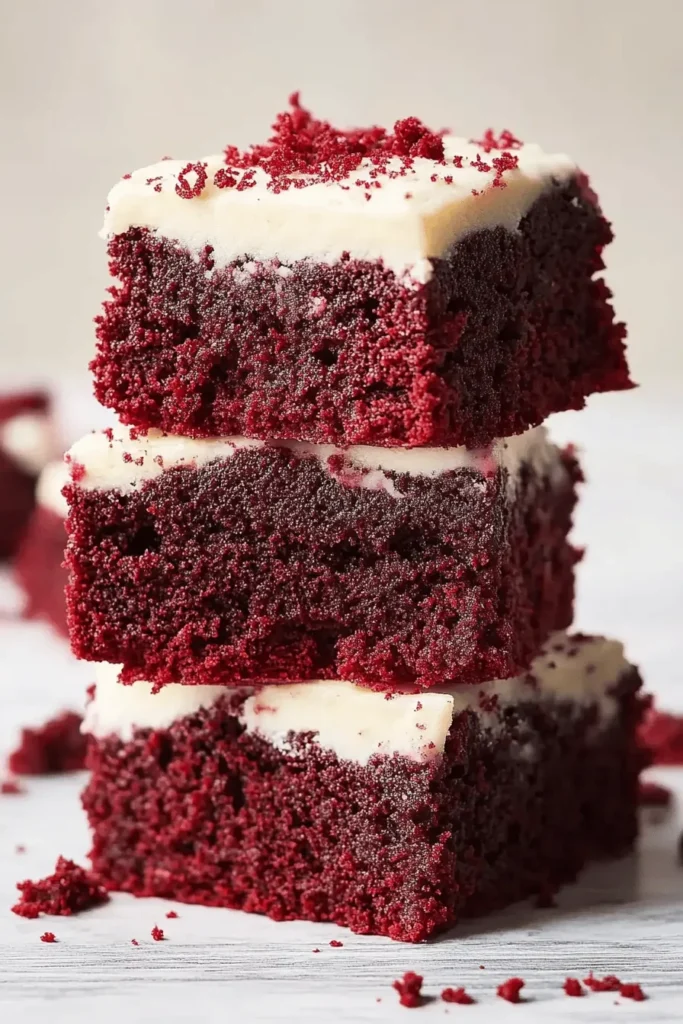
These brownies are incredible as-is, but there are so many fun ways to customize them! They remind me of my homemade star crunch recipe – perfect as written but so adaptable.
Creative Twists
- Cheesecake Swirl Version: Mix 8 oz softened cream cheese with 1 egg and ¼ cup sugar. Dollop over batter and swirl before baking.
- Mix-In Options:
- White chocolate chips (½ cup)
- Chopped pecans or walnuts (⅓ cup)
- Cream cheese chunks (4 oz, cubed)
- Topping Alternatives:
- Chocolate ganache drizzle
- White chocolate buttercream
- Simple dusting of powdered sugar
Baker’s Tip: For special occasions, try pressing heart-shaped sprinkles into the frosting, or cut these brownies into heart shapes for Valentine’s Day!
FAQs & Final Thoughts
Frequently Asked Questions
Yes! While the red color is traditional, you can skip the food coloring entirely. Your brownies will be a rich chocolate color but still have that distinctive red velvet taste from the vinegar and cocoa combination.
This usually happens if your cream cheese or butter was too warm. Make sure they’re at cool room temperature – soft enough to beat but still slightly cool to touch. If it’s already runny, pop it in the fridge for 15-20 minutes before beating again.
Absolutely! Unfrosted brownies freeze beautifully for up to 3 months. Wrap them tightly in plastic wrap and then foil. Thaw overnight in the refrigerator and frost before serving.
The key is not overmixing the batter and slightly underbaking them. Just like my strawberry cheesecake dump cake, timing is everything! Pull them from the oven when a few moist crumbs still cling to your toothpick.
Final Thoughts
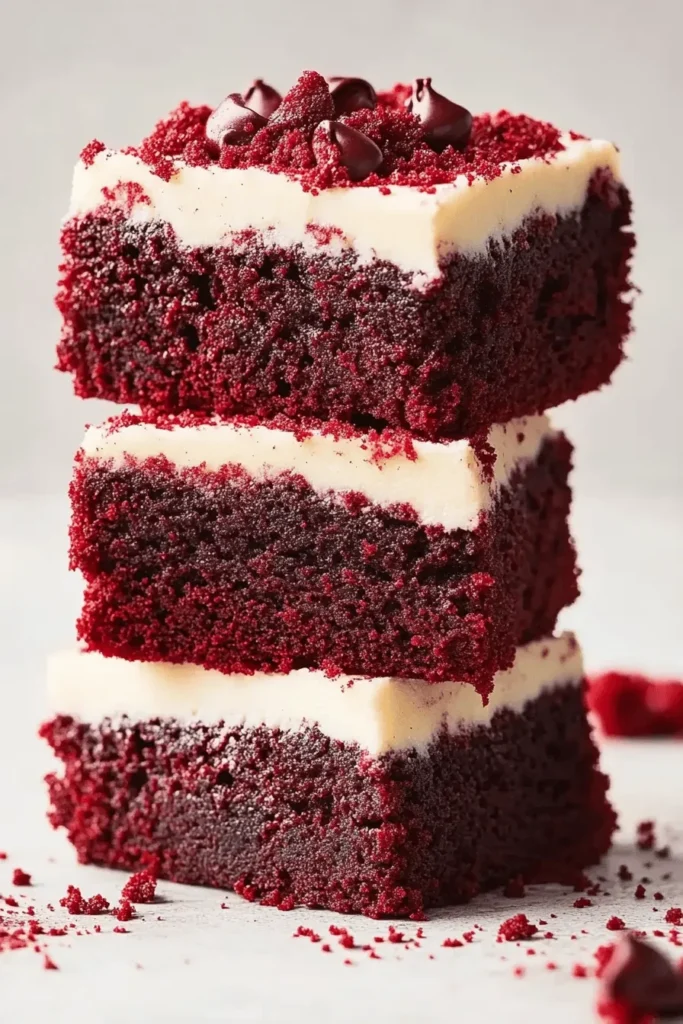
These red velvet brownies have become my go-to recipe when I want to make something special! The combination of rich, fudgy texture with that classic red velvet tang is absolutely magical. Every time I make these, they disappear so quickly – especially when my kids spot that cream cheese frosting!
Don’t be afraid to play around with this recipe once you’ve mastered the basic version. Whether you’re making them for a holiday gathering, birthday celebration, or just because it’s Tuesday, these brownies never fail to bring smiles. And if you’re anything like me, you might find yourself making excuses to bake another batch!
I’d love to hear how these turn out for you! Drop a comment below or tag me in your brownie photos – nothing makes me happier than seeing your baking successes!
Red Velvet Brownies
Ingredients
- 3/4 stick Butter 85g
- 1 cup Sugar 200g
- 1/4 cup Light Brown Sugar 55g
- 3 Eggs
- 1 Egg Yolk
- 1 teaspoon Vanilla
- 1/3 cup Vegetable Oil 72g
- 1/4 cup Cocoa Powder 25g
- 3/4 cup All-purpose Flour 90g
- 1 tablespoon Vinegar
- 1 tablespoon Cornstarch
- 1/4 teaspoon Salt
- 1/2 teaspoon Red Food Coloring
- 3/4 cup White Chocolate Chips optional
- 4 oz Cream Cheese 114g
- 3/4 stick Butter 85g
- 4 cups Powdered Sugar 480g
- 1 teaspoon Vanilla
Instructions
- Line a 9-inch square cake pan with parchment paper and preheat the oven to 350°F / 180°C (160°C fan assisted).
- Melt butter in the microwave in 30-second increments until completely melted.
- Put the white sugar and light brown sugar in a large mixing bowl, then add the melted butter and whisk together until combined.
- Add the eggs, egg yolk and vanilla and mix together. Be careful not to overmix – we are not trying to add air into the mixture as that will make the brownies cakey.
- Add the vegetable oil and the cocoa powder to the brownie batter and whisk together gently until completely combined – again we are not trying to incorporate air.
- Take a couple of tablespoons of the batter and put them into a small bowl, add your red gel food coloring to this bowl and mix it in until the gel is all incorporated and there are no lumps. Add this mixture into the main bowl of batter and mix until combined.
- Switch from a whisk to a rubber spatula or wooden spoon and fold in the dry ingredients including flour, cornstarch and salt.
- When there are no more lumps of flour, add the vinegar and mix in well.
- Optional: If you like, you can add some white chocolate chips at this stage. I decided I liked the brownies better without.
- Pour the brownie batter into the prepared cake pan and bake for 20 – 25 minutes or until a skewer comes out with just moist crumbs on it.
- Remove from the oven and let cool completely before attempting to frost and slice.
- Beat the room temperature butter and cream cheese together until smooth and combined.
- Add the powdered sugar and mix in slowly, once the dust cloud settles, turn your mixer onto high speed and beat for a few minutes until light and fluffy.
- Add the vanilla and beat in for another few seconds.
- Spread over the red velvet brownies before slicing.

Leave a Reply