This perfectly cooked Instant Pot basmati rice recipe straight from my cookbook “Indian Food Under Pressure” yields fluffy, fragrant grains every single time. With just a few simple steps and the right technique, you’ll master restaurant-style basmati rice that’s ideal for serving alongside your favorite curries and Indian dishes!
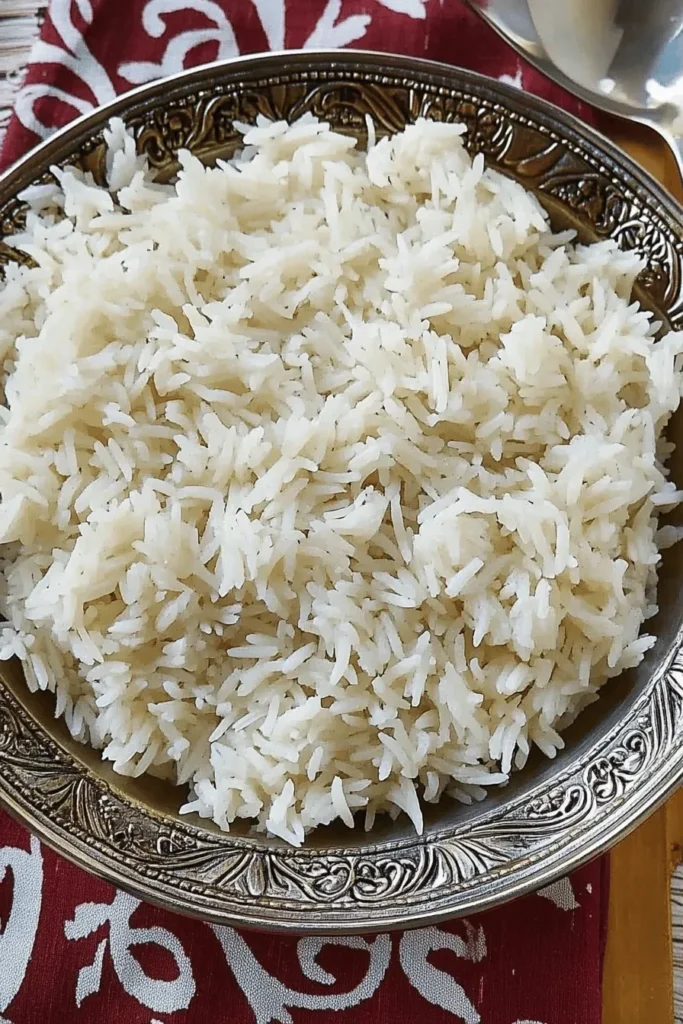
Why You’ll Love This Instant Pot Basmati Rice
- Consistently perfect results every time
- Fragrant, separate grains that don’t clump together
- Simple 3-step process (soak, pressure cook, natural release)
- Works beautifully with other pressure cooker recipes
- No mushy or sticky rice – guaranteed!
- Perfect companion for Indian curries and gravies
- Takes the guesswork out of cooking rice
After countless tests in my kitchen (and trust me, I’ve made this more times than I can count!), I’ve discovered the secret to perfect basmati rice lies in three key elements: proper soaking, the right water ratio, and patience during the release process. Let me tell you – that brief 30-minute soak makes ALL the difference in achieving those gorgeous, separate grains we all dream about!
What makes this recipe truly special is its foolproof nature. As someone who’s tested countless rice variations, I can promise you that following these specific steps will give you restaurant-quality basmati rice right in your own kitchen. The aroma that fills your home while it cooks is absolutely incredible – it’s that distinct nutty, floral scent that only premium basmati rice can deliver.
My Top Success Tip: Don’t skip the fat! Whether you choose ghee (my personal favorite) or oil, this tiny addition makes a huge difference in keeping those beautiful grains separate and prevents them from sticking together. It’s these little details that transform good rice into PERFECT rice!
Ingredients Overview
Let me walk you through exactly what you’ll need for perfectly fluffy basmati rice – each ingredient plays an important role!
- Basmati Rice: The star of our show! You’ll want high-quality aged basmati rice – I absolutely love using Aahu Barah brand. The aging process helps develop those lovely aromatic compounds that give basmati its distinctive nutty fragrance. Think of it like a fine wine!
- Cooking Fat: A little ghee or oil (about 1 tablespoon) is essential. It coats each grain, preventing them from sticking together and adds wonderful flavor. I love using ghee since it adds an authentic touch, just like in my creamy pasta dishes, but any neutral oil works great too.
- Water: The ratio is critical here – we’ll use 1 cup of water for every cup of rice. This might seem less than stovetop cooking, but trust me on this!
- Salt: Just a pinch enhances all those lovely grain flavors, similar to how it brightens up my favorite sauce recipes.
Success Tips & Tricks
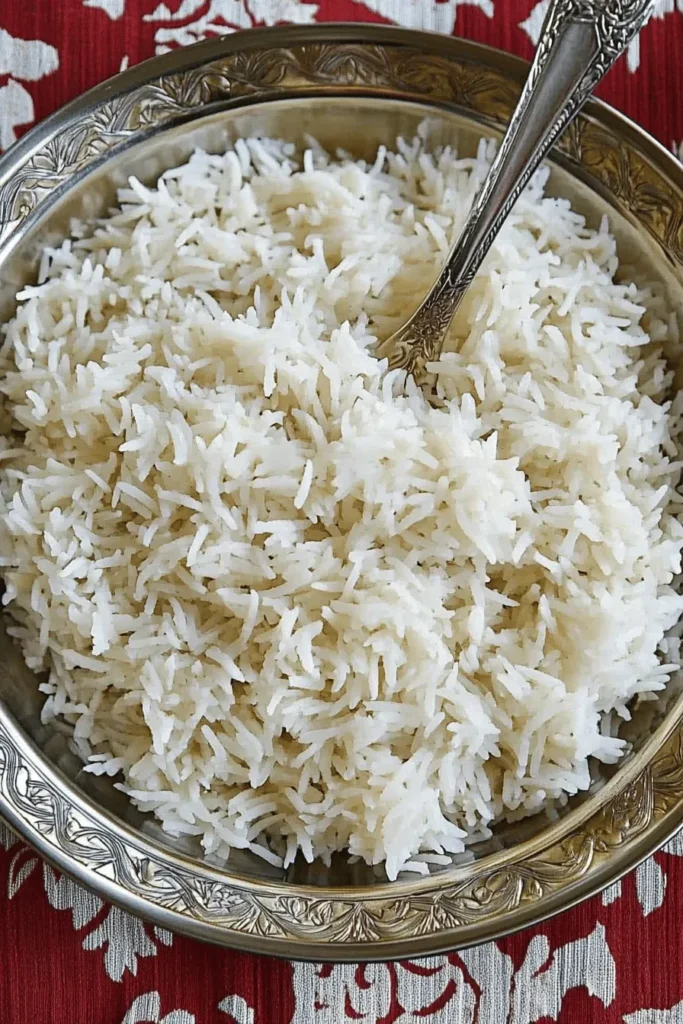
Here are my tried-and-true secrets for perfect basmati rice every single time:
- Soak, Soak, Soak! This 15-30 minute bath is non-negotiable! Soaking helps the grains absorb water evenly, resulting in perfectly cooked rice that’s less likely to break. Think of it as giving your rice a spa treatment!
- Rinse Until Clear: After soaking, rinse the rice until the water runs clear. This removes excess starch that can make your rice sticky. I usually rinse 3-4 times until the water looks like crystal.
- Perfect Timing: Set your Instant Pot for exactly 6 minutes at high pressure, followed by a 10-minute natural release. This combo gives the grains time to properly steam and settle.
- The Steam Release: After those 10 minutes, release any remaining pressure. This small but mighty step prevents moisture from condensing back onto your rice and making it mushy.
Remember, these aren’t just suggestions – they’re the secret formula for basmati rice that’s so fluffy and fragrant, you’ll never want to make it any other way!
Step-by-Step Instructions
Let me walk you through making perfect basmati rice in your Instant Pot! I’ve tested this method countless times, and it never fails me.
- Rinse & Soak: Start by rinsing 1 cup basmati rice until the water runs clear. Then soak it in cold water for 15-20 minutes – trust me, this makes such a difference!
- Prep the Pot: Drain the rice well. Add 1 tablespoon of ghee or oil to your Instant Pot and turn it to sauté mode for just a minute to warm the fat.
- Add Rice & Water: Add your drained rice and 1 cup of water. Yes, only 1 cup! The rice-to-water ratio is different in pressure cooking than on the stovetop (like in my hearty lentil bread).
- Pressure Cook: Close the lid, set valve to sealing, and cook on high pressure for 6 minutes.
- Natural Release: Here’s the crucial part – let it naturally release pressure for exactly 10 minutes, then manually release any remaining pressure.
- Fluff & Serve: Open the lid and gently fluff with a fork. Those gorgeous grains should be perfectly separate!
Recipe Variations & Uses
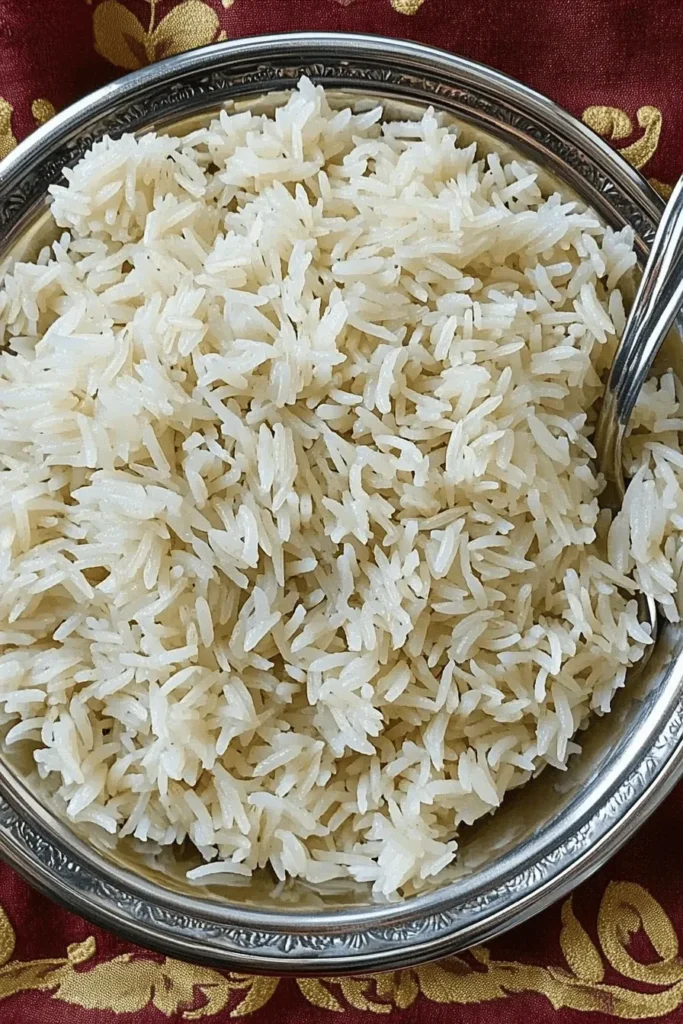
While this basic recipe is perfect on its own (just like my simple 3-ingredient bread), here are some delicious ways to change it up:
- Spiced Version: Add whole spices like cardamom pods, cinnamon stick, or bay leaves before cooking
- Coconut Rice: Replace half the water with coconut milk for a tropical twist
- Garlic-Infused: Sauté minced garlic in the oil before adding rice
This rice pairs beautifully with so many dishes – from rich curries to simple salmon burgers. For leftovers, cool completely before storing in an airtight container in the fridge for up to 3 days.
Pro Tip: If your rice seems a bit firm, next time add an extra 2 tablespoons of water. If it’s too soft, reduce the water by 2 tablespoons. Different brands might need slight adjustments!
FAQs & Final Thoughts
If your rice isn’t fluffy, you likely skipped the crucial soaking step or used too much water. Remember to soak for 15-20 minutes and stick to the 1:1 rice-to-water ratio. Also, make sure you’re letting it rest for exactly 10 minutes after pressure cooking.
Yes! Keep the same rice-to-water ratio and cooking time. Just make sure you don’t fill your Instant Pot beyond the halfway mark, as rice expands while cooking.
Don’t skip the oil or ghee! Just like when making my 3-ingredient honey mustard, every ingredient serves a purpose. The fat helps prevent sticking and keeps those beautiful grains separate.
While I love Trader Joe’s organic basmati for everyday cooking, my absolute favorite is Aahu Barah Basmati Rice. It’s worth seeking out at Indian grocery stores or online – the grains are extra long and incredibly fragrant!
Final Thoughts
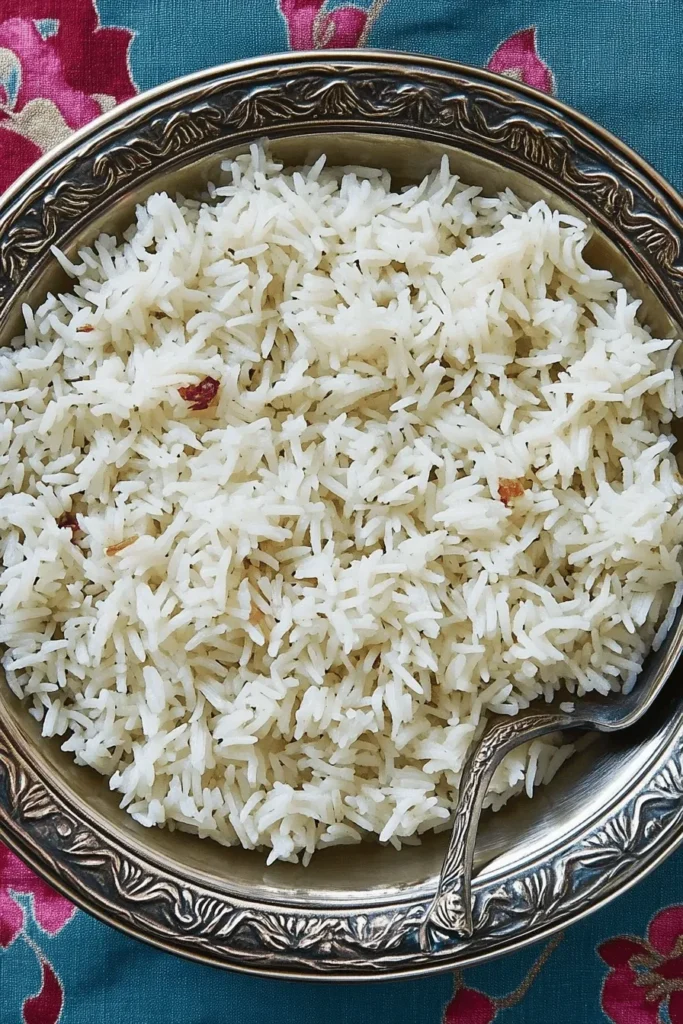
Sweet friends, I can’t tell you how excited I am for you to try this foolproof basmati rice method! After testing this recipe countless times (my family never complained about all the rice taste-testing!), I know you’ll love how consistently it turns out. Those perfectly separated, aromatic grains will make any meal feel special.
Remember, don’t skip that soaking step – it’s the secret to achieving restaurant-quality results right in your own kitchen. If you make this recipe, I’d love to hear how it turned out! Drop a comment below or tag me in your photos. And if you’re looking for something delicious to serve with your rice, check out my collection of curry recipes – they’re a match made in heaven!
Happy cooking! 💝
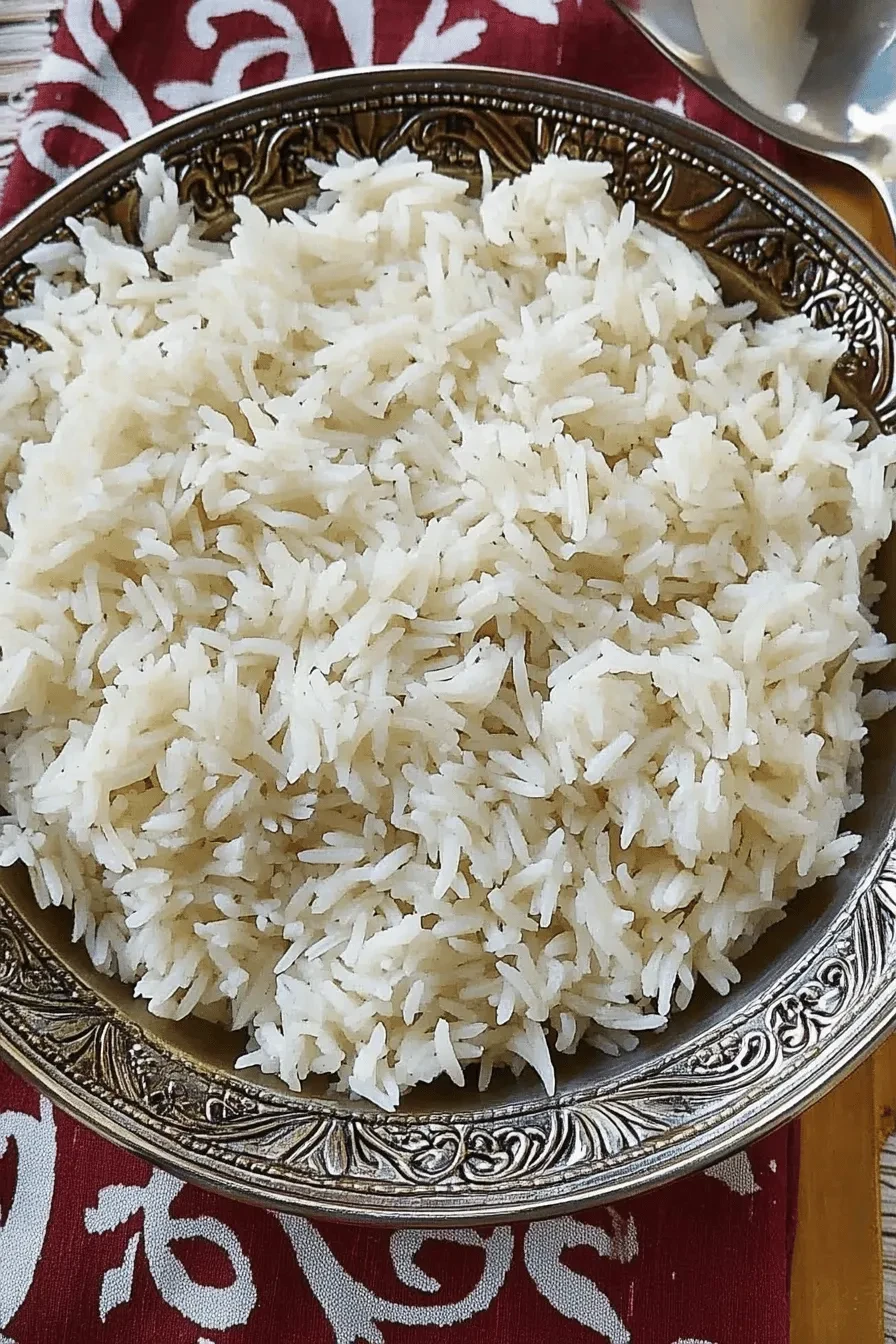
Perfect Instant Pot Basmati Rice
Equipment (affiliate links)
- 1 Instant Pot
Ingredients
- 1 cup basmati rice soaked for 15-30 minutes
- 1 tablespoon oil of choice
- 1 cup water
- 1/2 teaspoon salt adjust to taste
Instructions
- Soak the basmati rice in cold water for 15-30 minutes. Drain, rinse and set aside.
- Press the sauté button and allow the pot to heat up for a minute. Then add the oil and swirl it around the pot. This will help ensure that the rice doesn’t stick. Add the rice, water and salt to the pot and mix well.
- Secure the lid, close the pressure valve and cook for 6 minutes at high pressure.
- Naturally release pressure for 10 minutes. Open the valve to release any remaining pressure.
- Fluff the rice with a fork and serve.

Leave a Reply