Friends, let me tell you about these adorable little bundles of pizza perfection! These Pepperoni Pizza Bombs are like bite-sized pieces of pizza heaven, stuffed with gooey mozzarella and zesty pepperoni, all wrapped in flaky biscuit dough. The best part? They’re ready in just 25 minutes!
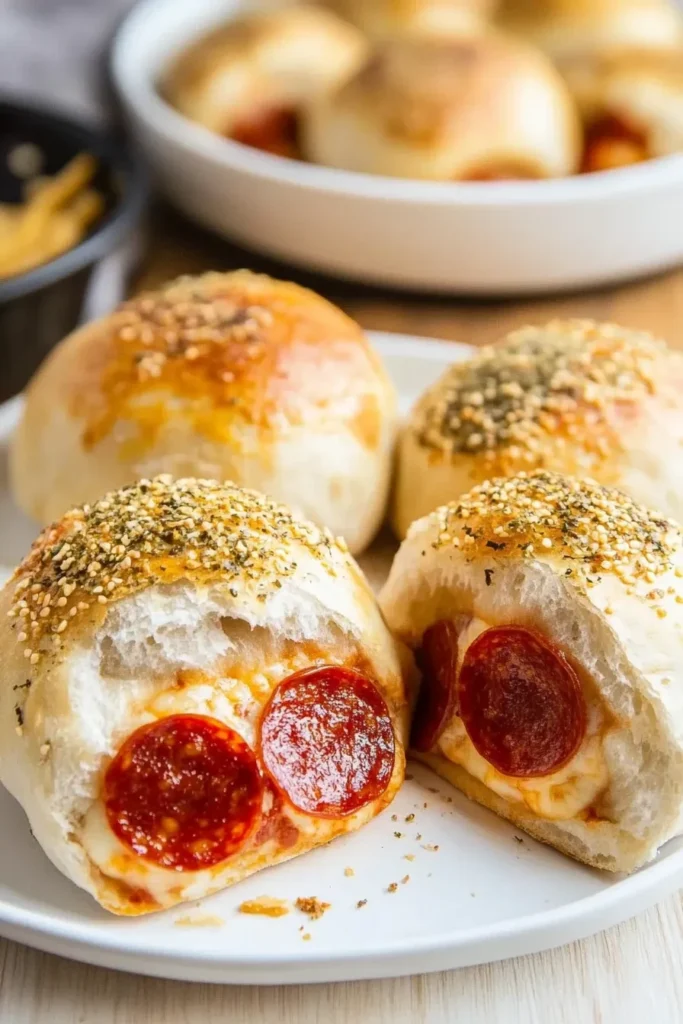
I’ve been making these cuties for years, especially when I’m craving pizza but don’t want to fuss with homemade dough. Just like my favorite comfort food recipes, these pizza bombs never disappoint!
Picture this: you bite into a golden-brown, garlic-buttery exterior to find melted cheese, savory pepperoni, and marinara sauce waiting inside. It’s like a flavor explosion that’ll make you wonder why you haven’t been making these your whole life!
Why You Need These Pizza Bombs in Your Life
Let me count the ways these little gems will win your heart:
- Perfect Hand-Held Size: Each bomb is perfectly portioned for snacking or serving at parties. No plates needed!
- That Cheese Pull Though: The melted mozzarella creates the most incredible cheese pulls when you break them open – totally Instagram-worthy!
- Quick & Easy: Using Pillsbury’s Grands! buttermilk biscuits as our base makes these an absolute breeze to put together. Trust me, if you can seal a dumpling, you can make these bombs!
- Customizable: While I love the classic pepperoni version, you can stuff these with any pizza toppings your heart desires. Think mushrooms, bell peppers, or even pineapple (no judgment here!).
They’re just as fun to make as they are to eat, and they’ll disappear faster than you can say “pizza party!” My family goes absolutely crazy for these every time I make them – especially when they’re fresh from the oven and that garlic-herb butter is still glistening on top!
What Makes These Ingredients Special
Let me walk you through the star players that make these pizza bombs absolutely irresistible! Just like my hot honey chicken, every ingredient plays a crucial role in creating that perfect bite.
The Key Players:
Buttermilk Biscuits: I swear by Pillsbury Grands! Southern Homestyle Biscuits for this recipe. They’re wonderfully flaky and give us that perfect golden-brown exterior while staying tender inside. The cold dough is key here – it helps create those beautiful layers as it bakes.
Pizza Sauce: While store-bought works perfectly fine, I love using a high-quality marinara sauce. The sauce needs to be thick enough to stay put when we’re assembling our bombs. Too watery, and you’ll have a messy situation on your hands!
Fresh Mozzarella: This is where the magic happens! Fresh mozzarella melts beautifully and creates those impossible-to-resist cheese pulls. You can substitute with regular shredded mozzarella, but fresh gives you that authentic pizza experience.
Pepperoni: Regular or mini pepperoni both work great. If you’re looking for an alternative, try making these like my chicken ranch wraps with diced chicken instead.
Success Tips & Tricks
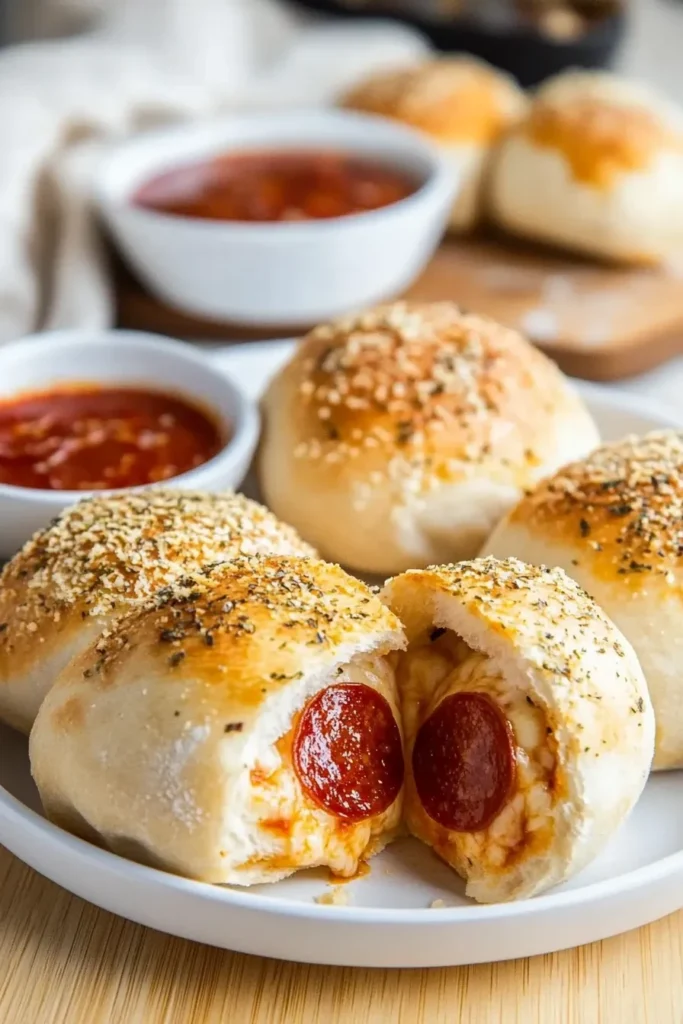
Here’s where I share my baker’s secrets to help you nail these pizza bombs every single time:
Temperature Matters: Keep those biscuits cold until the very last second! Room temperature dough gets sticky and harder to work with. Trust me, I learned this the hard way during recipe testing.
The Perfect Seal: When you’re pinching those edges together, think of it like closing a purse – gather all edges to the center and pinch firmly. If you don’t get a good seal, all that cheesy goodness will escape during baking.
Assembly Line Success: Set up your workspace before starting: biscuits, sauce, cheese, and pepperoni in order. This keeps the process flowing smoothly and helps maintain that crucial cold dough temperature.
The Golden Rule: Always, always place the seam-side down on your baking sheet. This isn’t just for looks – it prevents the bombs from opening up during baking and keeps all those delicious fillings where they belong.
Step-by-Step Instructions
Let me walk you through making these irresistible pizza bombs! My kitchen fills with the most amazing aroma when these are baking – it’s like your favorite pizzeria moved in next door.
Making the Pizza Bombs
1. First, preheat your oven to 375°F and line a baking sheet with parchment paper.
2. Take your cold biscuits (keeping them cold is key!) and gently press each one into a flat circle. I like to use my fingertips rather than a rolling pin – it gives you better control and feel for the dough.
3. Add about 1 tablespoon of pizza sauce right in the center of each flattened biscuit. Here’s a pro tip: keep the sauce away from the edges to make sealing easier!
4. Layer 3-4 pieces of pepperoni and a generous pinch of mozzarella on top of the sauce.
5. Now for the fun part – sealing the bombs! Bring the edges together, pinching firmly to create a tight seal. Think of it like making a little purse – gather all edges to the top and pinch until everything’s sealed tight.
6. Place each bomb seam-side down on your prepared baking sheet. Trust me on this – it prevents them from opening while baking!
The Finishing Touches
Mix your seasoning butter while the assembled bombs wait patiently:
- Melt 4 tablespoons butter
- Stir in 2 minced garlic cloves
- Add 1 teaspoon Italian seasoning
- Season with salt and pepper
Brush this gorgeous mixture all over your bombs and sprinkle with parmesan cheese. Pop them in the oven for 15-20 minutes until they’re golden brown and absolutely irresistible!
Recipe Variations
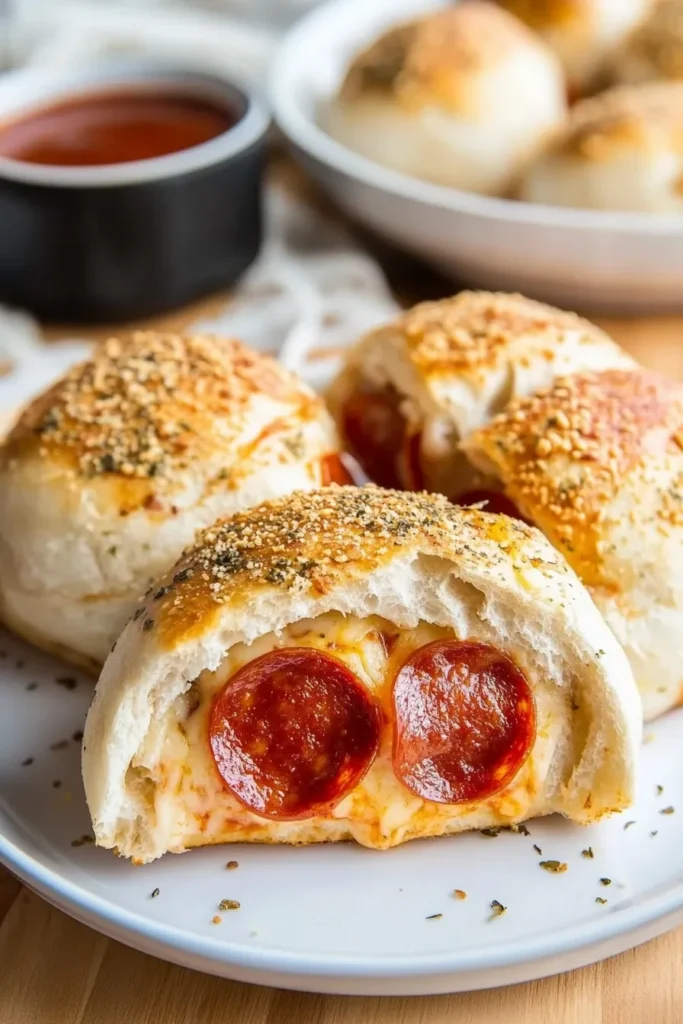
These pizza bombs are wonderfully versatile! Here are some of my favorite ways to mix things up:
Filling Options
- Buffalo chicken with blue cheese
- Ham and pineapple (yes, I went there!)
- Mushroom and olive for vegetarian friends
- Triple cheese with mozzarella, provolone, and parmesan
Serving Suggestions
These pair beautifully with crispy spicy salmon bowls for a complete meal. For a lighter option, serve alongside street corn chicken bowls.
Want to make it extra special? Try serving them with crispy butter chicken for a fun fusion dinner!
Make-Ahead Tips
You can prep these babies ahead of time! Assemble them completely, but don’t brush with butter mixture. Cover with plastic wrap and refrigerate for up to 8 hours. When ready to bake, brush with the seasoned butter and pop them in the oven.
Frequently Asked Questions
Y’all ask such great questions about these pizza bombs! Here are some common ones that pop up:
Can I make these ahead of time?
You betcha! I often prep these in the morning when I’m hosting game day parties. Assemble them, cover tightly with plastic wrap, and refrigerate for up to 8 hours. Just wait to brush on that yummy butter mixture until right before baking.
Help! My pizza bombs are leaking!
No worries – this happens to the best of us! The secret is keeping the filling away from the edges when sealing. Think of it like wrapping a tiny present – you need clean edges to get a good seal. If you’re still having trouble, try using a bit less filling or double-checking that your seams are really pinched tight.
What other doughs can I use?
While I swear by Pillsbury Grands for this recipe (they’re just so reliable!), you can experiment with other pre-made doughs. Pizza dough works great too – just like when I make my sweet potato cornbread where getting the texture right makes all the difference!
Can I freeze these?
Absolutely! I love having a stash in my freezer for impromptu snacks. Let them cool completely, wrap individually in plastic wrap, then store in a freezer bag for up to 3 months. When you’re ready to enjoy, thaw in the fridge overnight and reheat in a 350°F oven until warmed through.
Recipe Notes & Tips
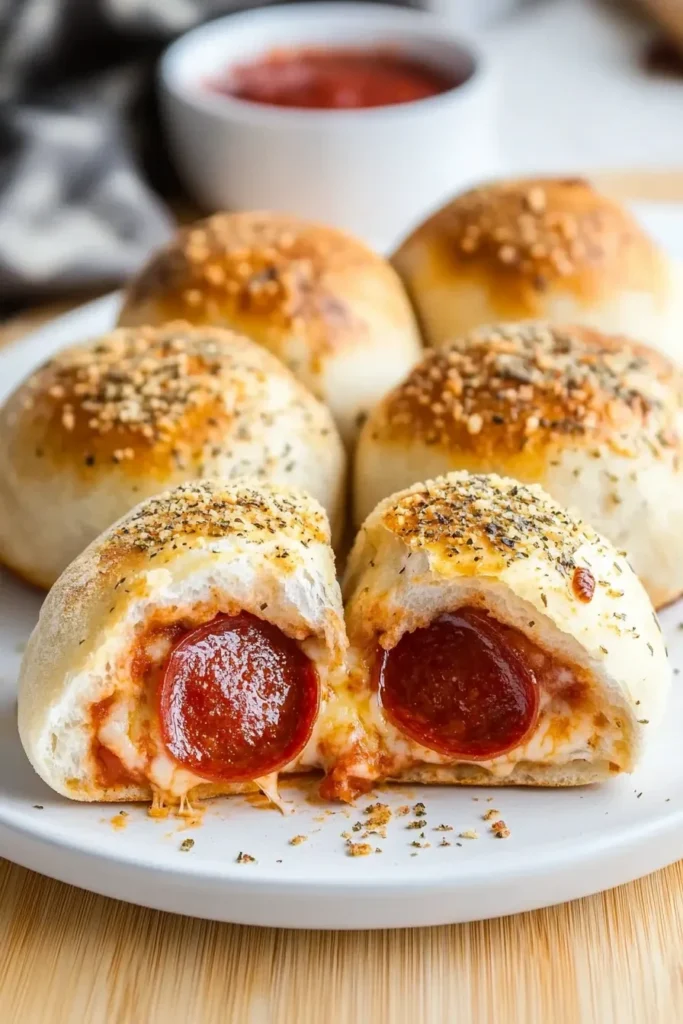
After making these countless times (and having my share of pizza sauce explosions!), here are my tried-and-true tips:
- Keep that dough COLD! I can’t stress this enough. Warm dough is floppy dough, and floppy dough means messy bombs.
- If your cheese starts oozing during baking, don’t panic! Those crispy cheese bits are actually super tasty.
- Want extra flavor? Try brushing the bombs with garlic butter both before AND after baking.
- For parties, I often make a variety – some with pepperoni, some veggie, and some cheese-only. Just be sure to mark them somehow so your guests know what they’re grabbing!
Remember, these little guys are supposed to be fun to make! If they’re not perfectly sealed or some filling escapes, they’ll still taste amazing. The most important thing is enjoying the process and ending up with something delicious to share with your loved ones.
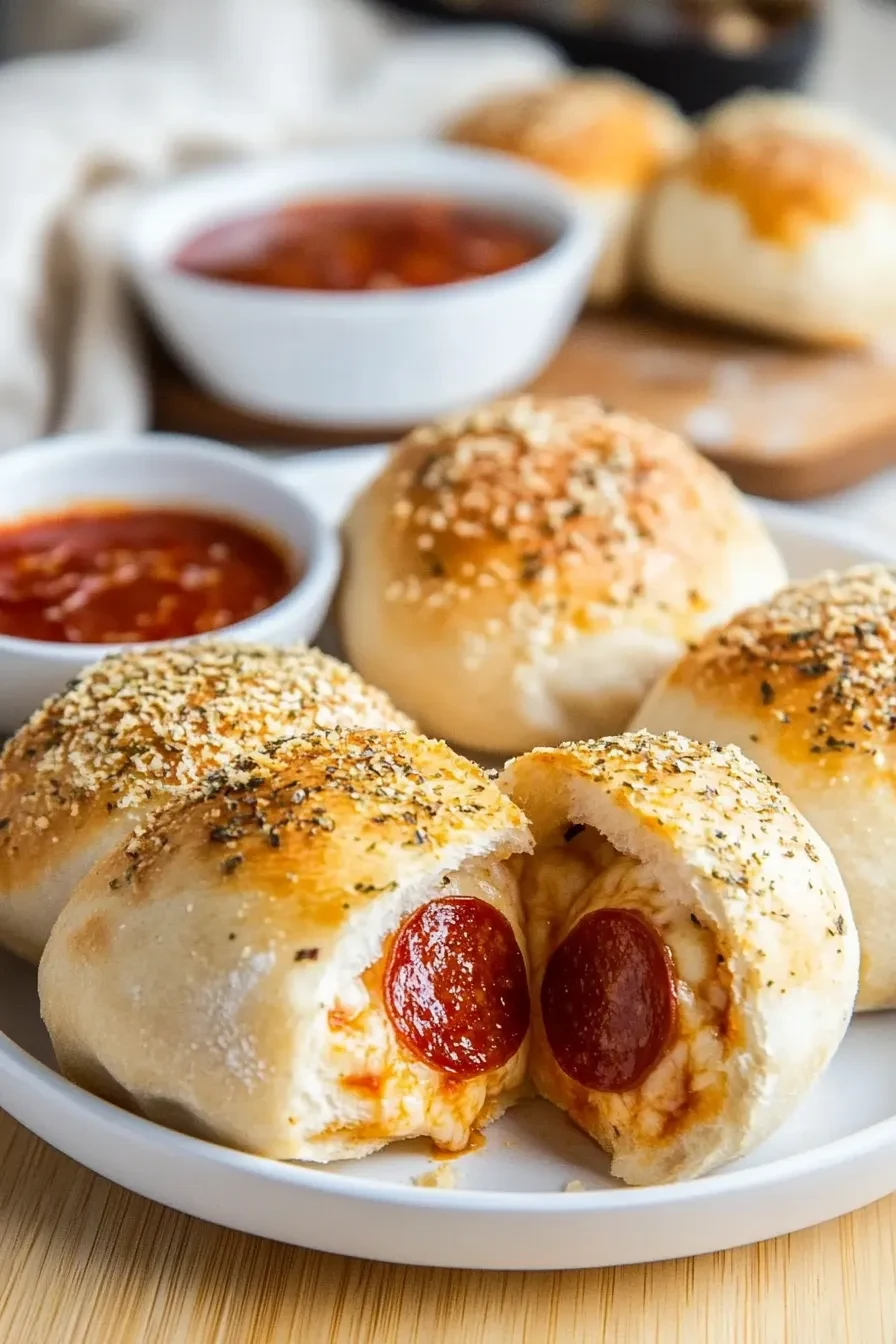
Pepperoni Pizza Bombs
Ingredients
- 1 16.3 oz can buttermilk Grands Southern homestyle biscuits (8 count)
- 1/2 cup pizza sauce or marinara
- 16 slices pepperoni
- 8 oz mozzarella cheese cut into 1 inch cubes
- 2 tablespoons melted butter
- 1 tablespoon minced garlic
- 1/2 teaspoon Italian seasoning
- 1/2 teaspoon black pepper
- 1/2 teaspoon salt
- 2 tablespoons shredded parmesan cheese
Instructions
- Preheat oven to 375°F. Line a baking sheet with parchment paper.
- Using your hands flatten out the biscuits until they are flat and round. (Check the step-by-step photos above in the post for a visual.)
- Add 1 1/2 teaspoons pizza sauce to the middle of the flattened biscuit. Add 2 slices of pepperoni and one of the cheese squares.1 16.3 oz can buttermilk Grands Southern homestyle biscuits
- .Bring the middle pieces together and pinch them until they seal. Next, pull up the ends and pinch until all the ends are blended and sealed together.
- Place the bomb on the prepared baking tray SEAM side down. Repeat until all pizza bombs are assembled.1 16.3 oz can buttermilk Grands Southern homestyle biscuits
- In a small bowl, whisk to combine the butter, garlic, Italian seasoning, salt and pepper. Using a pastry brush, or a spoon, to coat the pizza bombs with the butter mixture. Sprinkle the parmesan cheese evenly on top of the bombs.1 16.3 oz can buttermilk Grands Southern homestyle biscuits
- Bake for 15 to 20 minutes, until golden brown. Let rest for 5 minutes and then serve!
Notes
- Storage: These pizza bombs are best served fresh. You can store leftovers in an
airtight container, in the fridge, for up to 3 days. Try reheating them in the oven
or in an air fryer for best results. - Make sure and put the seam side down on the baking tray. Otherwise, the
pizza bombs spread open while baking, they will taste the same but look a little
differently. More like a pizza flower, but not in a pretty way, in a messy way. - Do not overfill the biscuit, overfilling will cause the sauce and cheese to leak
out during baking. - Keep the biscuits in the refrigerator until you have everything prepped and
ready to go. The dough holds its shape better when it is at its coldest. - Keep the sauce in the middle of the flattened biscuit, this will help seal the
biscuit if the ends are nice and dry. If the dough gets wet it doesn’t seal as
tightly. - These are super easy and really tasty! Customize them to whatever your
favorite pizza toppings are! - If you like your pizza bombs extra saucy, serve them with some extra pizza
sauce or homemade marinara sauce on the side for dipping.

Leave a Reply