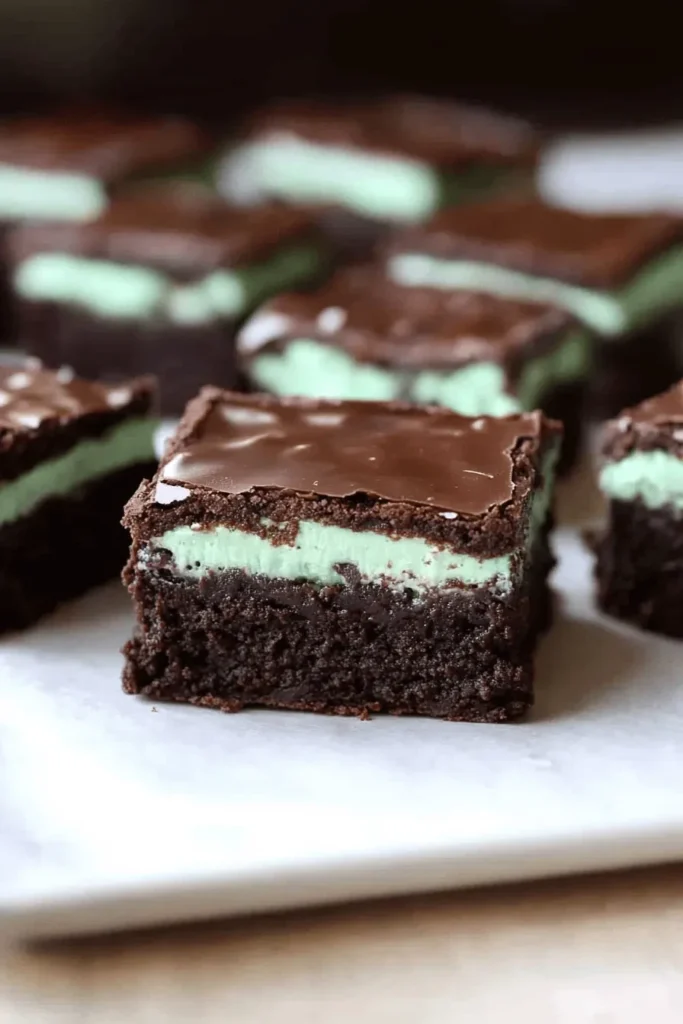
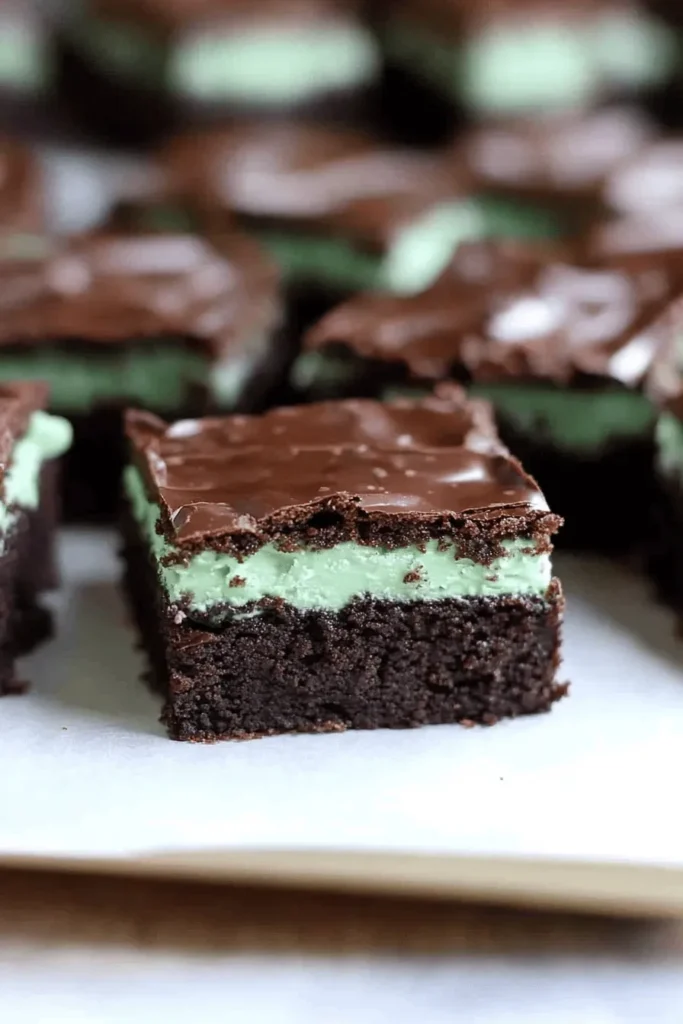
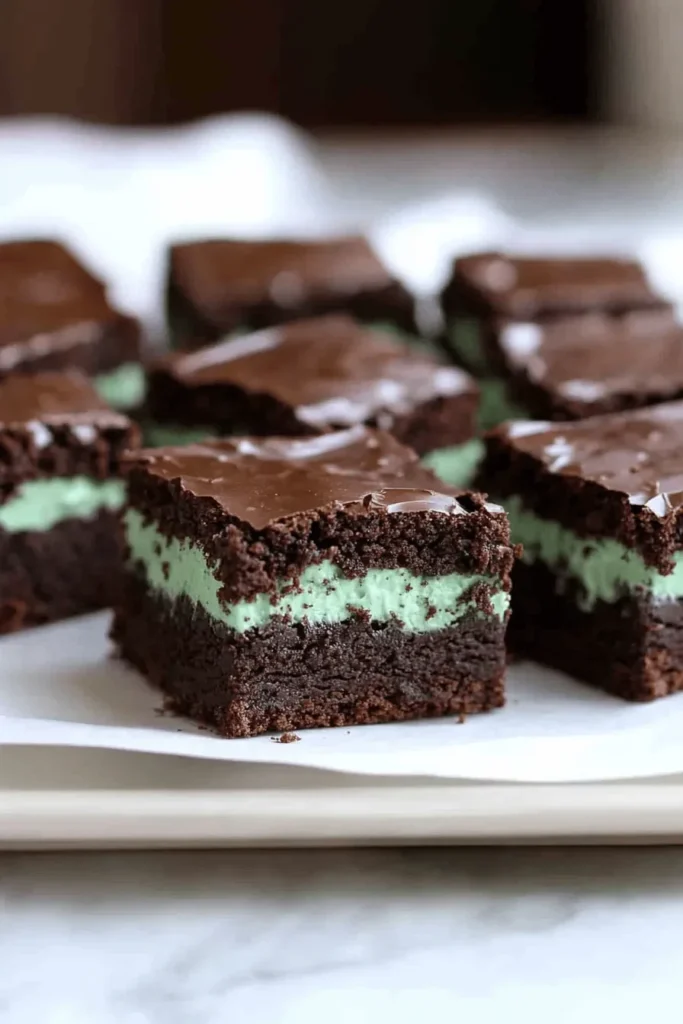
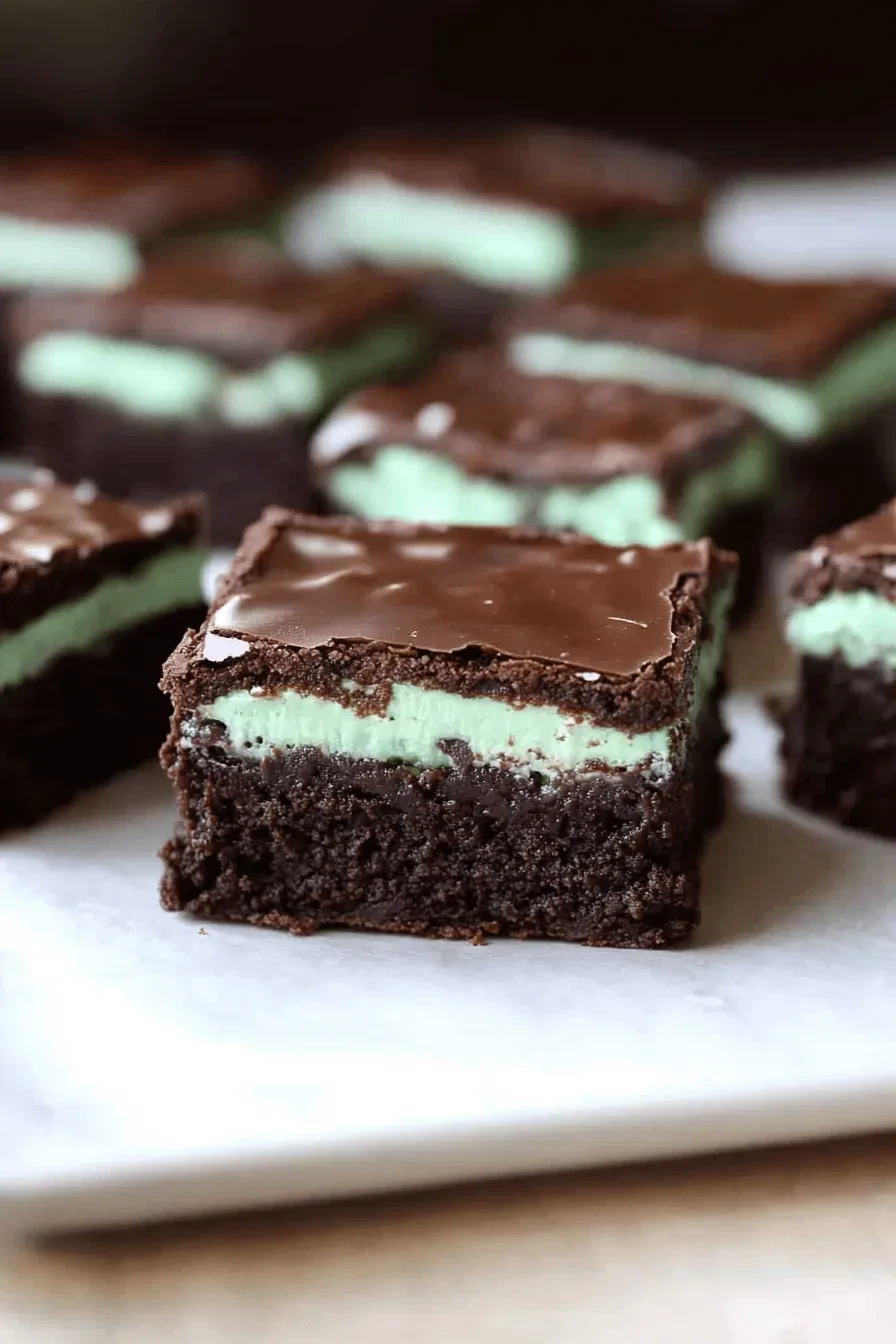
These irresistible mint brownies feature three decadent layers – a rich fudgy brownie base, smooth peppermint frosting, and glossy chocolate glaze on top. The combination creates pure chocolate-mint magic that’ll have you savoring every single bite. Trust me, you might want to make a double batch because these disappear FAST!

Why You’ll Love These Mint Brownies
- Thick, fudgy brownie base made with real melted chocolate
- Perfect balance of chocolate and cool peppermint
- Three gorgeous layers that look bakery-worthy
- Super moist and tender, like my favorite chocolate cookies
- Make-ahead friendly for parties and gifting
- No fancy equipment needed – just basic baking tools
Let me tell you a little secret – I originally made these brownies intending to give them away to friends. But after that first heavenly bite, with the fudgy chocolate base melting into creamy mint frosting? They never made it out of my kitchen! My husband and I savored them over an entire week, and I can honestly say every single calorie was worth it.
The Secret to Perfect Layers
What makes these brownies extra special is starting with real melted chocolate in the base. I use unsweetened baking chocolate melted with butter for an intensely fudgy texture that puts boxed mixes to shame. And please, please use peppermint extract rather than mint extract in the frosting – this gives you that perfect cool peppermint flavor without tasting like toothpaste!
The key to those picture-perfect layers is patience. Let each layer cool and set properly before adding the next. I like to pop the frosted brownies in the fridge for a few minutes while preparing the chocolate glaze. And here’s a pro tip: let them sit at room temperature for 10 minutes before cutting – this prevents the top chocolate layer from cracking and keeps your squares looking absolutely gorgeous.
Essential Ingredients Explained
Let me walk you through the key players that make these mint brownies absolutely irresistible!
- Unsweetened Baking Chocolate & Butter: This dynamic duo creates our fudgy foundation. Using real baking chocolate (not chips!) gives these brownies that rich, melt-in-your-mouth texture that’ll make you swoon. The butter adds richness while helping the chocolate melt into silky perfection.
- Peppermint Extract: Here’s where precision matters! Always choose pure peppermint extract, not regular mint extract. Trust me, peppermint gives you that wonderful cool sensation like in my favorite peppermint hot chocolate, while regular mint can taste artificial.
- Green Food Coloring: Just a few drops give that classic minty look. Feel free to adjust the shade – I usually go for a soft pastel green that screams “refreshing!”
- Semi-Sweet Chocolate Chips: For the glossy top layer, semi-sweet chips strike the perfect balance between sweet and rich. When melted with butter, they create that gorgeous shine that makes these brownies look professionally made.
Baking Success Secrets

- Perfect Your Layers: Patience is key! Let each layer cool completely before adding the next. I pop mine in the fridge between layers – it’s a game-changer for achieving those clean, defined stripes.
- Master the Chocolate Melting: Whether using the microwave or stovetop, low and slow is your mantra. Heat in short bursts, stirring frequently. If the chocolate seizes, add a tiny splash of warm heavy cream to rescue it.
- The 10-Minute Rule: Before cutting, let the brownies stand at room temperature for exactly 10 minutes. Too cold, and the top layer cracks. Too warm, and you’ll get messy slices. This sweet spot gives you picture-perfect squares every time.
- Check for Doneness: A toothpick inserted should come out with a few moist crumbs – not wet batter, but not completely clean either. These continue setting up as they cool, so slightly underbaked is better than overbaked!
Step-by-Step Brownie Making Magic
Let me walk you through creating these triple-layer mint brownies! I’ve made these countless times and learned all the little tricks to get them just right. The process breaks down into three delicious phases:
The Fudgy Brownie Base
- Start by melting your chocolate and butter together. I prefer using a double boiler for the smoothest results, but the microwave works too – just use 30-second intervals and stir between each!
- While that’s cooling slightly, whisk your eggs, sugar, and vanilla until they’re light and fluffy. This creates that perfect crackly top we all love.
- Fold in your melted chocolate mixture carefully – don’t overmix! Then gently stir in your flour and baking powder just until combined.
- Pour into your prepared pan and bake until a toothpick comes out with just a few moist crumbs, about 25-30 minutes. Just like my favorite lemon brownies, these need to cool completely before the next step.
The Mint Frosting Layer
While your brownies cool, let’s make that dreamy mint layer! Beat together softened butter, powdered sugar, and peppermint extract until fluffy. Add just enough milk to make it spreadable – you want it firm enough to support the chocolate top. Add your green food coloring drop by drop until you achieve that perfect mint shade.
The Chocolate Glaze Finale
For the crowning glory:
- Melt chocolate chips and butter until perfectly smooth
- Let it cool for exactly 5 minutes – this is crucial!
- Pour and spread quickly before it sets
- Refrigerate until set, about 30 minutes
Creative Variations

While these mint brownies are perfect as-is, here are some fun twists to try:
- Holiday Magic: Add crushed candy canes on top during Christmas season
- Chocolate Lover’s Dream: Mix mini chocolate chips into the mint layer
- Double Mint: Add a drop of peppermint extract to the chocolate glaze
- Marbled Top: Swirl the mint and chocolate layers together for a beautiful pattern
Storage Tips: Keep these beauties in an airtight container. They’ll last 5 days at room temperature or up to 2 weeks in the fridge. You can even freeze them for up to 3 months – just wrap them individually first!
Remember – these taste even better the next day when the flavors have had time to meld together. If you can resist eating them all at once, that is!

MINT BROWNIES
Equipment (affiliate links)
- 1 9×13 inch pan greased
- 1 Microwave-safe bowl
- 1 Saucepan
- 1 Large bowl
- 1 Small Bowl
Ingredients
- 4 ounces unsweetened baking chocolate
- 1 cup butter
- 4 large eggs
- 2 cups granulated sugar
- 1 teaspoon vanilla extract
- 1 1/4 cups all-purpose flour
- 1/2 teaspoon baking powder
- 2 cups powdered sugar
- 4 Tablespoons butter room temperature
- 1 1/2 teaspoons peppermint extract
- 1-2 Tablespoons milk
- green food coloring
- 6 ounces semi-sweet chocolate chips (about 1 cup)
- 5 Tablespoons butter
Instructions
- Preheat oven to 350 degrees F. Grease a 9×13” inch pan with nonstick cooking spray.
- Chop the butter and the unsweetened chocolate into chunks and place together in a microwave safe bowl.
- Microwave on low power in 30 second intervals, stirring in between, until melted. (You could also melt them over LOW heat in a saucepan, stirring constantly). Set aside to cool, stirring occasionally.
- In a large bowl beat together the eggs, sugar, and vanilla. Slowly add the melted chocolate, while stirring.
- In a separate small bowl combine the flour and baking powder. Stir the flour into the chocolate batter, just until combined. Don’t over-mix.
- Pour batter into greased pan and bake for 20-30 minutes or until a toothpick inserted in the center comes out clean.
- Remove from oven and allow to cool completely.
- Combine all frosting ingredients and beat until light and fluffy. Add more milk if you want it thinner.
- Spread the frosting evenly over the cooled brownies. Refrigerate while you make the chocolate glaze.
- Place chocolate chips and butter in a microwave safe bowl. Microwave one low power in 30 second intervals, stirring in between, until melted and smooth. Allow to cool for about 5-10 minutes.
- Spread evenly over the frosted brownies. Return to fridge to allow the chocolate to harden.
- Allow the bars to sit at room temperature for 10 minutes before cutting into squares. (If you try to cut into them while they are cold the top chocolate layer will crack pretty easily and they wont be as pretty).
Notes
*Add extra flour if baking at high altitute

Leave a Reply