These authentic Mexican tamales are a labor of love that will transport you straight to a cozy Mexican kitchen. Made with tender masa dough and filled with your choice of savory meats or beans, each tamale is carefully wrapped in corn husks and steamed to perfection. While making tamales takes a bit of time, I’ll walk you through every step to ensure tamale-making success!
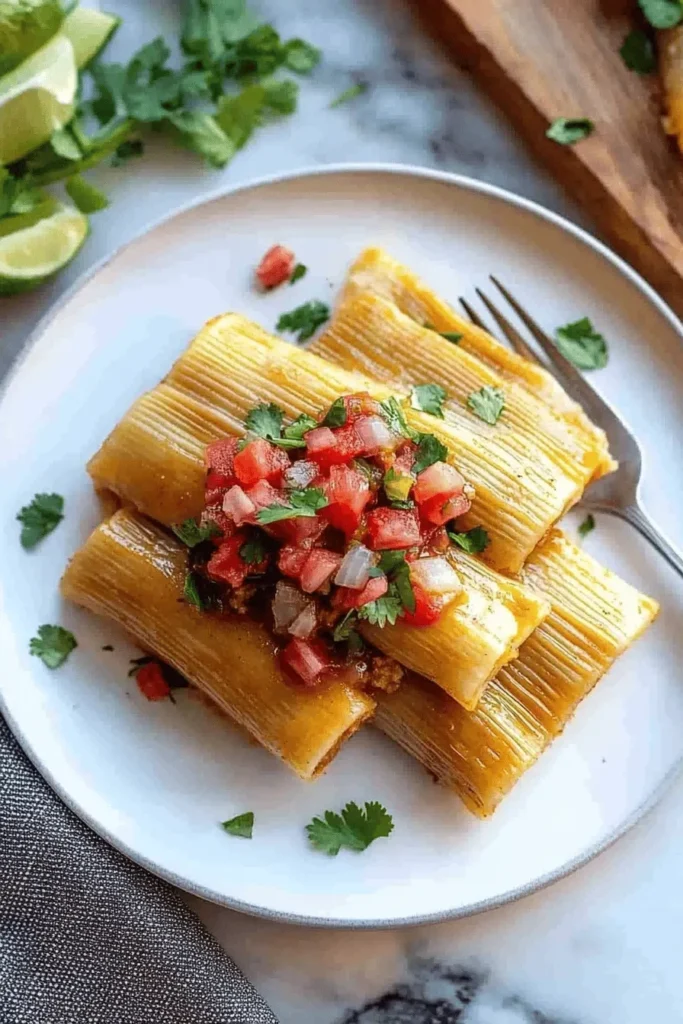
Why You’ll Love These Homemade Tamales
- Authentic recipe passed down through generations
- Perfectly tender, moist masa dough
- Customizable with your favorite fillings
- Makes enough to feed a crowd (or freeze for later!)
- Step-by-step instructions make it approachable
- Perfect for traditional Mexican family gatherings
Let me tell you about my first tamalada (tamale-making party) experience. I was lucky enough to learn from an incredible abuela in Puebla, Mexico who took me under her wing and shared her cherished family recipe. There’s something magical about gathering around a table, sharing stories while spreading masa dough and wrapping tamales – it’s a tradition that brings people together in the most delicious way.
The key to perfect tamales is getting that masa dough just right – it should be light and fluffy, spreading like creamy peanut butter. I’ve tested this recipe dozens of times to get that ideal texture. While traditional Mexican cooks might use fresh masa, I’ve adapted this recipe to use easy-to-find masa harina that gives amazing results every time.
What makes these tamales extra special is their versatility. Fill them with tender shredded pork in red chile sauce, savory chicken and salsa verde, or creamy beans and cheese. No matter which filling you choose, these tamales will have everyone coming back for seconds (and thirds!).
The best part? While you can certainly enjoy these right away, they freeze beautifully for up to 3 months. I love making a big batch on weekends, then having homemade tamales ready to steam whenever the craving hits!
Essential Ingredients for Perfect Tamales
Let me walk you through each ingredient that makes these tamales absolutely irresistible. The key is using authentic ingredients while keeping things approachable.
- Masa Harina: This special corn flour forms the heart of our tamale dough. Look for Maseca brand – it’s my go-to for consistently great results. Don’t substitute regular cornmeal or corn flour here; masa harina is uniquely treated with lime which gives tamales their distinctive flavor and texture.
- Lard: Trust me on this one! While some recipes suggest butter or shortening, traditional lard creates the fluffiest, most tender tamale dough. The secret? Lard’s higher melting point helps trap air bubbles when whipped, creating that dreamy, light texture we’re after. You’ll find it in the Mexican food section labeled “manteca.”
- Corn Husks: These dried husks aren’t just wrappers – they infuse subtle corn flavor while steaming. Soak them until pliable, about 30 minutes in hot water. If they float up, weigh them down with a plate.
- Broth: Whether chicken, beef, or vegetable, use flavorful broth instead of water. I love using the rich broth from my Mexican rice recipe for extra depth.
- Seasonings: A simple blend of salt, baking powder, and cumin enhances the masa without overpowering. The baking powder is crucial – it helps create tiny air pockets for perfectly fluffy tamales.
Key Tips for Tamale Success
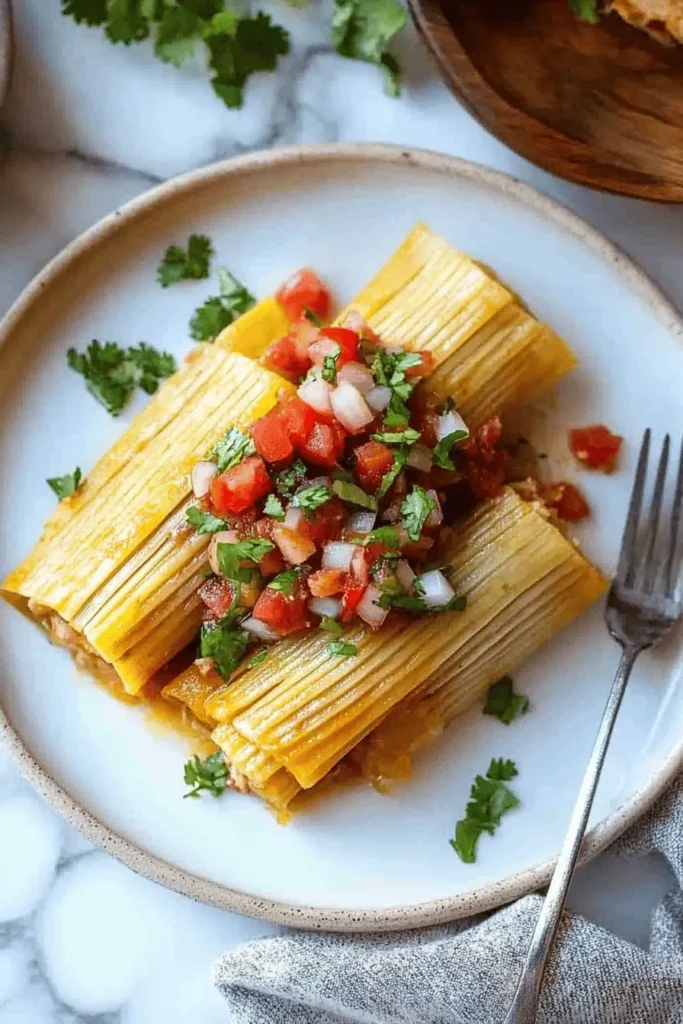
After making hundreds of tamales, I’ve learned these essential tricks that make all the difference:
- Master the Masa Test: Drop a small dollop of prepared masa in cold water – it should float! If it sinks, keep beating until lighter and fluffier.
- Perfect Consistency: Your masa should spread like creamy peanut butter. Too stiff? Add broth one tablespoon at a time. Too wet? Mix in masa harina gradually.
- Avoid Overfilling: Less is more! About 2 tablespoons of filling per tamale prevents bursting during steaming.
- Steam Setup: Place a coin in the steamer pot – when it stops rattling, you need more water. This old Mexican trick has saved my tamales from drying out countless times!
These fundamentals will help you create tamales that would make any Mexican grandmother proud. Remember, practice makes perfect, and even imperfect tamales are delicious!
Step-by-Step Tamale Assembly & Cooking
Let me walk you through creating these beautiful parcels of deliciousness! After years of making tamales, I’ve perfected a method that makes assembly feel like a breeze.
Preparing Your Station
Before diving in, set up your workspace with everything within arm’s reach:
• Softened corn husks (drain but keep them damp)
• Prepared masa dough (keep covered with a damp towel)
• Your chosen filling
• A butter knife or spatula for spreading
• Clean kitchen towels
• A piece of plastic wrap for easier spreading
The Perfect Assembly Method
Here’s my foolproof technique for perfectly wrapped tamales:
- Start with the husk: Place it glossy side up, wide end at the top. If it’s too small or torn, overlap two husks.
- Spread the masa: Scoop about ¼ cup of masa onto the top portion of the husk. My secret trick? Place plastic wrap over the dough and press it into a thin, even layer about ¼ inch thick. Leave about 2 inches at the narrow end bare.
- Add the filling: Remove the plastic and place 2-3 tablespoons of filling in a line down the center. Remember, less is more – overfilled tamales can burst during steaming!
- The wrap: Fold one long side over the filling, then the other side to overlap. Think of it like wrapping a present. Fold the narrow end up, and voila!
Cooking Methods & Variations
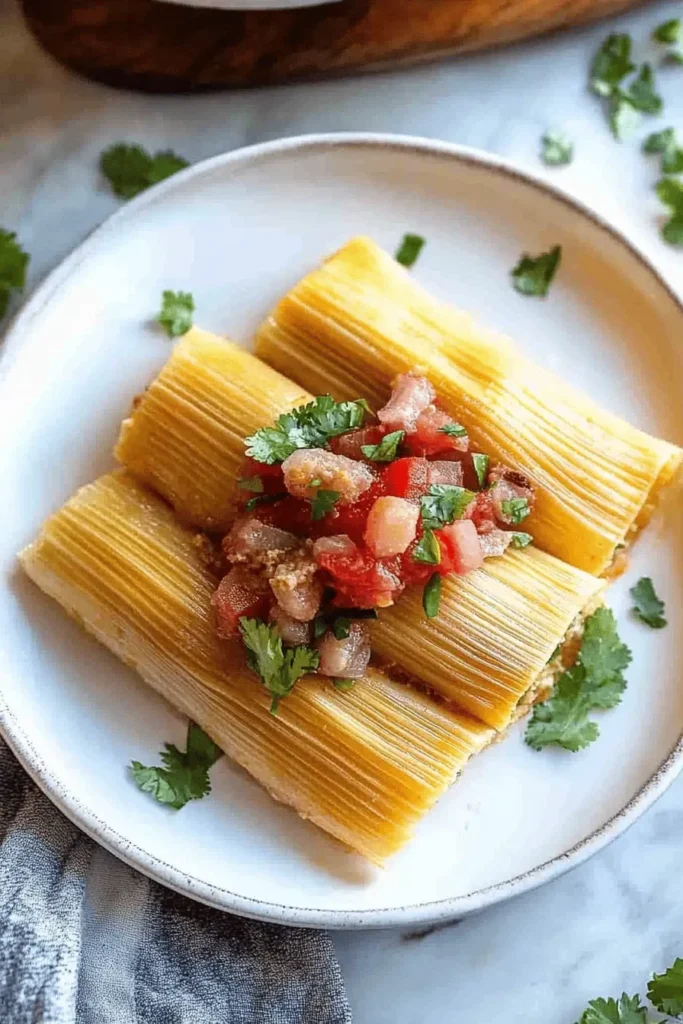
Steam Pot Method
Fill your steamer with water just below the rack and lay a few spare husks on the bottom. Stand tamales upright – they should support each other like soldiers. Cover with damp husks and steam for about 1 hour. Try my grandmother’s coin trick – drop a penny in the water. When it stops jingling, add more hot water!
Instant Pot Magic
For modern convenience, arrange tamales in your Instant Pot standing upright. Add 1 cup water and cook on high pressure for 25 minutes with a 10-minute natural release. They’ll be perfectly steamed and ready for your favorite homemade salsa on top!
Creative Filling Ideas
While traditional fillings are wonderful, don’t be afraid to experiment! Some of my favorite combinations include:
• Roasted sweet potato with black beans
• Caramelized onions with cheese
• Shredded chicken with mole sauce
• Mushroom and corn with green chiles
Success Test: Your tamales are done when the masa easily pulls away from the husk. If it sticks, steam for 5-10 minutes longer. Pair them with a glass of refreshing traditional horchata for the perfect Mexican feast!
FAQs & Final Thoughts
The tamale is done when the masa dough easily pulls away from the husk. If you remove one from the steamer and the masa still feels sticky or looks wet, steam for another 5-10 minutes. Another tell-tale sign is that the tamale will feel firmer when gently squeezed.
The perfect masa should spread like creamy peanut butter. If it’s too dry, gradually add more warm broth, one tablespoon at a time, while mixing until you reach that spreadable consistency. Remember to keep the dough covered with a damp towel while working to prevent it from drying out.
Absolutely! Tamales freeze beautifully for up to 3 months. Let them cool completely, then place them in freezer-safe bags. When ready to eat, wrap frozen tamales in damp paper towels and microwave until heated through, or steam them for about 15-20 minutes.
For the best texture, steam leftover tamales for 10-15 minutes. For a quick option, wrap them in damp paper towels and microwave in 1-minute intervals until heated through. Serve with fresh pico de gallo for an extra burst of flavor!
Final Thoughts
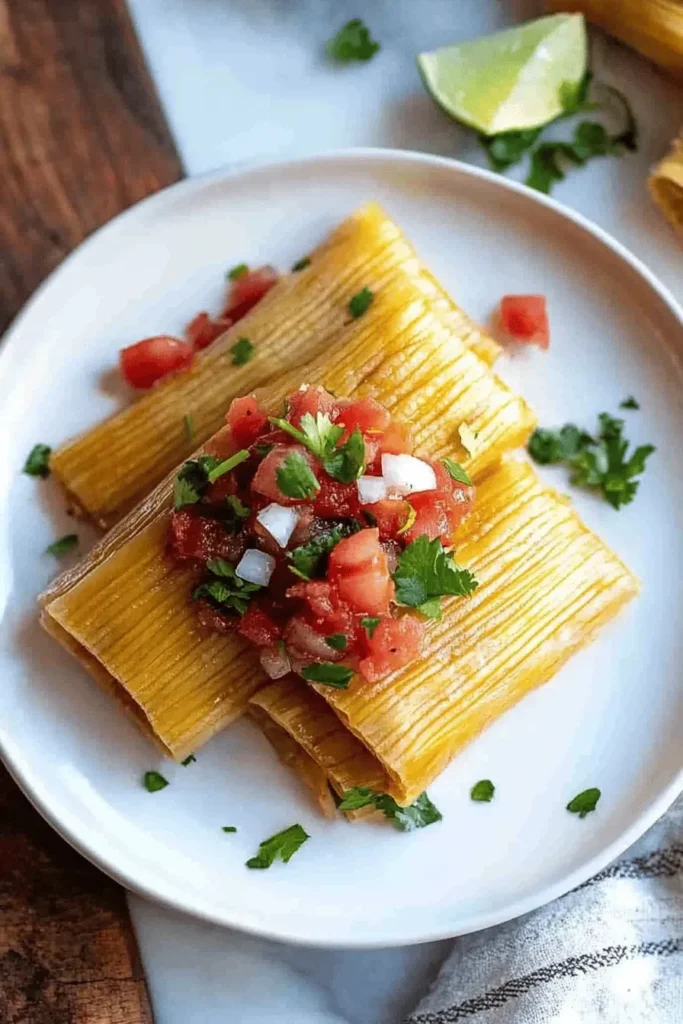
Making tamales might seem like a big undertaking at first, but I promise it’s worth every minute! There’s something so special about gathering friends and family for a tamalada – the laughter, stories, and shared experience of creating something delicious together makes the process just as enjoyable as eating them.
Remember, your first batch might not look perfect, and that’s completely okay! Like any beloved family recipe, tamale-making gets better with practice. I’d love to hear about your tamale-making adventures – whether you stuck with traditional fillings or created your own combinations. Share your experience in the comments below, and don’t forget to pass this recipe on to someone who loves Mexican food as much as we do!
Happy tamale making, friends! ♥
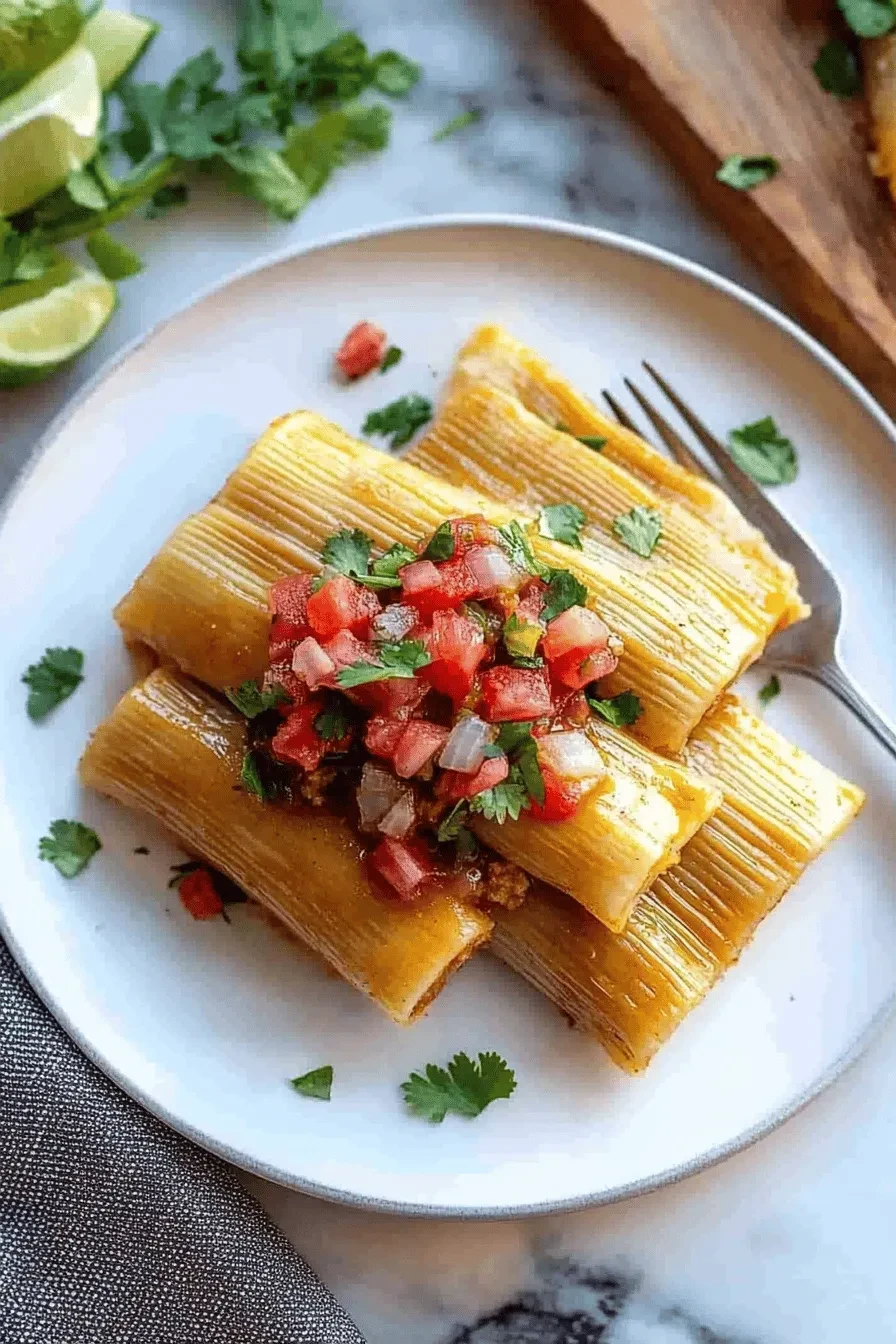
MEXICAN TAMALES
Equipment (affiliate links)
- 1 Large bowl
- 1 Steamer or Instant Pot
Ingredients
- 4 cups Masa Harina
- 3 cups broth (beef, chicken, or vegetable broth)
- 2 teaspoons baking powder
- 1 teaspoon salt
- 1 teaspoon cumin
- 1 1/3 cups lard
- 8 ounce dried corn husks
- Red chili pork
- Salsa verde chicken See notes for recipe
- bean and cheese See notes for recipe
- Authentic Mexican Rice for serving, optional
Instructions
- Soak the corn husks in a bowl of very hot water for 30 minutes or until softened.
- Prepare desired fillings*.
- Make the tamal dough: In a large bowl, use an electric mixer to beat the lard and 2 tablespoons of broth until fluffy, about 3-5 minutes. Combine the masa flour, baking powder, salt, and cumin in a separate bowl; stir into the lard mixture and beat well with an electric mixer.
- Add the broth, little by little to form a very soft dough. Beat on high speed for several minutes. The dough should spread like creamy peanut butter and be slightly sticky.* Cover the mixing bowl with a damp paper towel, to keep the dough from drying out.
- Assemble the tamales: Lay a corn husk, glossy side up, on the counter with the wide end at the top. Scoop about ¼ cup of dough onto the top, center of the corn husk. Lay a piece of plastic wrap over the dough and use your hands to press and spread the masa into a thin layer, about ¼ inch thick. Keep the dough spread along the top half of the corn husk to allow plenty of room to fold the bottom husk up, when it’s time. Remove plastic wrap.
- Place 1-2 tablespoons of desired filling in a line down the center of the dough. (You don’t want too much filling).
- Fold in one long side of the husk over the filling. Fold in the other long side, overlapping the first (like folding a brochure). Fold the bottom of the husk up.
- Tying tamales (optional): You don’t have to tie a corn husk string around the tamales–it does take more time and they will hold together without it. However, if you’re making multiple fillings, tying ones of a certain kind can help to identify them.
- Cook on the stove-top or Instant Pot: Add water to the bottom of your steamer or instant pot. (About 1 cup for IP and a few cups for a steamer pot—don’t fill above the steamer rack.) Lay a few extra corn husks on the bottom rack to keep the tamales from falling through and any boiling water from directly touching them.
- Place tamales standing upright, with their open end up, just tightly enough to keep them standing. If using a steamer pot, lay a few soaked corn husks or a wet towel over the top of the tamales before closing the lid.
- Steamer: Bring water to a boil (in Mexico they would often place a coin at the bottom of thesteamer and when the coin started to tap in the pot you know the water was boiling.) Once boiling, reduce to a simmer and steam for 45 minutes to 1 hour, or longer. Check them after 45 minutes.Instant Pot: Cook on Manual/High Pressure for 25 minutes. Allow pressure to naturallyrelease for 10 minutes, and then quick release.
- To test if the tamales are done: Remove one and try to pull the husk off. If the husk pulls away cleanly from the tamale they’re done. If the dough is still sticky or wet looking, cook them for 5-10 minutes longer and try again.
- Store leftover tamales in the refrigerator for 5-7 days depending on the freshness of your ingredients.
Notes
* Bean and cheese: 15 oz can refried beans and 1 ½ cups Oaxaca or shredded mozzarella cheese
* Red chili pork: 1 recipe red chili pork Freezing Instructions: Allow the cooked tamales to cool, then place them in a freezer safe bag and freeze for up to 3 months.Reheating: Wrap leftover or frozen tamales in a few dampened paper towels and microwave until warmed through. The wet paper towels will help them “steam” as they are reheated. Be careful when unfolding them–they will be hot!

Leave a Reply