This mouthwatering Italian Dressing Chicken brings me right back to my childhood kitchen. It’s one of those magical recipes that transforms a few simple ingredients into something extraordinary. The chicken comes out incredibly tender and juicy, with a sweet, garlic-forward flavor that creates the most amazing light gravy. I love serving this alongside my favorite fresh fruit salad for a complete meal that never disappoints!
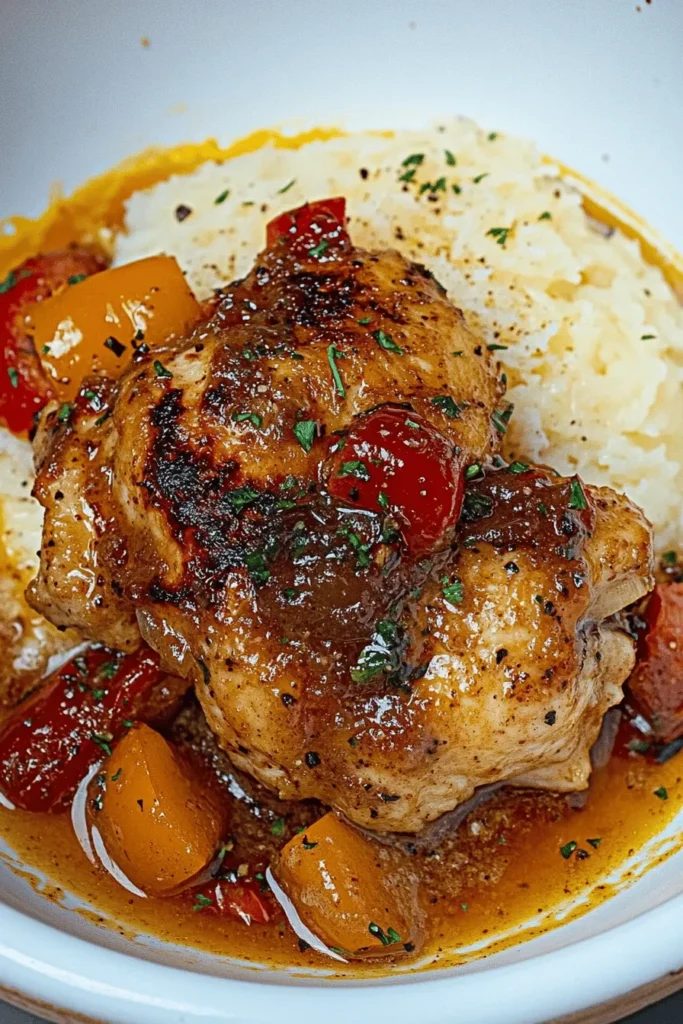
Why You’ll Love This Italian Dressing Chicken
- Quick one-pan dinner ready in under an hour
- Creates its own delicious light gravy while baking
- Perfect for busy weeknight meals
- Incredibly versatile – works with any chicken pieces
- Sweet and garlicky flavor that kids love
- Makes amazing leftovers for lunch
- No complicated ingredients or techniques needed
When I say this recipe is a game-changer, I mean it! The magic happens when that Italian dressing mingles with the chicken juices during baking, creating a sauce that’s absolutely drool-worthy. Plus, it’s one of those wonderful recipes where you can mix and match chicken pieces based on what your family loves – I personally adore using a combination of thighs, wings, and drumsticks for the most flavor!
What really makes this recipe shine is how forgiving it is. Whether you’re a seasoned cook or just starting out in the kitchen, you’ll get amazing results every time. The key is using a good quality Italian dressing – I promise it makes all the difference! And while the recipe is perfect as written, feel free to add your own twist with different vegetables or seasonings. That’s the beauty of this dish – it’s wonderfully adaptable while always delivering that incredible flavor we all crave.
Ingredients You’ll Need
Let me walk you through everything you’ll need to make this incredibly flavorful chicken dish! Just like my zesty Mexican chicken marinade, the magic is all in the ingredients working together.
- Mixed Chicken Pieces: I prefer using a combination of thighs, wings, and drumsticks. Dark meat contains more fat, keeping everything juicy during baking. But if you’re watching calories, boneless skinless breasts work beautifully too!
- Italian Dressing: This is our star player! Look for creamy Italian rather than vinaigrette-style dressing. The oils and emulsifiers help create that gorgeous, flavorful coating that makes this dish special. My go-to is Wish-Bone’s Creamy Italian, but any quality brand works well.
- Bell Peppers & Onions: These veggies aren’t just for color – they release moisture while cooking, creating a natural sauce with the dressing. I love using red peppers for sweetness, but any color works!
- Seasonings: We’re building layers of flavor here! I use:
– Paprika (adds beautiful color and subtle sweetness)
– Garlic powder (because can you ever have too much garlic?)
– Onion powder (deepens the savory notes)
– Italian seasoning (complements the dressing perfectly)
– Salt & pepper (the basics always matter!) - Butter (Optional): A few pats of butter create an extra rich sauce. If you’re keeping things lighter, feel free to skip it.
Success Tips & Tricks
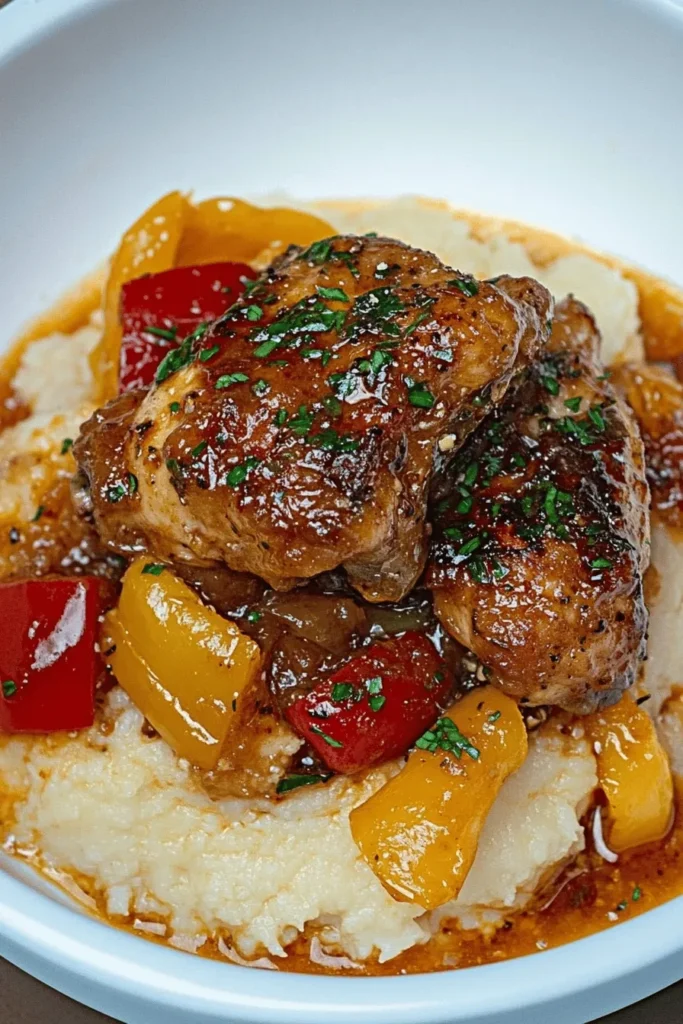
After making this dish hundreds of times (no exaggeration!), these tips will help you nail it just like my family’s favorite taco casserole:
- Pat That Chicken Dry! This is non-negotiable. Excess moisture prevents that gorgeous marinade from clinging to your chicken. Take an extra minute with paper towels – it’s worth it.
- Room Temperature Matters: Let your chicken rest at room temperature for 20-30 minutes before baking. Cold chicken straight from the fridge won’t cook evenly.
- Don’t Cover While Baking: We want that beautiful golden crust! Covering steams the chicken instead of letting it develop that perfect exterior.
- Use a Meat Thermometer: The most reliable way to ensure perfectly cooked chicken is checking that the internal temperature reaches 165°F (74°C).
Step-by-Step Instructions
Let me walk you through making this juicy Italian Dressing Chicken! I’ve made this recipe hundreds of times and these steps never fail me.
Prepare the Chicken
- Pat the chicken dry with paper towels – this helps the seasonings stick better
- In a large bowl, mix your seasonings: 1 tablespoon paprika, 1 teaspoon each of garlic powder, onion powder, Italian seasoning, salt, and pepper
- Coat the chicken pieces evenly with the seasoning mixture
- Place the seasoned chicken in a large zip-top bag or container
- Pour 1 cup Italian dressing over the chicken, making sure each piece is well-coated
Baking Instructions
- Preheat your oven to 375°F (190°C)
- Arrange chicken in a 9×13 baking dish, leaving space between pieces
- Slice 1 red pepper and 1 onion, arranging them around the chicken
- Pour remaining marinade over everything
- If using butter, cut 2 tablespoons into small pieces and dot around the dish
- Bake uncovered for 45-50 minutes, or until internal temperature reaches 165°F
- Let rest for 5-10 minutes before serving
The leftover pan juices make an amazing light gravy that’s perfect over rice or potatoes!
Recipe Variations & Creative Uses
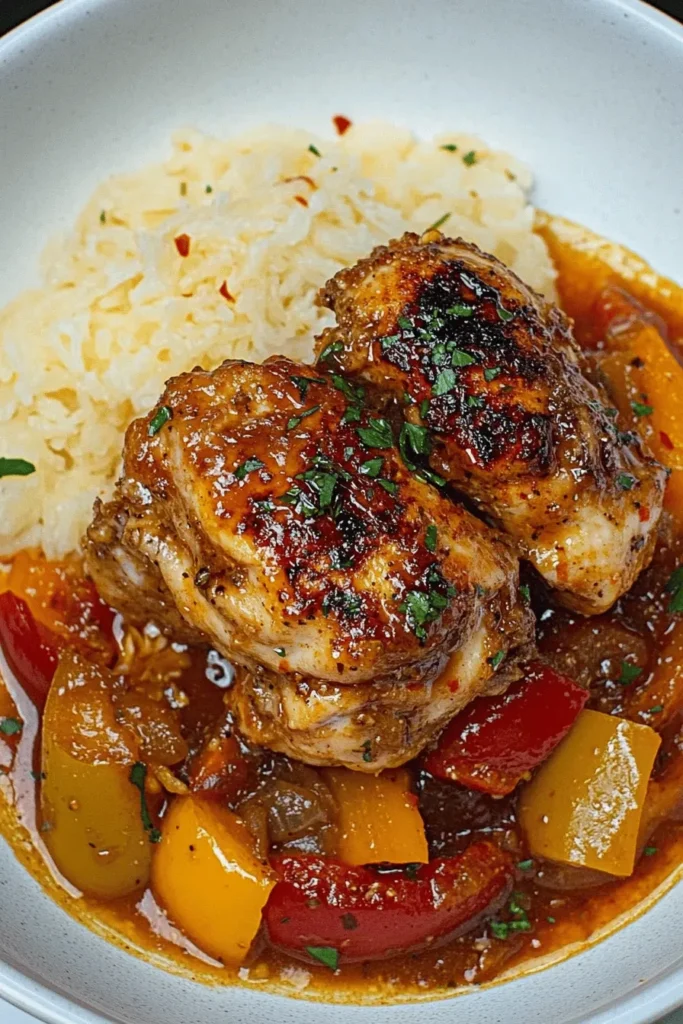
Different Cooking Methods
- Grilled Version: Marinate as directed, then grill over medium heat for 6-8 minutes per side. Perfect with homemade salsa on the side!
- Slow Cooker Method: Place everything in your slow cooker and cook on low for 6-8 hours
- Air Fryer Option: Cook at 375°F for 20-25 minutes, flipping halfway
Serving Suggestions
- Make it a Bowl: Shred the chicken and serve over rice with the peppers and onions, topped with fresh herbs and sauce
- Meal Prep: Portion into containers with roasted vegetables for easy lunches
- Sandwich Style: Slice the chicken and serve on crusty bread with melted provolone
Storage Tips
Store leftovers in an airtight container for up to 4 days. The flavors actually get better overnight! You can also freeze portions for up to 3 months – perfect for busy weeknights.
FAQs & Final Thoughts
Absolutely! You can marinate the chicken up to 24 hours in advance. The longer it marinates, the more flavorful it becomes. You can also cook it ahead and reheat – it stays wonderfully juicy!
Cover the chicken with foil and warm in a 325°F oven for about 15 minutes. This keeps the meat juicy while crisping up the skin. For a quick option, microwave in 30-second intervals, but the skin won’t stay crispy.
While store-bought Italian dressing is super convenient and gives consistent results, homemade works great too! Just make sure it has similar oil-to-vinegar ratio and includes the classic Italian herbs and seasonings.
If you want more color, brush the chicken with a little extra Italian dressing halfway through cooking, or pop it under the broiler for the last 2-3 minutes. Just watch it carefully to prevent burning!
Final Thoughts
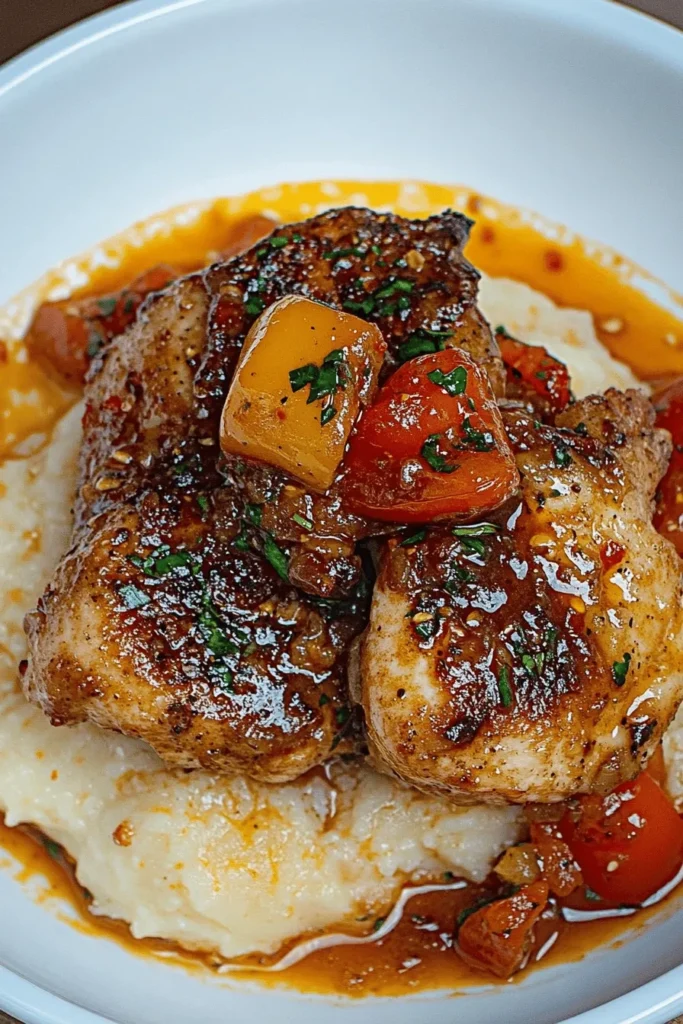
This Italian Dressing Chicken has been my go-to recipe for years, and it never disappoints! It’s perfect for those busy nights when you want something that tastes like you spent hours in the kitchen (but didn’t!). If you love this easy chicken recipe, you’ll definitely want to try my Crockpot Mexican Chicken next – it’s another family favorite!
Remember, cooking should be fun and stress-free. Don’t be afraid to play around with different vegetables or seasonings – that’s how the best family recipes are born! I’d love to hear how your Italian Dressing Chicken turns out, especially if you try any creative variations. Happy cooking!
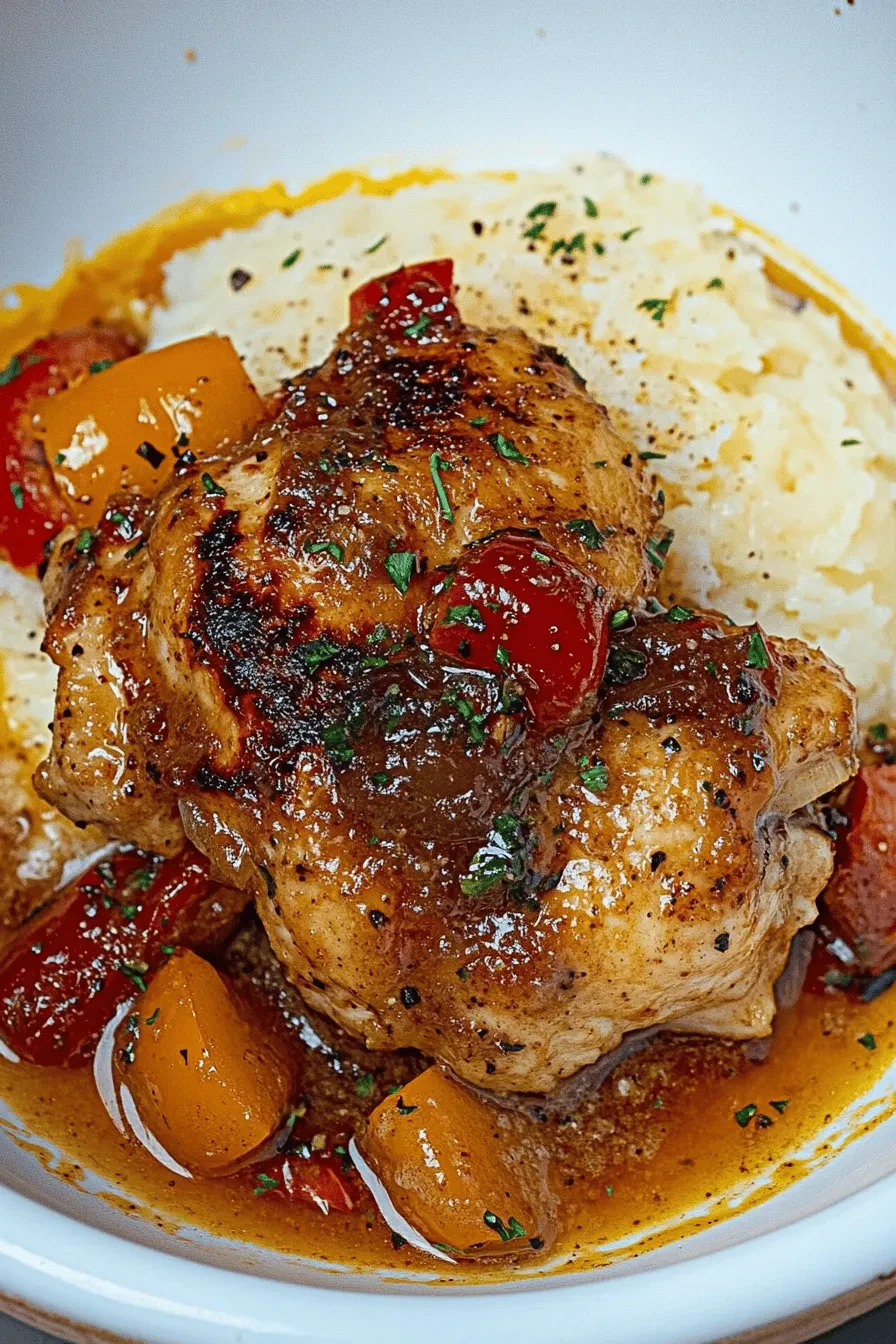
Italian Dressing Chicken
Ingredients
- 6-8 pieces chicken
- 1/2 cup Italian Dressing
- 1 small red bell pepper sliced
- 1 small green bell pepper sliced
- 1/2 small yellow onion sliced
- 2 teaspoons paprika
- 1 teaspoon garlic powder
- 1 teaspoon onion powder
- 1 teaspoon italian seasoning
- 1 teaspoon adobo
- 1 teaspoon salt (or more to taste)
- 3 tbsp unsalted butter optional
Instructions
- Add the chicken to a large bowl and pat it down. Add sliced peppers and onions, then pour in Italian dressing and seasonings. Mix well and let it sit for 1 hour or up to overnight.
- Place your chicken in a 13×9 baking dish and sprinkle with some all-purpose seasoning. Add 3 tbsps of sliced butter on top of your chicken (if using)
- Bake at 375°F uncovered, in the middle rack for 1 hour, or until the chicken is thoroughly cooked and the top is golden brown. Serve hot.

Leave a Reply