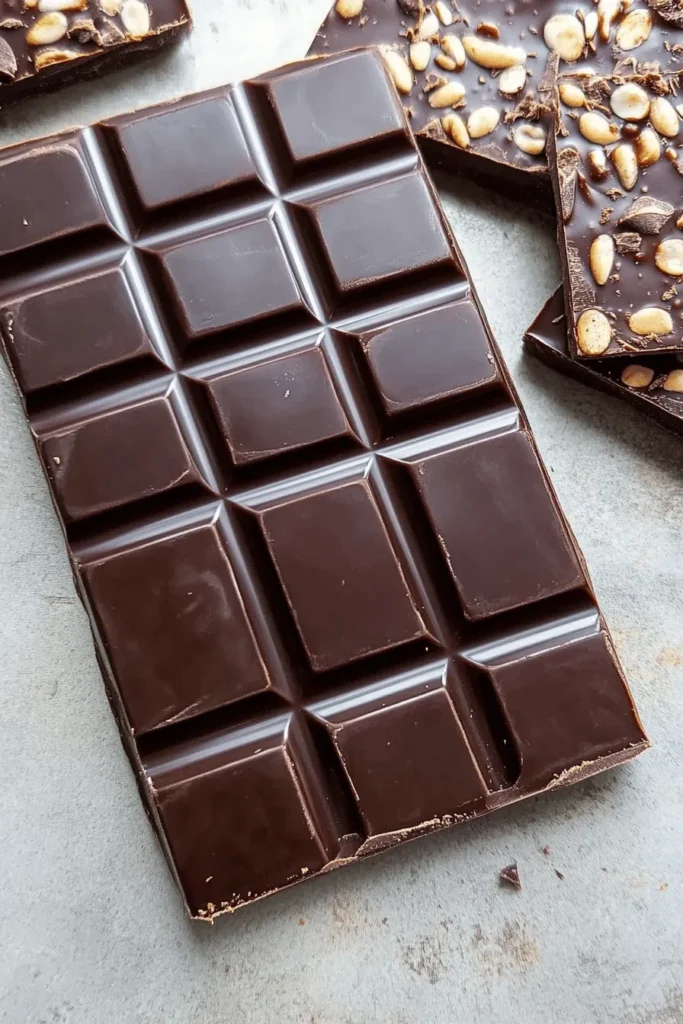
This incredibly rich and decadent homemade dark chocolate is a game-changer for chocolate lovers. With just a few simple ingredients, you can create silky-smooth chocolate bars that rival your favorite artisanal brands. I’ve spent years perfecting this recipe, and I’m thrilled to share all my tips for achieving that perfect snap and glossy finish every time.
Why You’ll Love These Dark Chocolate Bars
- Pure, clean ingredients you can pronounce
- Customizable sweetness level – from mild to ultra-dark
- Rich, intense chocolate flavor from quality cacao
- Satisfying snap when you break it apart
- Perfect silky-smooth texture
- Naturally dairy-free and vegan-friendly
- No special tempering equipment needed
- Endless mix-in possibilities
I’ve always been passionate about creating chocolate from scratch, and this recipe truly celebrates the pure, intense flavor of cacao. The magic happens when you combine velvety cacao butter with rich cacao powder – it’s like watching alchemy unfold in your kitchen! My favorite part? You can adjust the sweetness to create anything from a mild 70% dark chocolate to an intense 88% that’s perfect for true dark chocolate lovers.
What makes this recipe extra special is the ratio of cacao butter to powder – I’ve found that using twice as much butter creates that gorgeous melt-in-your-mouth texture we all crave. Plus, adding just a touch of pure maple syrup or coconut sugar brings out the natural fruity notes in the cacao without overwhelming its complexity. And trust me, once you master the basic recipe, you’ll never look at store-bought chocolate the same way again!
Ingredients Overview
Let me walk you through the star players in our homemade chocolate adventure! As someone who’s made countless batches (and eaten even more), I’ve learned exactly what makes each ingredient tick.
- Raw Cacao Powder: This is our chocolate superhero! Think of it as the heart and soul of your bars. I swear by organic raw cacao powder – it’s smoother and less bitter than regular cocoa powder. If you’ve tried my raw chocolate recipes before, you’ll know the difference quality makes here.
- Cacao Butter: This magical ingredient is what gives chocolate that gorgeous snap and melt-in-your-mouth quality. It’s literally the fat from the cacao bean! While you could substitute coconut oil, cacao butter creates that professional-style chocolate we all dream about.
- Sweetener: Here’s where you can really make the recipe your own! I’m head-over-heels for coconut sugar because it adds this subtle caramel note. Pure maple syrup works beautifully too – just keep it to 2 tablespoons per batch to maintain the right texture.
- Sea Salt: Just a pinch! It’s like turning up the volume on your chocolate’s flavor – trust me on this one!
Success Tips & Tricks
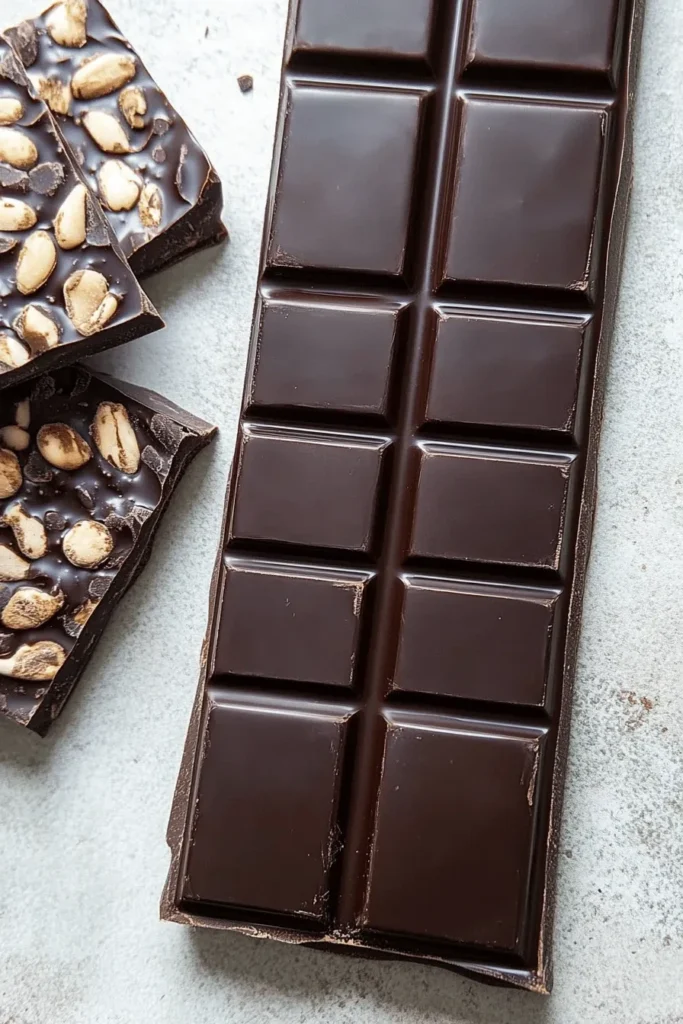
After years of chocolate-making (and yes, some memorable failures!), I’ve learned these game-changing tips:
- Temperature is Everything: Keep your melted cacao butter below 115°F. Too hot and your chocolate might become grainy – nobody wants that! Just like when making perfect garlic bread, precision matters.
- Mind Your Measurements: A kitchen scale is your best friend here! Even small variations can affect your final percentage. Think of it like building a house – you need the right foundation.
- Sweetener Secrets: If using granulated sweeteners, grind them super fine first. Unless you love a little crunch (I sometimes do!), this prevents graininess in your final bars.
- Storage Smarts: Store your finished bars in the fridge in an airtight container. They’ll stay perfect for up to 3 months – though they never last that long in my house!
Step-by-Step Instructions
Let me walk you through making these luxurious dark chocolate bars! I’ve made these countless times and perfected the technique – I promise it’s easier than you might think.
1. Prepare Your Station
* Set out your chocolate molds (I like silicone ones)
* Gather a double boiler or two saucepans
* Have your kitchen scale ready if using
2. Measure Your Ingredients
For two dark chocolate bars (80% cacao):
* 140g cacao butter
* 70g raw cacao powder
* 42g coconut sugar (or 2 tablespoons maple syrup)
* Pinch of sea salt
Just like making homemade crackers, precision matters here!
3. Melt the Cacao Butter
* Chop cacao butter into small, uniform pieces
* Fill larger pot 1/3 full with water; bring to gentle boil
* Place cacao butter in smaller pot
* Hold carefully over steam, stirring constantly
* Heat until fully melted (around 115°F)
4. Combine Ingredients
* Remove from heat
* Whisk in cacao powder until completely smooth
* Add sweetener, stirring until well incorporated
* Add pinch of salt
5. Mold and Set
* Pour mixture into molds
* Tap gently to remove air bubbles
* Let rest at room temperature 20 minutes
* Refrigerate until completely firm (about 2 hours)
Recipe Variations
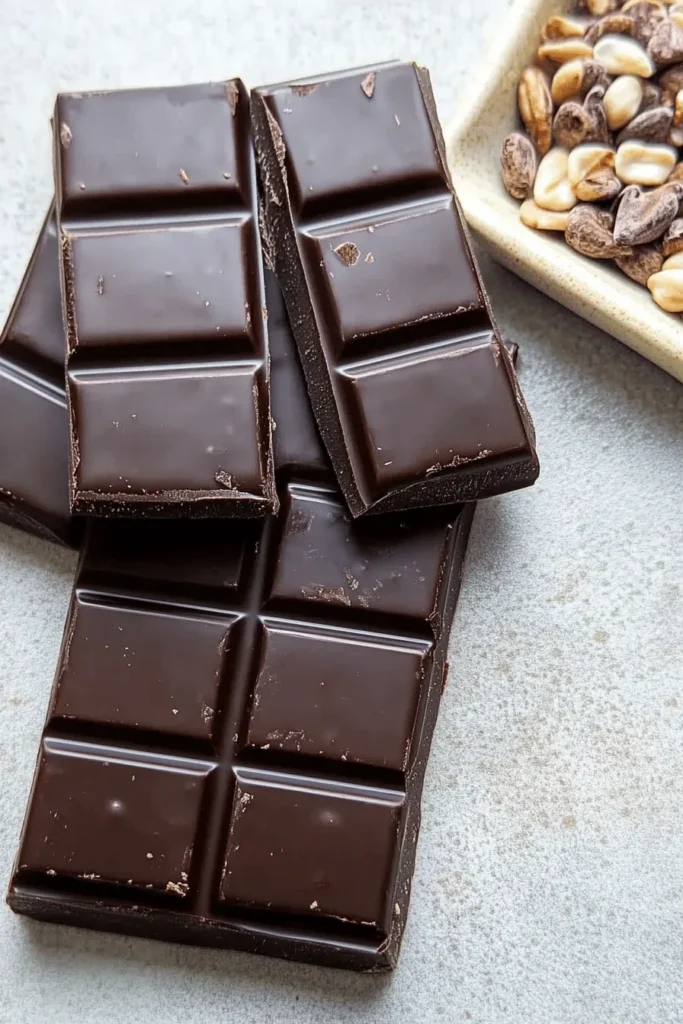
I love experimenting with this base recipe! Here are my favorite ways to customize these chocolate bars:
Flavor Additions:
* Vanilla extract (½ teaspoon per batch)
* Orange zest + cardamom
* Fresh mint leaves (strain out before molding)
* Espresso powder (½ teaspoon)
These make wonderful gifts alongside homemade pasta or seafood dishes!
Texture Mix-ins:
* Toasted nuts (stir in just before molding)
* Dried fruit pieces
* Cacao nibs
* Puffed quinoa or rice
* Sea salt flakes on top
Alternative Base Options:
* Swap cacao butter for coconut oil
* Use different sweeteners (stevia, monk fruit)
* Try carob powder instead of cacao
* Add milk powder for creamier bars
Remember to add any mix-ins right before pouring into molds, and adjust sweetener to taste. The possibilities are endless!
FAQs & Final Thoughts
If your chocolate isn’t firming up, you likely used too much liquid sweetener or got water in the mixture. Stick to 2 tablespoons max of liquid sweetener per batch, and ensure your double boiler setup keeps water from splashing into the chocolate.
While a scale gives the most precise results, you can use measuring cups. For dark chocolate, use 1 cup cacao butter, 2/3 cup cacao powder, and 1/4 cup coconut sugar. The percentage won’t be exact, but you’ll still get yummy chocolate!
When stored properly in the refrigerator in an airtight container, these bars last up to 3 months. They make wonderful additions to gift baskets alongside chicken salad sandwiches for picnics!
Final Thoughts
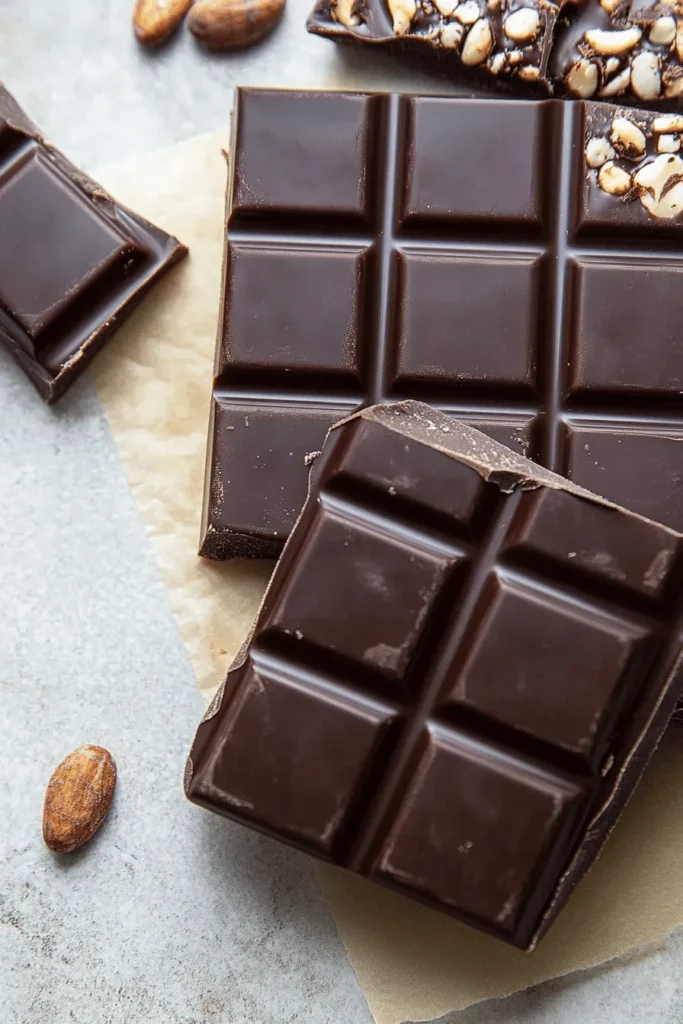
Oh my goodness, friends – making your own chocolate bars is such a rewarding experience! There’s something magical about transforming simple ingredients into rich, decadent chocolate that’s perfectly tailored to your taste. Whether you’re craving an intense 85% dark chocolate or something a bit sweeter, you’re now equipped to create your perfect bar!
I love seeing your chocolate-making adventures, so please snap a photo and let me know how yours turned out! Don’t worry if your first batch isn’t picture-perfect – mine certainly wasn’t! Each time you make these, you’ll discover little tricks that work best for you. Trust me, once you master homemade chocolate bars, you’ll never look at store-bought the same way again!
Remember, chocolate making is both a science and an art – have fun experimenting with different flavors and additions. Happy chocolate making! 🍫✨
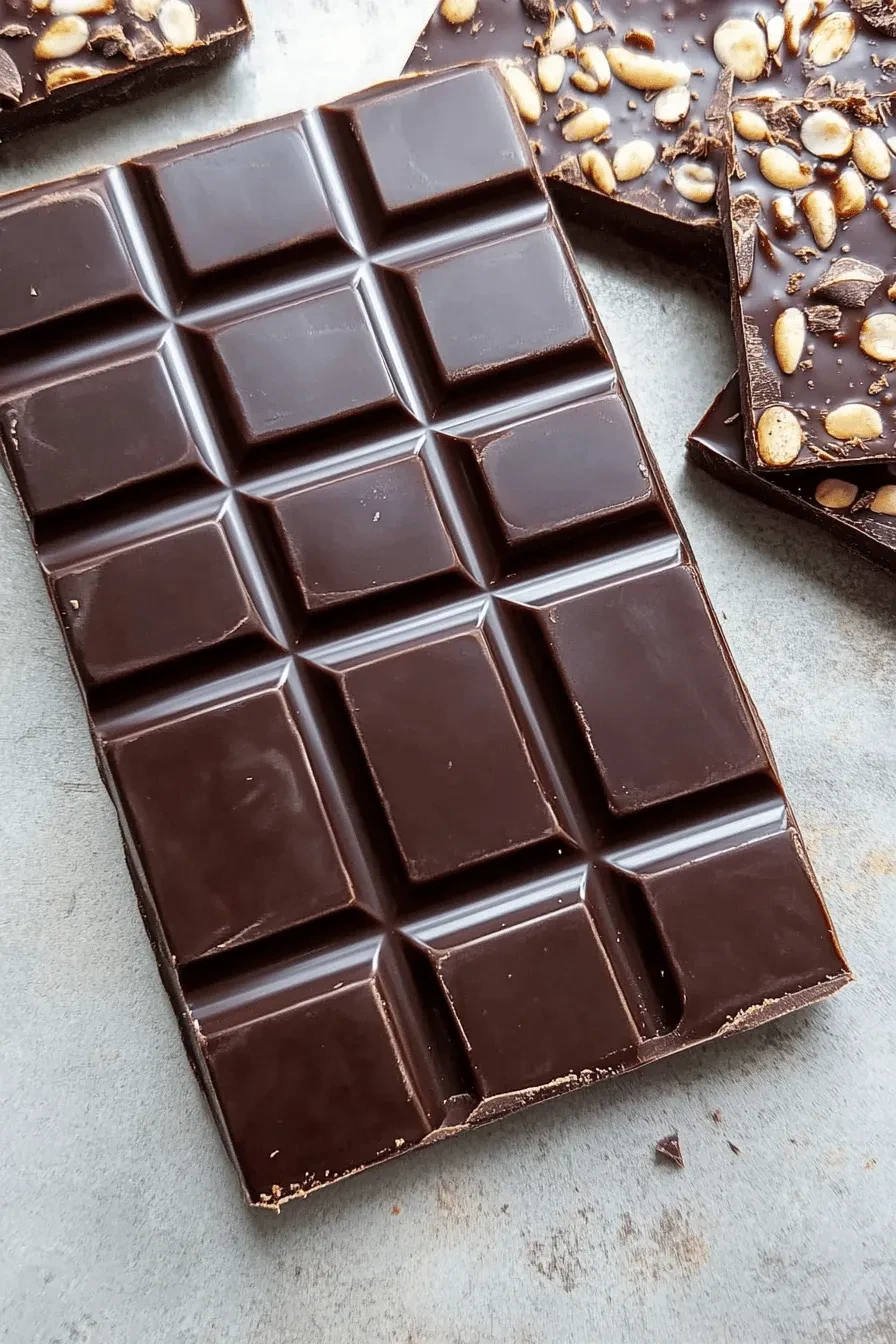
Dark Chocolate Bar Recipe
Equipment (affiliate links)
- 1 Silicone Chocolate Mold
- 1 Small saucepan
- 1 Larger saucepan
Ingredients
- 140 g cacao butter
- 70 g raw cacao powder or unsweetened cocoa powder
- 2 Tbsp pure maple syrup or 42 g coconut sugar
- 1 pinch sea salt
Instructions
- Chop or grate the cacao butter into small, similar sized pieces. Note that the smaller the cacao butter is grated or chopped, the faster it will melt. Transfer the chopped cacao butter to a small saucepan.
- Heat a larger saucepan full of water and bring it to a full boil, then reduce the heat to a gentle boil. Place the saucepan with the cacao butter in the water and hold it with one hand while stirring with the other until melted. If desired, check the temperature of the cacao butter – it should be 115 degrees F or lower.
- Remove the cacao butter from the heat and stir in the cacao powder and sweetener (in my case, coconut sugar or pure maple syrup) until well-combined and creamy.
- Pour the chocolate mixture into the chocolate molds and allow them to sit at room temperature for at least 20 minutes to set up slightly. Transfer the chocolate to the refrigerator (keep it flat so that it doesn’t spill and dries evenly) and chill until completely hard.
- Store chocolate in a zip lock bag in your refrigerator for up to 3 months!
Notes
1 cup cacao butter
2/3 cup cacao powder
2 Tbsp pure maple syrup
pinch sea salt

Leave a Reply