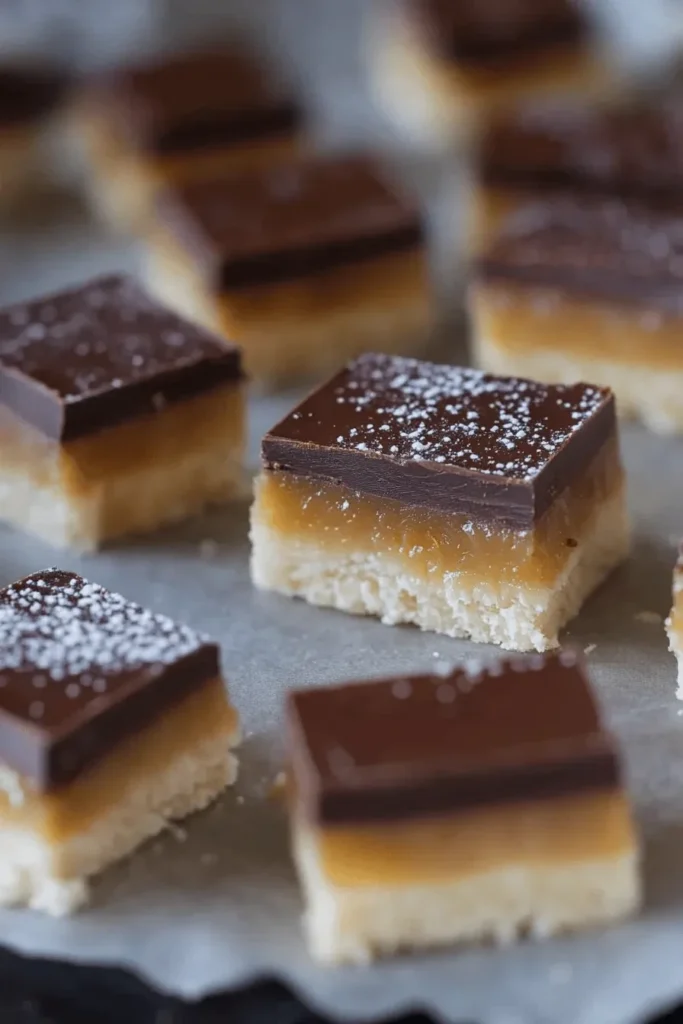
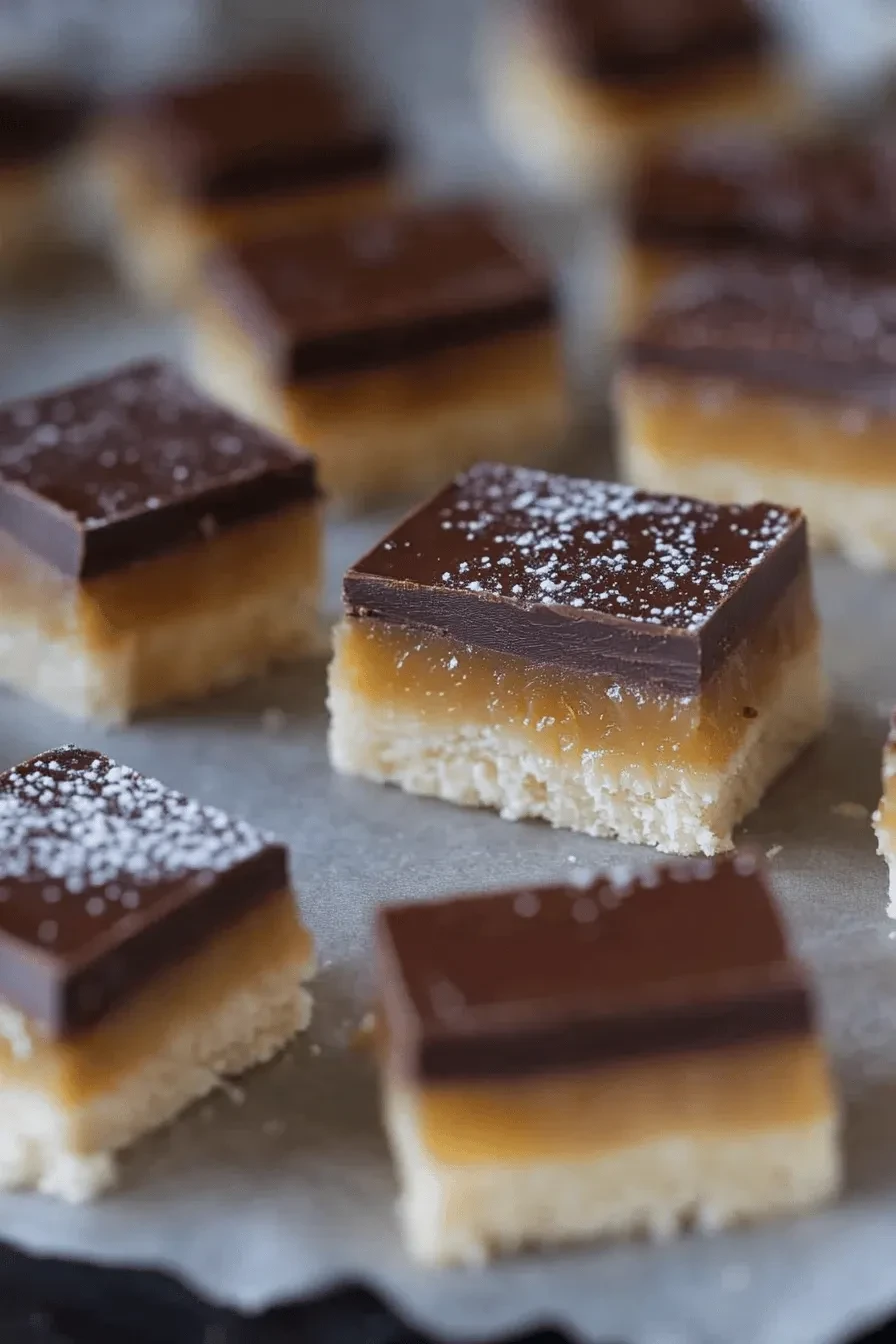
These incredible homemade Twix bars feature three irresistible layers – buttery shortbread, rich homemade caramel, and smooth chocolate. While store-bought versions are delicious, making them from scratch takes these classic candy bars to a whole new level. After my sister raved about a similar treat she tried at a Utah sweet shop, I knew I had to create my own version with an extra-special homemade caramel that sets these bars apart.
Why You’ll Love These Homemade Twix Bars
- Three perfectly balanced layers of flavor and texture
- Made with real homemade caramel (not melted store-bought candies)
- Simple shortbread base that’s buttery and tender
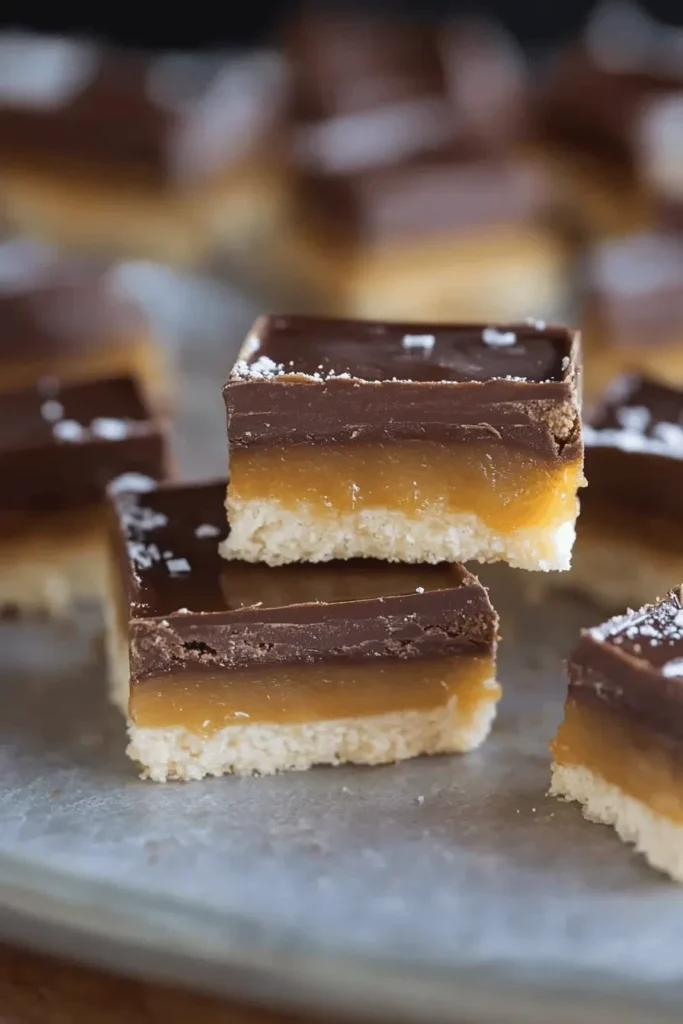
- Rich chocolate topping that snaps when you bite into it
- Perfect make-ahead dessert for parties or gifting
- More economical than store-bought candy bars
- Customizable with milk or dark chocolate coating
- No special equipment needed
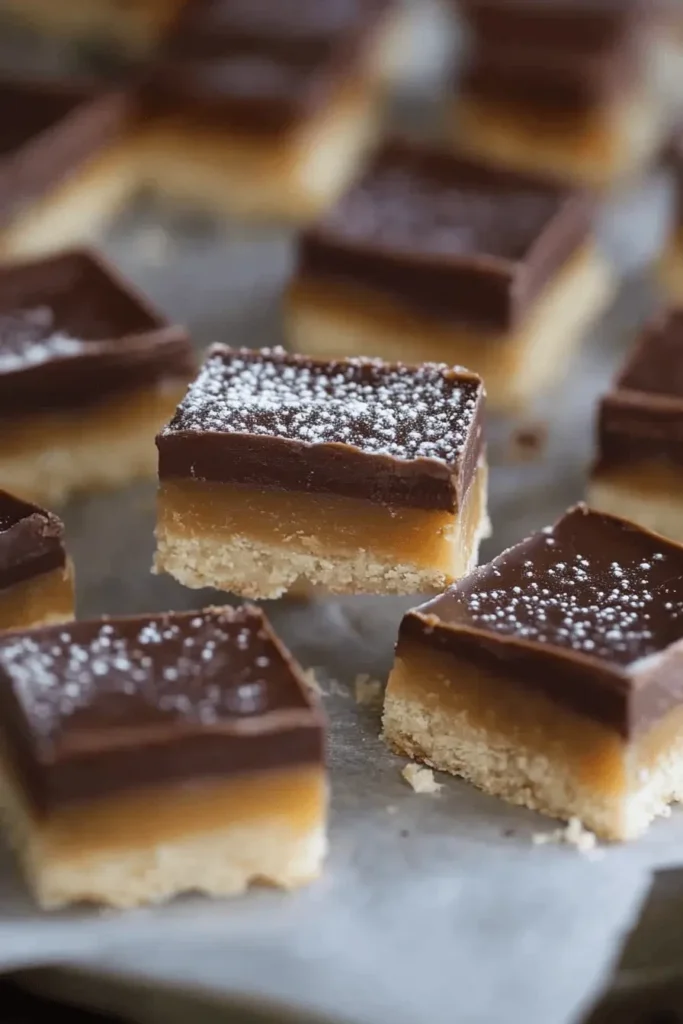
The magic starts with an incredibly simple buttery shortbread crust that needs just 5 ingredients. While many copycat recipes use melted caramel candies, we’re making our own luscious caramel from scratch – trust me, it makes ALL the difference! The caramel turns perfectly chewy as it sets, creating that classic Twix texture we all know and love. A coating of smooth melted chocolate seals the deal, giving you a homemade candy bar that rivals (or dare I say surpasses?) the original.
I’ve tested this recipe countless times to get the ratios just right. The shortbread needs to be sturdy enough to support the caramel but still maintain that delicate, buttery crumb. The caramel should be soft but not runny, and the chocolate needs to set firmly without becoming too hard or brittle. After much testing (and tasting!), I can confidently say these homemade Twix bars check all the boxes!
Key Ingredients You’ll Need
Let me walk you through the essential components that make these homemade Twix bars absolutely irresistible!
For the Buttery Shortbread Base:
- Cold Butter: Use high-quality butter for the best flavor. I prefer European-style butter with its higher butterfat content – it creates an incredibly rich, tender shortbread. Cold butter is crucial for achieving that perfect crumbly texture.
- Powdered Sugar: Unlike granulated sugar, powdered sugar dissolves seamlessly into the shortbread, creating a delicate, melt-in-your-mouth texture without any graininess.
- All-Purpose Flour: The backbone of our shortbread. Be sure to measure carefully – too much flour will make your base tough and dry.
For the Homemade Caramel Layer:
- Butter + Brown Sugar: The foundation of our caramel. Brown sugar adds depth with its molasses notes that you just can’t get from white sugar.
- Light Corn Syrup: This prevents crystallization, ensuring your caramel stays silky smooth. Like in my beloved oatmeal cake, it adds the perfect chewy texture.
- Sweetened Condensed Milk: The secret to achieving that signature Twix caramel consistency. It creates a rich, creamy caramel that sets perfectly – not too hard, not too soft.
Essential Tips for Success
- Temperature is everything: Keep your butter cold for the shortbread, but ensure all caramel ingredients start at room temperature for smooth melting.
- Master the caramel test: Don’t skip the ice water test! It’s the most reliable way to know when your caramel has reached the perfect soft-ball stage. The caramel should form a soft, pliable ball when dropped in ice water.
- Patience pays off: Allow each layer to cool completely before adding the next. I know it’s tempting to rush, but proper cooling time ensures clean, distinct layers that won’t blur together.
- Chocolate selection matters: Choose high-quality chocolate for melting. Regular chocolate chips contain stabilizers that can make them tricky to melt smoothly. I prefer chocolate baking bars or high-end chocolate chips like Ghirardelli.
Step-by-Step Instructions
Let me walk you through creating these incredible homemade Twix bars, layer by delicious layer. I’ve made these countless times and learned all the little tricks to ensure your success!
Making the Perfect Shortbread Base
- Prepare your pan: Line a 9×13″ pan with parchment paper, leaving overhang for easy removal. Preheat your oven to 300°F.
- Mix the shortbread: In a large bowl, combine cold cubed butter, powdered sugar, flour, and vanilla. Use a pastry cutter to work the mixture until it resembles coarse crumbs that hold together when pressed.
- Press and bake: Firmly press the dough into your prepared pan in an even layer. Bake for 28-35 minutes until just barely golden at the edges. Let cool completely.
Creating the Caramel Layer
This homemade caramel is similar to the one I use in my salted caramel pretzel bars, and it’s absolutely divine!
- Combine ingredients: Add butter, brown sugar, corn syrup, and sweetened condensed milk to a heavy-bottomed saucepan.
- Cook carefully: Heat over medium, stirring constantly until mixture comes to a boil. Continue cooking while stirring until it reaches soft-ball stage (about 15-20 minutes).
- Test for doneness: Drop a small amount into ice water – it should form a soft, pliable ball when squeezed.
- Pour and set: Pour the hot caramel over your cooled shortbread and refrigerate for at least 2 hours.
The Chocolate Finishing Touch
- Melt chocolate and butter using either a double boiler or microwave in 30-second intervals
- Pour over set caramel layer and smooth with an offset spatula
- Refrigerate until chocolate is completely set
Creative Variations
While the classic version is amazing, here are some fun twists to try:
- Dark & Sophisticated: Use dark chocolate for the topping and add a sprinkle of sea salt
- Mini Twix Bites: Cut into smaller squares for bite-sized treats
- Chocolate-Dipped: Instead of spreading chocolate on top, cut the shortbread-caramel bars into fingers and dip in melted chocolate
- Nutty Twist: Sprinkle chopped toasted almonds or pecans over the chocolate before it sets
Pro Tip: For the cleanest cuts, use a sharp knife warmed in hot water and wiped clean between slices. Cut while the bars are chilled but not frozen.
FAQs & Final Thoughts
Absolutely! These bars keep wonderfully in the fridge for up to a week. Just store them in an airtight container with layers separated by parchment paper to prevent sticking.
Grainy caramel usually happens when sugar crystals form during cooking. To prevent this, avoid stirring too vigorously and make sure to brush down the sides of your pan with a wet pastry brush to remove any sugar crystals.
For the smoothest results, use baking chocolate bars or premium chocolate chips like Ghirardelli. Regular chocolate chips can be trickier to melt smoothly since they contain stabilizers. Just like in my chocolate peppermint roll, quality chocolate makes a big difference!
Yes! They freeze beautifully for up to 3 months. Just thaw them overnight in the fridge before serving.
Final Thoughts
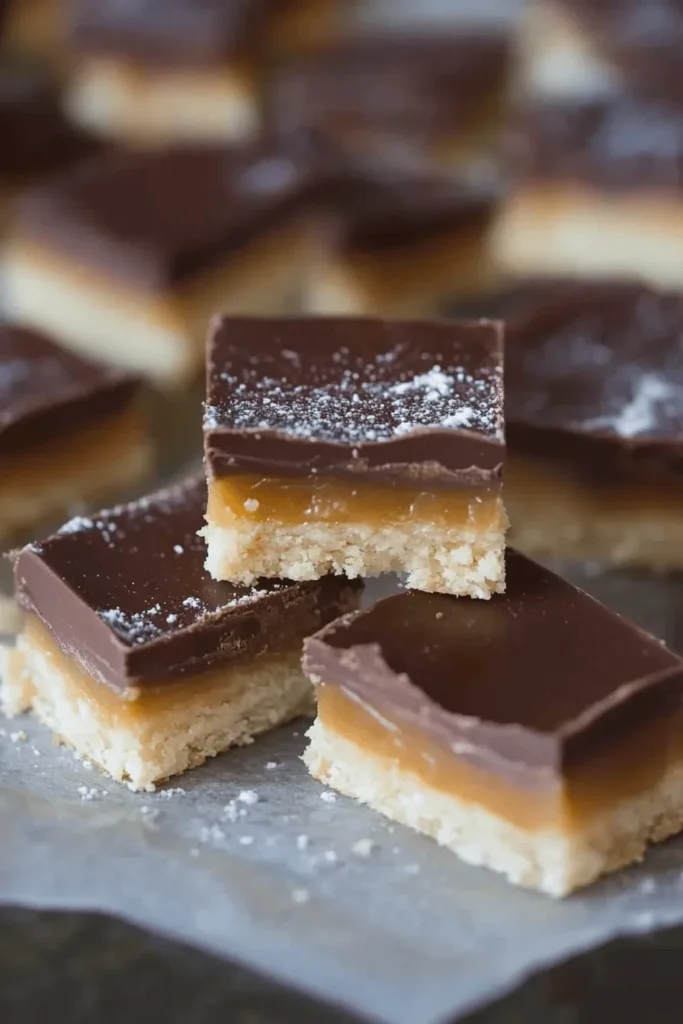
I can’t tell you how many times I’ve made these bars for friends and family gatherings, and they’re always met with pure joy! There’s something magical about that combination of buttery shortbread, chewy homemade caramel, and snappy chocolate coating. While they take a bit of time to make, watching people’s faces light up when they bite into one makes it all worthwhile.
Don’t be intimidated by making caramel from scratch – I promise it’s easier than you think! Just take your time, follow the steps carefully, and soon you’ll be making candy bar magic right in your own kitchen. If you give these a try (and I really hope you do!), I’d love to hear how they turned out. Happy baking, friends! 💕
HOMEMADE TWIX BARS
Equipment (affiliate links)
- cut and serve turner
- Pastry Blender
- Parchment Paper
Ingredients
- 1 cup butter cold *see note
- 1 cup powdered sugar
- 2 cups all-purpose flour
- 1 teaspoon vanilla extract
- 1 cup butter *see note
- 1 cup light brown sugar
- 1 cup light corn syrup
- 14 ounces sweetened condensed milk
- 3 cups chopped milk or dark chocolate
- 1 Tablespoon butter
Instructions
- Preheat oven to 300 degrees F. Line a 9×13″ pan with parchment paper, or spray really well with non-stick cooking spray.
- In a large bowl, use a pastry blender to combine the butter, sugar, flour, and vanilla until the mixture comes together. Press the shortbread dough into the pan.
- Bake for 28-35 minutes or until the crust is very lightly golden. Remove from oven and allow to cool completely.
- Combine all of the ingredients in a medium saucepan over medium heat.
- Maintain the heat at medium and bring mixture to a rolling boil, stirring often.
- Continue to cook, stirring constantly until the mixture reaches the soft ball stage, about 15-20 minutes).
- I test the “doneness” of the caramels using the ice water method: Stick several ice cubes in a cup and add cold water. Drop a spoonful of caramel into the ice water. If you’re able to clump the caramel sauce together in your hands to form a very soft ball, then it’s ready. When the caramel starts to turn golden brown, I do the ice water test every few minutes until I find that it’s ready, just to make sure I don’t overcook it.
- Once it reaches soft ball stage, remove from heat and pour the warm caramel over the cooled shortbread crust. Allow to cool for a few minutes, then refrigerate for at least 2 hours, or overnight.
- Add the butter and chocolate to a bowl and use a double boiler (or your microwave at low power, 30 second intervals, stirring in between) to melt the chocolate until smooth.
- Pour melted chocolate over the set up caramel and smooth into an even layer. Refrigerate until the chocolate is set.
- Store in the fridge, covered, for up to 1 week.

Leave a Reply