These homemade Star Crunch cookies are pure childhood nostalgia transformed into an irresistible no-bake treat! With crispy rice cereal, gooey melted chocolate, and rich caramel, they’re every bit as magical as the Little Debbie version you remember – maybe even better! Best of all, you can whip them up right on your stovetop using simple ingredients you can actually pronounce.

Why You’ll Love These Star Crunch Cookies
- Quick no-bake recipe made in one pot
- Uses simple pantry ingredients – no artificial additives
- Perfect chewy-crispy texture like the original
- Rich chocolate-caramel flavor that’ll make you feel like a kid again
- Great make-ahead treat for parties or lunchboxes
- Easily adaptable for different dietary needs
Growing up, Little Debbie treats were my absolute weakness, and Star Crunch cookies topped my list of favorites (right alongside those irresistible oatmeal cream pies!). After countless tests in my kitchen, I finally cracked the code on recreating that iconic chewy-crispy texture and deep caramel flavor. The secret? A perfect blend of rich melted chocolate and soft caramels, plus plenty of gooey marshmallows to bind it all together.
What makes these even more special is how incredibly simple they are to make. No fancy equipment needed – just one pot, a handful of ingredients you probably already have, and about 30 minutes of your time. The hardest part might be waiting for them to chill in the fridge! Trust me, though – that little bit of patience delivers the perfect chewy texture that’ll transport you straight back to your childhood kitchen.
Ingredients Overview
Let me walk you through each ingredient that makes these nostalgic treats so special! Just like when I make my homemade crackers from scratch, using quality ingredients makes all the difference.
- Unsalted Butter: Forms our rich base and helps create that signature chewy texture. Room temperature butter works best here – cold butter won’t melt as smoothly.
- Cocoa Powder: Provides deep chocolate flavor without making the treats too sweet. Natural or Dutch-process both work great – Dutch will give a richer color and smoother taste.
- Sweetened Condensed Milk: This magical ingredient creates that distinctive caramel note while helping bind everything together. Don’t substitute evaporated milk – it won’t work the same way!
- Soft Caramels: These melt into the mixture creating that perfect chewy texture we’re after. I prefer Werther’s, but any soft caramel works. Just like when making my simple bread recipes, quality matters.
- Mini Marshmallows: They melt beautifully and create pockets of sweet, sticky goodness. Large marshmallows work too but take longer to melt completely.
- Rice Krispies: Provides the essential crispy crunch. Fresh cereal makes a huge difference – stale cereal will get soggy faster.
Success Tips & Tricks
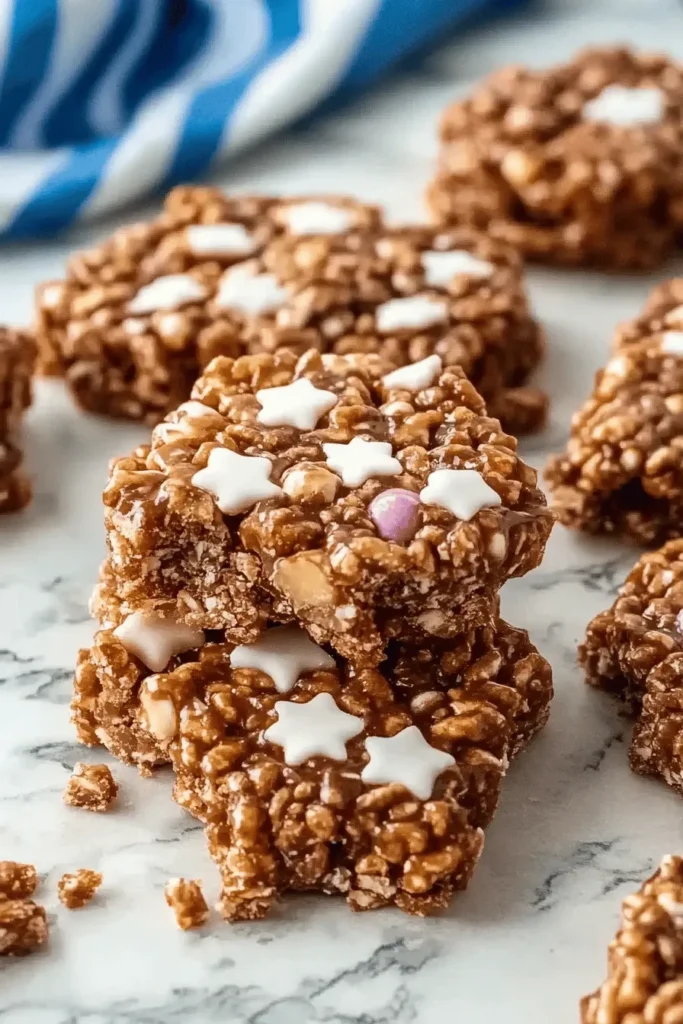
After testing this recipe countless times, here are my non-negotiable tips for perfect Star Crunch cookies:
- Use Low Heat: Patience is key! Higher heat risks burning the chocolate and caramel. Keep it low and slow for the smoothest results.
- Choose Your Pot Wisely: Pick a pot at least 4-quarts in size. The mixture expands when adding cereal, and you’ll need room to stir without making a mess.
- Watch Your Timing: Once the marshmallows go in, work quickly but carefully. They’ll start setting up as they cool, making it harder to form the cookies.
- Perfect Your Storage: These treats need time in the fridge to develop that signature chew. Don’t skip the cooling step – it’s essential for the right texture!
Step-by-Step Instructions
Let’s make these nostalgic treats! Before getting started, line a large baking sheet with parchment paper. Here’s everything you need to know:
Initial Preparation
- Line your baking sheet with parchment or wax paper
- Measure all ingredients – this recipe moves quickly once started!
- Have a large pot ready – you’ll need the space
Making the Base
- In a large pot over low heat, melt the butter completely
- Whisk in cocoa powder until smooth (just like making gooey butter cookies)
- Pour in sweetened condensed milk, stirring constantly until combined
- Add caramels one at a time, stirring until melted (about 5 minutes)
Finishing the Mixture
- Stir in vanilla and salt
- Add marshmallows, stirring until completely melted
- Remove from heat
- Fold in Rice Krispies until evenly coated
Shaping and Setting
Using a large cookie scoop, drop portions onto your lined baking sheet. Spray your hands with cooking spray and gently flatten each cookie. Refrigerate for 30-60 minutes until set.
Recipe Variations
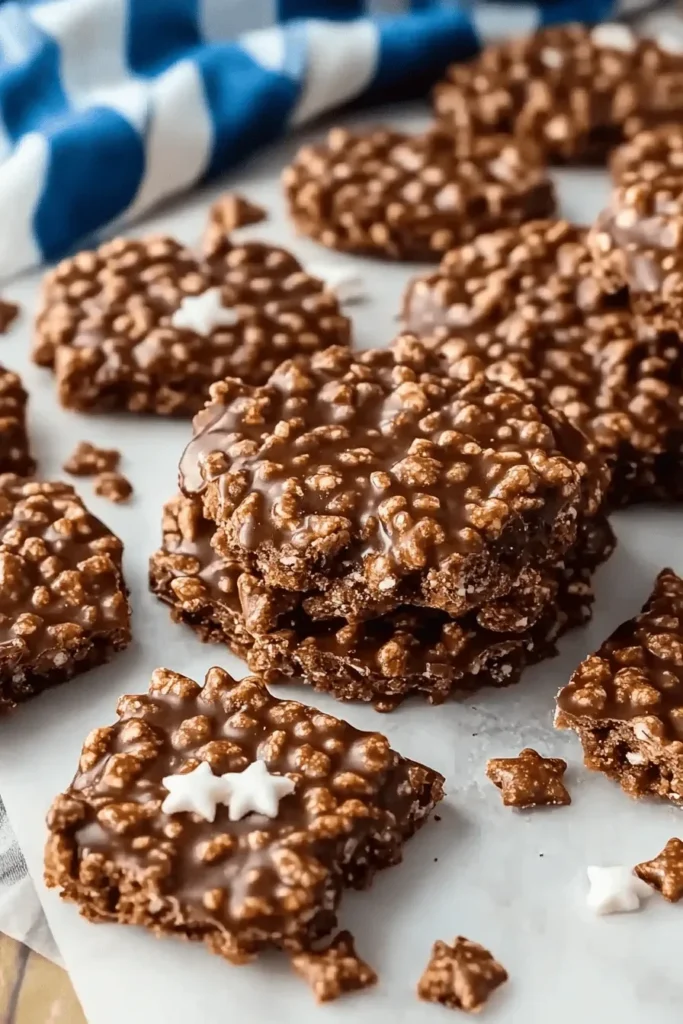
Dietary Adaptations
Making these treats friendly for different diets is simple! Just like adapting white bread for different needs, these cookies can be modified too:
- Dairy-Free Version:
- Swap butter for Earth Balance or coconut oil
- Use coconut condensed milk
- Choose dairy-free caramels
- Vegan Option:
- Use all dairy-free substitutions above
- Add vegan marshmallows
Fun Twists
Want to mix things up? Try these creative variations, similar to experimenting with quick bread recipes:
- Double Chocolate: Use Cocoa Krispies instead of regular Rice Krispies
- Mini Treats: Use a small cookie scoop for bite-sized versions
- Party Size: Make them larger using an ice cream scoop
Remember, these treats are wonderfully flexible – feel free to adjust the size and ingredients to match your preferences!
FAQs & Final Thoughts
Frequently Asked Questions
Yes! These treats stay fresh in an airtight container at room temperature for up to 4 days. For longer storage, pop them in the fridge where they’ll keep for 3 weeks, or freeze them for up to 3 months.
The refrigeration step is crucial! Just like my favorite snickerdoodle recipes, these cookies need time to set up properly. Make sure to chill them for at least 30 minutes to achieve that perfect chewy texture.
Regular marshmallows work fine, they’ll just take a bit longer to melt than mini ones. Just keep stirring over low heat and they’ll smooth out beautifully.
Don’t worry! The mixture should be sticky before refrigeration. Spray your hands with cooking spray when shaping the cookies, and trust the chilling process to firm them up.
Final Thoughts
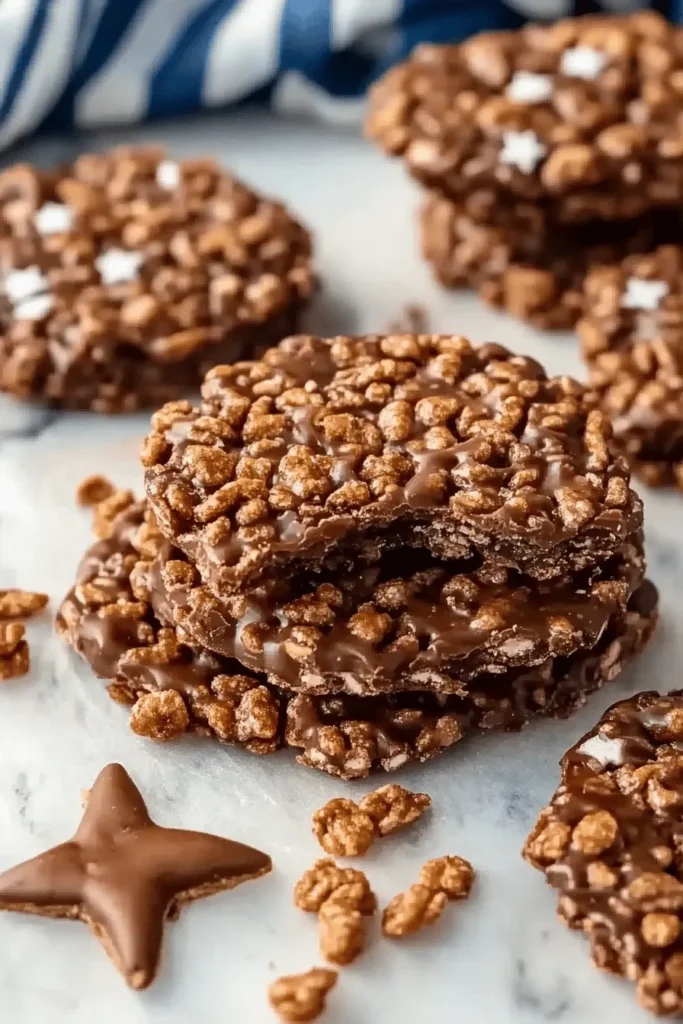
These homemade Star Crunch cookies bring back such sweet memories of childhood snacks, but with an even better homemade taste! I love seeing my kids’ faces light up when they bite into these chewy, caramel-chocolate treats – the same way mine did years ago. Whether you’re making them for a special treat, bake sale, or just because, I guarantee they’ll disappear quickly!
Remember, baking is all about having fun and making memories. If your first batch isn’t perfect, that’s okay! Each time you make these, you’ll get better at gauging the perfect consistency and timing. I’d love to hear how yours turn out and any creative twists you add to make them your own!

Homemade Star Crunch
Equipment (affiliate links)
- 1 large baking sheet lined with parchment or wax paper
- 1 Large pot
- 1 Wooden Spoon or Spatula
- 1 Cookie Scoop
Ingredients
- 1/2 cup unsalted butter (1 stick, 113 g)
- 1/2 cup unsweetened cocoa powder (42 g)
- 14 ounces sweetened condensed milk
- 22 soft caramels I used Werther’s Soft and chewy caramels
- 1 teaspoon vanilla extract
- 1/4 teaspoon salt
- 6 cups mini marshmallows (10 ounces) bag
- 6 cups rice krispies
Instructions
- Line a large baking sheet with parchment paper or wax paper. You can also grease the paper, but I didn’t have any issue with sticking.
- In a large pot over low heat melt the butter then stir in the cocoa powder.1/2 cup unsalted butter
- With a wooden spoon or spatula, stir in the sweetened condensed milk and mix together until fully combined.1/2 cup unsalted butter
- Add the caramels and mix until melted and combined, the mixture may look slightly broken at first but it will smooth out.1/2 cup unsalted butter
- Add the vanilla, salt and marshmallows and mix until melted and combined.1/2 cup unsalted butter
- Remove from heat and quickly stir in the cereal.1/2 cup unsalted butter
- Using a large cookie scoop, drop scoops onto the prepared baking sheet. Flatten slightly.
- Refrigerate for 30 minutes to 1 hour. Remove from the baking sheet and enjoy or store!

Leave a Reply