These homemade artisan crackers are perfectly crispy, delightfully seasoned, and ridiculously easy to make. With just a handful of pantry staples, you’ll create buttery-crisp crackers that rival any expensive store-bought version. If you love making bread from scratch like my sourdough crackers, you’ll adore this simple recipe that transforms basic ingredients into something spectacular.
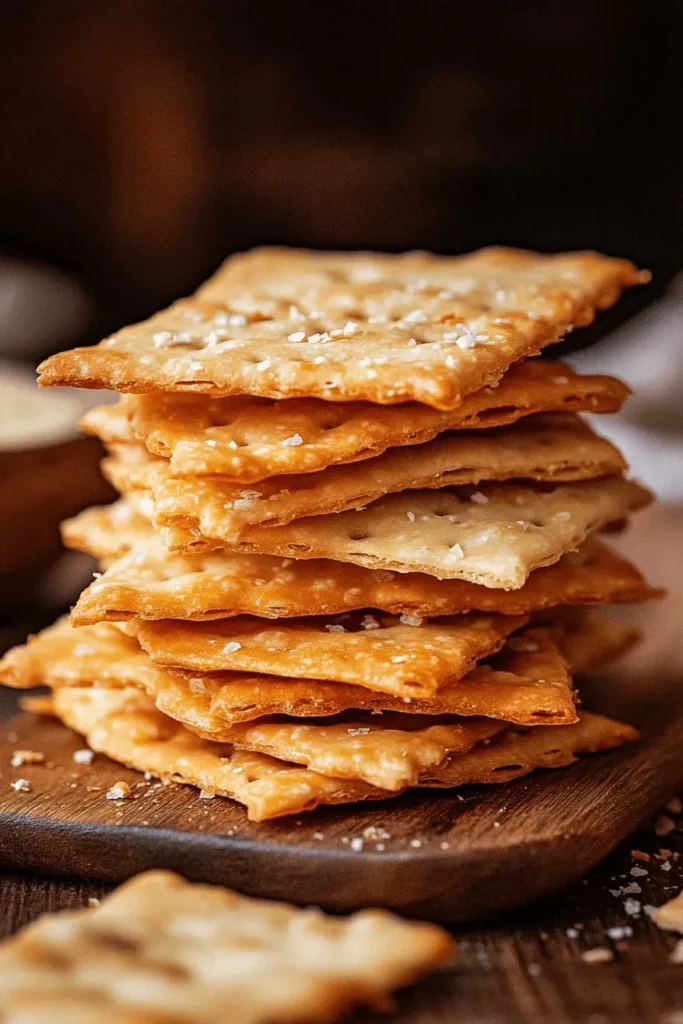
Why You’ll Love These Homemade Artisan Crackers
- Simple 6-ingredient recipe
- No fancy equipment needed
- Incredibly budget-friendly (costs about $1 per batch!)
- Perfect crispy-crunchy texture
- Rich sesame flavor you can’t get from store-bought
- Customizable shapes and seasonings
- Great make-ahead snack
- Better than expensive gourmet crackers
Trust me, once you try these homemade crackers, you’ll never look at store-bought the same way again! The sesame seeds toast up beautifully while baking, creating an irresistible nutty flavor that pairs perfectly with the sea salt flakes. I love serving these at parties alongside cheese boards – my guests always beg for the recipe when they discover they’re homemade!
What makes these crackers truly special is their versatility. They’re sturdy enough to hold up to hearty dips but delicate enough to enjoy on their own. The olive oil in the dough creates this beautiful buttery flavor that makes them completely snackable. And unlike many homemade cracker recipes that can be fussy or time-consuming, these come together in just minutes with zero kneading required.
Ingredients You’ll Need
The magic of these crackers lies in their simplicity! Just like my 3-ingredient bread recipe, we’re keeping things wonderfully basic. Let me walk you through each ingredient and why it matters:
- All-Purpose Flour (2 cups) – Forms the backbone of our crackers. The protein content in all-purpose flour gives us that perfect crispy-yet-sturdy texture. For whole wheat lovers, you can swap half the flour, but you’ll need about 2 extra tablespoons of water.
- Sesame Seeds (3 tablespoons) – These tiny powerhouses pack a flavor punch! They toast while baking, releasing their nutty oils. I’ve tried these crackers without sesame seeds, and trust me, they make ALL the difference.
- Extra Virgin Olive Oil (¼ cup) – Brings richness and helps create that satisfying snap when you bite into the crackers. Plus, it makes the dough more pliable and easier to roll thin.
- Sea Salt (1 teaspoon + extra for topping) – Don’t skip this! Salt isn’t just for flavor – it strengthens the gluten structure, making the crackers sturdier.
- Water (½ cup) – Temperature matters here! Use room temperature water to help the ingredients blend smoothly.
Baking Success Tips
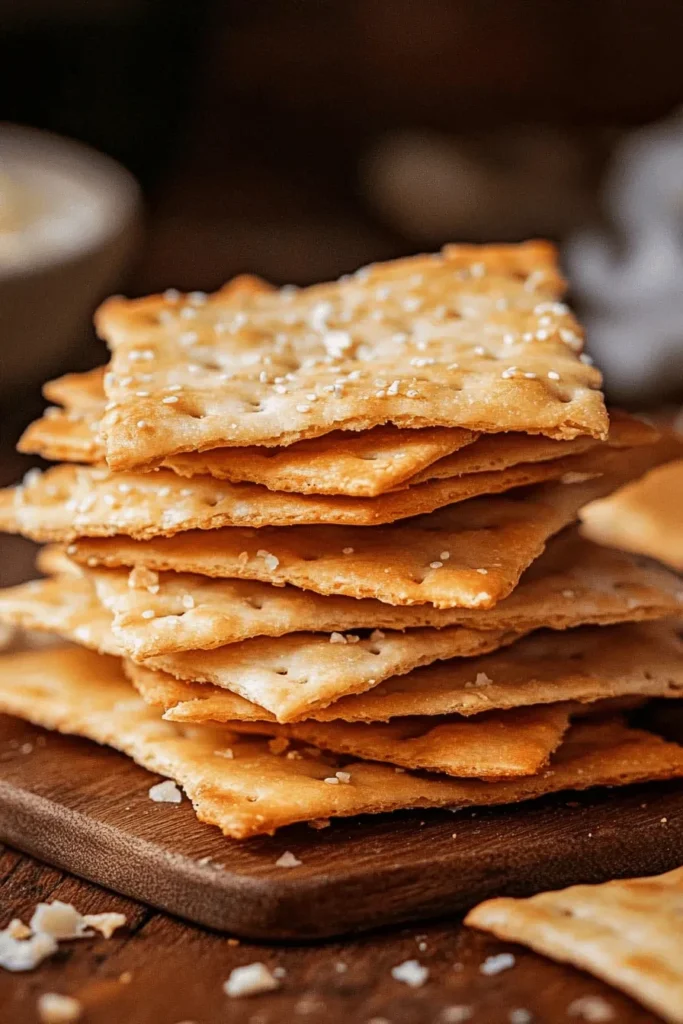
After testing this recipe countless times (my family isn’t complaining!), I’ve discovered some game-changing tips that’ll give you perfect crackers every time. Just like my 4-ingredient pasta salad, success lies in the details:
- Roll Ultra-Thin – Aim for 2mm thickness. Hold the dough up to the light – if you can almost see through it, that’s perfect! Thick dough = chewy crackers.
- Watch Those Edges – The edges will brown faster than the center. Rotate your baking sheet halfway through and remove any edge pieces that are done early.
- The Color Test – Look for a light golden brown across the surface. Pale crackers will be soft, too dark will taste bitter.
- Cool Completely – This is crucial! The crackers continue crisping as they cool. Give them at least 15 minutes before storing.
Remember, these crackers follow the “less is more” principle. Each ingredient plays a vital role, so measure carefully and follow the steps exactly as written.
Step-by-Step Instructions
Let’s make these amazing homemade crackers together! The process is wonderfully simple, and I’ll walk you through each step.
Making the Dough
- Mix dry ingredients: In a large bowl, combine 2 cups flour, 3 tablespoons sesame seeds, and 1 teaspoon salt with a rubber spatula.
- Add wet ingredients: Create a well in the center and pour in 2/3 cup water and 2 tablespoons olive oil. Mix with the spatula handle – it’s easier than using the wide part!
- Form the dough: Turn onto a lightly floured surface. Knead briefly just until it comes together – don’t worry if it looks a bit rustic, that’s what we want!
Rolling and Shaping
- Divide and roll: Cut dough in half. Roll each portion to 3mm thickness on parchment paper.
- Season: Sprinkle generously with sesame seeds and sea salt flakes. Like my favorite spicy sauce, these toppings add amazing flavor!
- Final roll: Roll again to 2mm thickness, pressing toppings into the dough.
- Cut shapes: Using a pizza cutter, create 2-inch squares or diamonds. Don’t worry about perfect shapes – irregular edges make them look artisanal!
Baking to Perfection
- Spray or brush with olive oil
- Bake at 400°F for 12 minutes
- Rearrange crackers for even browning
- Bake 8-10 more minutes until golden and crisp
Recipe Variations
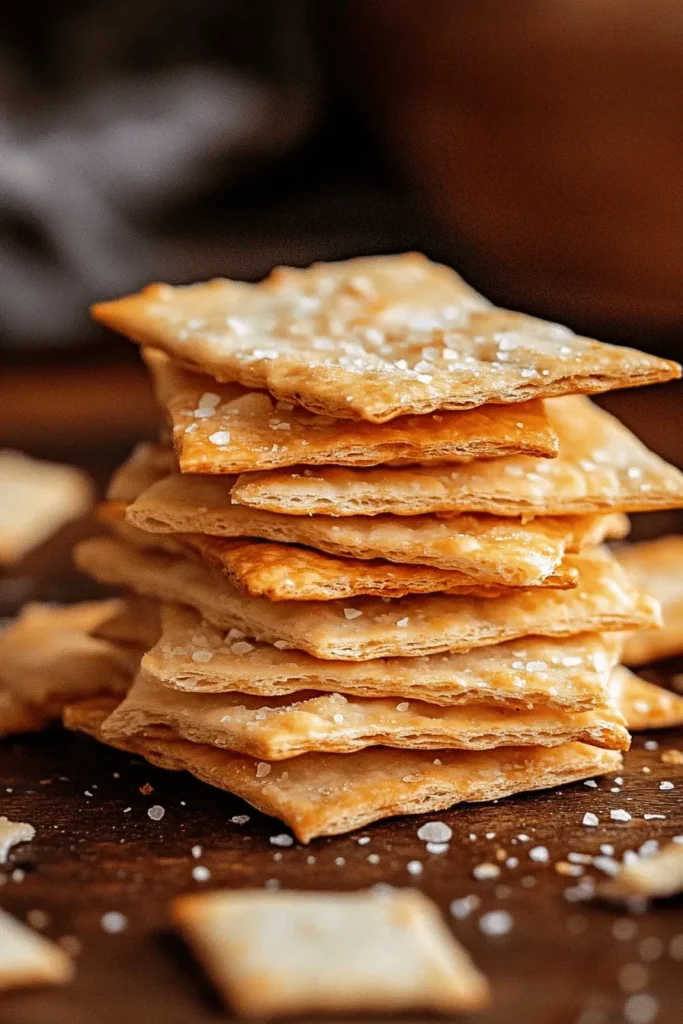
Just like my versatile pasta salad, these crackers welcome creative twists! Here are some of my favorite variations:
- Herb-infused: Add 1 tablespoon dried rosemary or thyme to the dough
- Spicy kick: Mix in 1 teaspoon red pepper flakes
- Cheese lovers: Add 1/4 cup grated parmesan to the dough
- Everything bagel style: Top with everything bagel seasoning
These crackers are perfect for serving with warming soups or as part of a cheese board. Store in an airtight container for up to 2 weeks – if they last that long!
Pro tip: If your crackers lose their crispness, pop them in a 350°F oven for 5 minutes to restore their crunch.
FAQs & Final Thoughts
Frequently Asked Questions
Yes! These crackers stay crispy for up to 2 weeks when stored in an airtight container. Just make sure they’re completely cool before storing.
The key to crispy crackers is rolling them thin enough (about 2mm) and baking until lightly golden. If they’re still not crispy after cooling, pop them back in the oven for 3-5 minutes at 350°F.
While I haven’t tested a gluten-free version, readers have reported success using a 1:1 gluten-free flour blend. You might need to adjust the water slightly since gluten-free flours absorb liquids differently.
Feel free to swap sesame seeds with poppy seeds, caraway seeds, or leave them plain! Just like my simple pasta salad, these crackers are wonderfully adaptable.
Final Thoughts
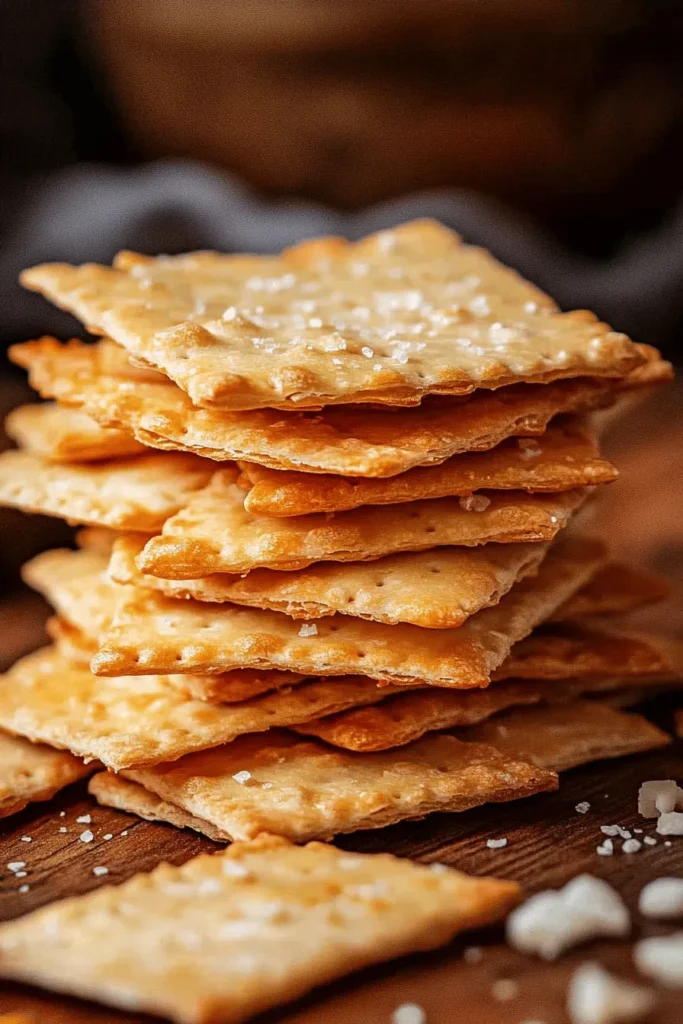
You know what makes me smile? Seeing someone’s face light up when they try these crackers for the first time! There’s something magical about transforming basic pantry ingredients into something so special. Whether you’re planning a fancy cheese board or just want a satisfying snack, these homemade crackers will become your new favorite.
Remember, your first batch might not look magazine-perfect, but that’s part of their charm! Those slightly irregular shapes and golden spots tell everyone these are lovingly homemade. I’d love to hear how yours turn out – snap a picture and share your cracker-making adventure with me!
Happy baking, friends! 💕
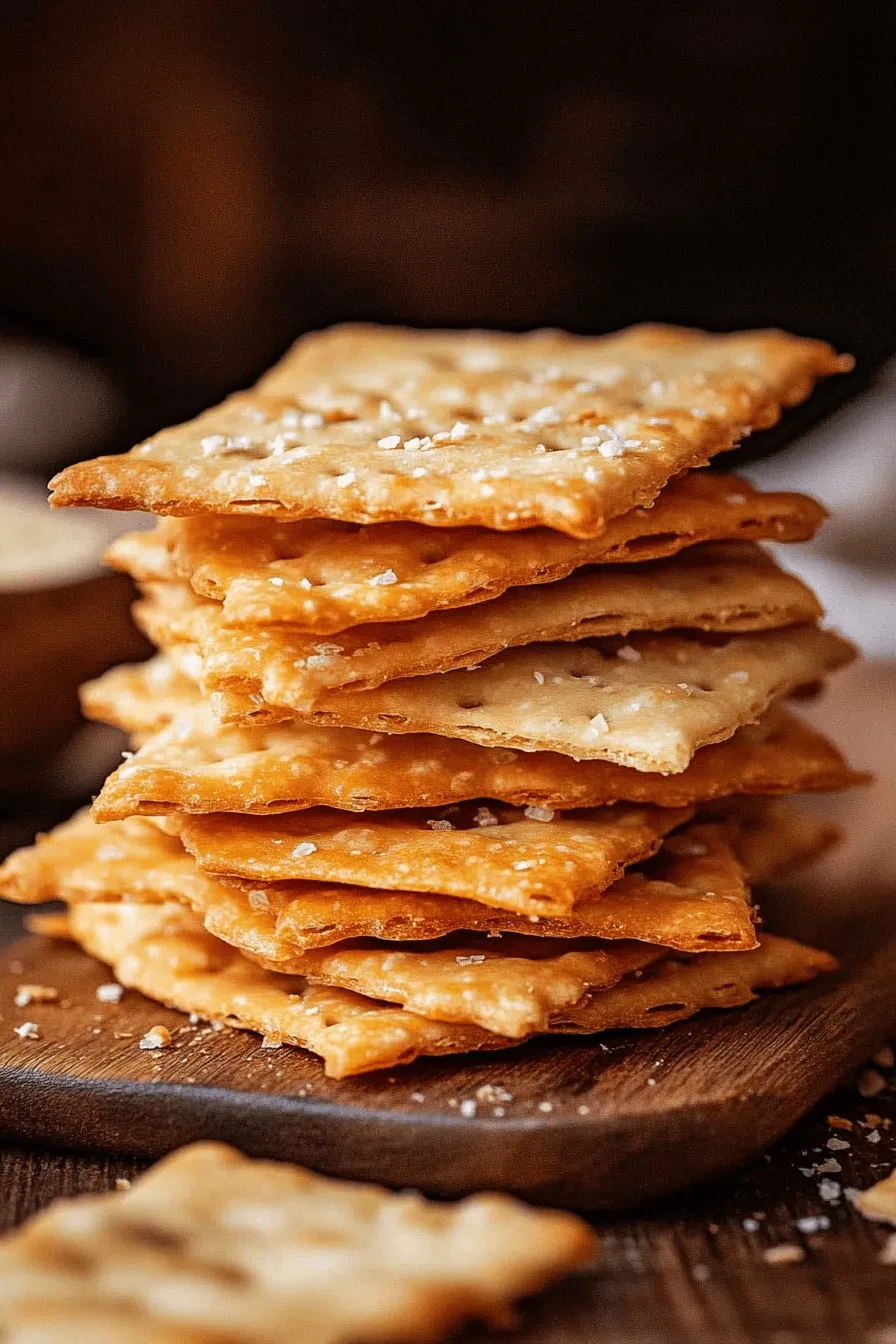
Homemade artisan crackers – sesame sea salt flavour
Ingredients
- 1 cup plain flour / all-purpose flour plus extra for rolling out
- 1/4 tsp cooking salt (kosher salt)
- 1 tbsp white sesame seeds
- 1/3 cup water (just regular tap water)
- 2 tbsp extra virgin olive oil
- 1 tbsp white sesame seeds
- 1/2 tsp salt flakes (Note 1)
- Olive oil spray (Note 2)
Instructions
- Mix the flour, sesame and salt in a bowl using a rubber spatula or wooden spoon. Make a well in the centre then add the water and oil. Using the handle of the spatula to mix until the flour is incorporated.
- Sprinkle the counter lightly with flour. Scrape the dough out then knead a few times to bring it together into a ball. Cut in half. Roll one piece out to 3mm / 1/8″ thin oval shape. (Note 3)
- Place a sheet of baking paper (parchment) on a cutting board. Transfer the rolled out dough onto the paper. Sprinkle with half the sesame and half the salt flakes. Roll out even thinner on the paper to 2mm / 1/12″ (thinner = crispier).
- Cut into 5cm / 2″ squares using a pizza cutter or knife (Note 4). You’ll have smaller pieces on the edge and corners, that’s fine. Leave the pieces as is, don’t try to move them (so thin, it’s too hard!). Slide the paper onto a tray. Repeat with the other piece of dough.
- Spray with oil. Bake both trays together for 12 minutes. Remove from the oven. Re-arrange to move the more golden pieces on the outer rim of the tray to the centre (so they cook evenly). Bake for a further 8 to 10 minutes or until all the pieces are light golden (white = not crispy!).
- Remove from the oven and leave the crackers to cool on the tray (~20 minutes). Make dip or prepare cheese platter worthy of your homemade crackers. Then attack!

Leave a Reply