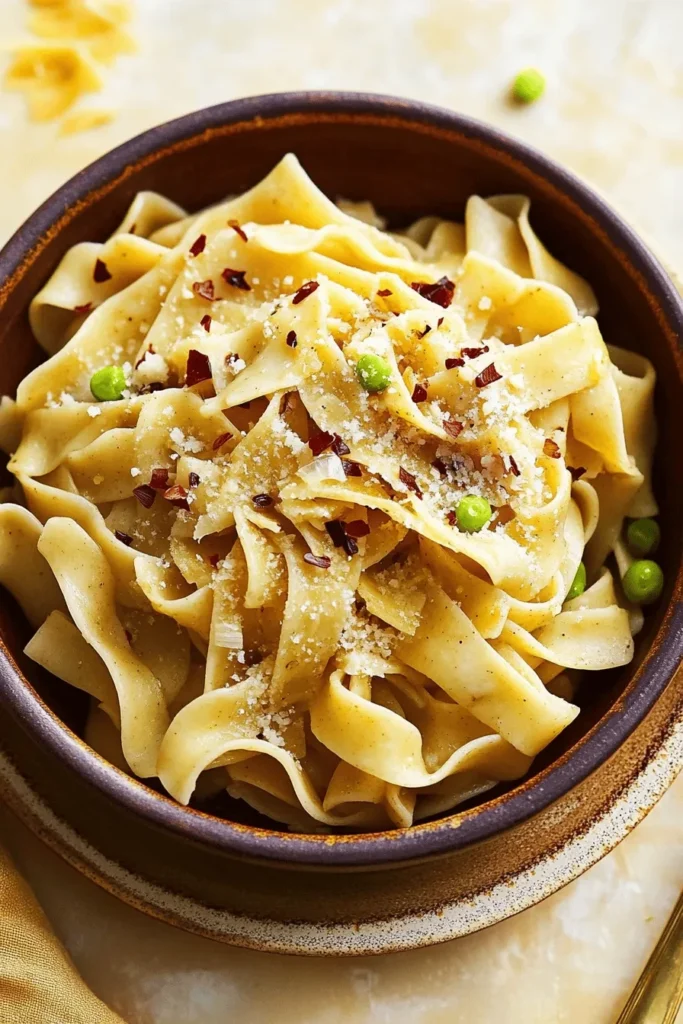
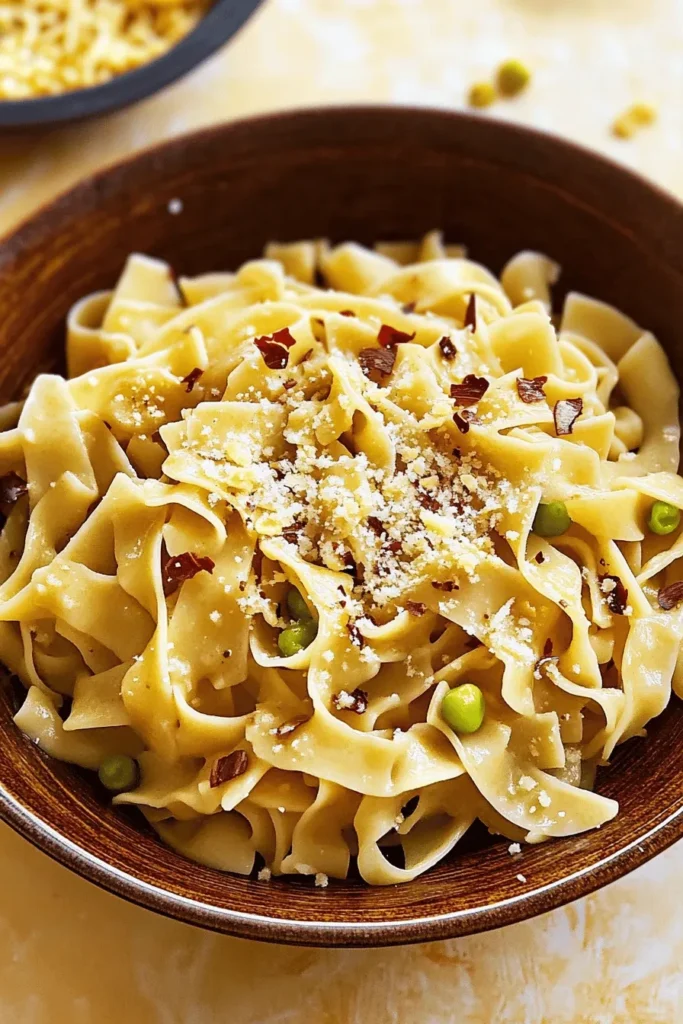
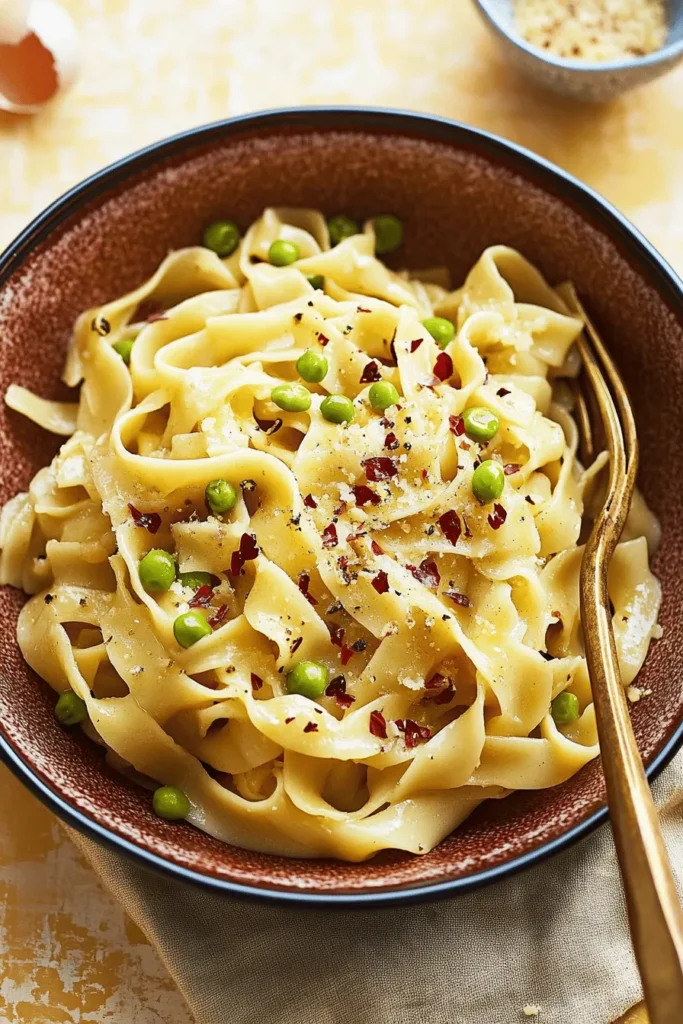
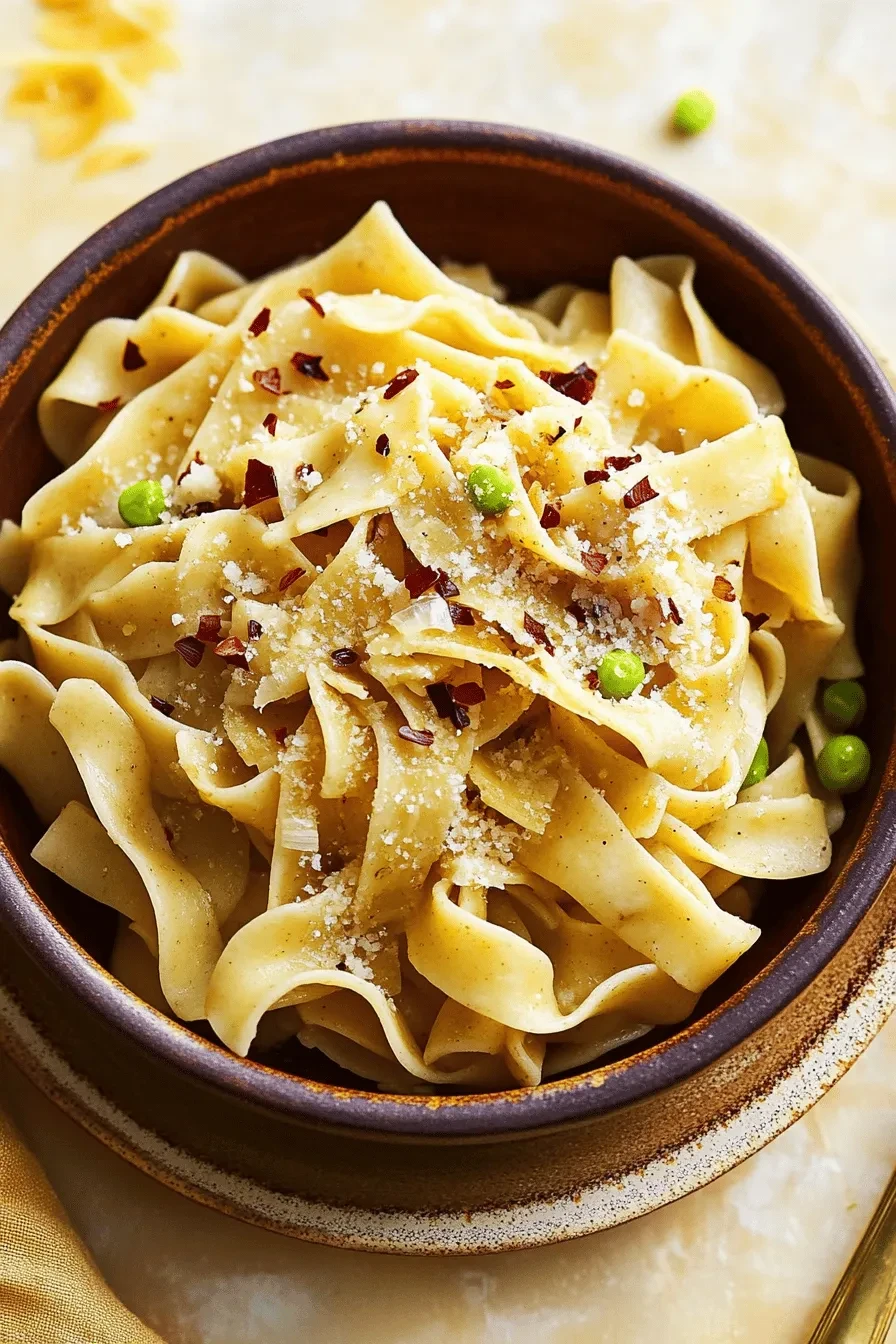
These perfectly chewy gluten-free egg noodles are a game-changer for anyone missing their favorite pasta dishes! With just 4 simple ingredients (plus water and salt), you’ll create tender, homestyle noodles that taste just like the ones grandma used to make. After perfecting my Thai noodle recipes, I knew I had to create a classic egg noodle version that would work beautifully in everything from chicken soup to beef stroganoff.

Why You’ll Love These Gluten-Free Egg Noodles
- No pasta maker needed – just roll and cut!
- Perfect chewy texture that holds up in soups
- Rich egg flavor from extra egg yolk
- Freezer-friendly for quick meals
- Ready in under an hour
- Works with any gluten-free flour blend
- Customizable thickness for different dishes
The secret to these incredible noodles lies in the perfect balance of gluten-free flour and tapioca starch, which creates that wonderfully chewy texture we all crave in a good egg noodle. I tested this recipe countless times to get it just right – my kitchen counter was basically a pasta-making laboratory! The extra egg yolk adds richness that takes these from good to absolutely fantastic.
What makes these noodles truly special is their versatility. Roll them thin for delicate soups, or keep them thick and hearty for rich pasta dishes. The dough is surprisingly forgiving and easy to work with, especially after its 30-minute rest (don’t skip this step!). Trust me, once you try these homemade noodles, you’ll never go back to store-bought!
Ingredients You’ll Need
Let me walk you through everything you need to make these perfectly chewy gluten-free egg noodles! Each ingredient plays a crucial role in creating that ideal pasta texture we’re after.
- Gluten-Free All-Purpose Flour (2 cups) – This is our foundation! I’ve tested several brands, and they all work slightly differently. My favorite is one with a blend of rice flour and starches, similar to what I use in my favorite pasta salad recipe. The blend you choose will affect how much water you’ll need.
- Xanthan Gum (1 tsp) – Think of this as our gluten replacement! It gives our noodles that lovely elasticity and keeps them from falling apart when cooking. Skip this if your flour blend already includes it.
- Tapioca Starch (1/2 cup) – My secret weapon for chewy noodles! It adds that perfect bounce and stretch that makes these noodles feel just like traditional pasta.
- Eggs (3 large + 1 yolk) – These are absolutely essential! The extra yolk is my special touch – it makes the noodles richer and more tender. Save that extra white for making meringue!
- Salt (1/2 tsp) – Just enough to enhance all our flavors.
- Warm Water (2-4 tbsp) – The amount varies depending on your flour blend and humidity. Start with less – you can always add more!
Success Tips & Tricks

After many test batches (and some memorable failures!), I’ve discovered these game-changing tips that’ll help you make perfect noodles every time, just like in my bow tie pasta dishes.
- Master Your Measuring – Please, please spoon your flour into the measuring cup and level it off! Scooping directly can pack in too much flour, leaving you with dry, crumbly dough.
- The Water Dance – Start with 2 tablespoons of warm water and add more gradually. Your dough should feel like play-dough – pliable but not sticky. Trust your hands on this one!
- Rest Time is Best Time – Give your dough a 30-minute timeout! This lets the flour hydrate properly and makes rolling so much easier. I’ve learned this the hard way!
- Rolling Rules – Keep your work surface and rolling pin well-floured. I like to roll mine to about 1/8 inch thickness – any thinner and they can become fragile.
Remember, pasta making is part science, part art. Don’t get discouraged if your first batch isn’t perfect – even I had to practice to get these just right!
Step-by-Step Instructions
Let me walk you through making these delightful gluten-free egg noodles! They remind me so much of the ones my grandmother used to make, just without the gluten. Like my popular homemade pasta recipe, these come together beautifully with just a few simple steps.
- Mix the dry ingredients: In a large bowl, whisk together 2 cups gluten-free flour, 1/2 cup tapioca starch, and 1 teaspoon xanthan gum (if using). Create a well in the center.
- Add wet ingredients: Pour 3 beaten eggs plus 1 egg yolk into the well. Start mixing with a fork, gradually incorporating the flour mixture. Add water, 1 tablespoon at a time, until the dough comes together.
- Knead the dough: Turn onto a floured surface and knead for 5-7 minutes until smooth and pliable. The dough should feel like play-dough – not sticky, but not crumbly.
- Rest time: Wrap in plastic wrap and let rest for 30 minutes at room temperature.
- Roll and cut: Divide dough into 4 portions. Roll each portion to 1/8 inch thickness. Cut into desired noodle width using a sharp knife or pizza cutter.
- Cook: Drop into boiling water and cook for 2-3 minutes until they float to the surface.
Recipe Variations and Uses

These versatile noodles are perfect for so many dishes! They’re wonderful in my lighter pasta dishes and absolutely shine in my chicken pasta recipe.
Creative Ways to Use Your Noodles:
- Thickness variations: Roll thicker (1/4 inch) for heartier noodles perfect for beef stroganoff, or paper-thin for delicate soups.
- Shape options: Try cutting them into different widths – thin for angel hair style, medium for fettuccine, or wide for pappardelle.
- Flavored variations: Mix in dried herbs like basil or oregano into the dry ingredients, or add a pinch of garlic powder for extra flavor.
Storage Tips:
- Fresh uncooked noodles: Dust with extra flour, place in an airtight container, and refrigerate for up to 2 days.
- Dried noodles: Let them dry completely on a pasta drying rack (about 24 hours), then store in an airtight container for up to 2 weeks.
- Cooked noodles: Toss with a bit of oil and store in the refrigerator for up to 3 days.
FAQs & Final Thoughts
Yes! Wrap the dough tightly in plastic wrap, then place in a freezer bag. It’ll keep for up to 3 months. Just like my classic pappardelle recipe, thaw overnight in the refrigerator before rolling and cutting.
Gummy noodles usually mean too much moisture in the dough. Make sure you’re measuring your flour correctly using the spoon and level method, and add water gradually until the dough just comes together. The dough should feel smooth but not sticky.
The noodles will float to the surface when they’re ready – usually after 2-3 minutes. Take one out and taste it! It should be tender but still have a nice bite to it (what we call “al dente”).
If your gluten-free flour blend already contains xanthan gum, skip the extra amount. If it doesn’t, you’ll need to include it – it’s what helps hold these noodles together since we don’t have gluten to do the job!
Final Thoughts

Oh my goodness, friends – you’re going to love these gluten-free egg noodles! They’ve become such a staple in my kitchen, and I can’t wait for you to try them. The best part? They’re just as satisfying as traditional egg noodles, with that perfect chewy texture we all crave. Every time I make them, they remind me of cozy family dinners, and now everyone can enjoy them, gluten-free or not!
If you give these noodles a try (which I really hope you do!), drop me a comment below and let me know how they turned out. I absolutely love seeing your kitchen successes and hearing how you’ve adapted recipes to make them your own. Happy noodle making!

Gluten-Free Egg Noodles
Equipment (affiliate links)
- large mixing bowl
- Plastic Wrap
- Parchment Paper
- Rolling Pin
- Large pot
Ingredients
- 1 1/2 cups all-purpose gluten-free flour
- 1 teaspoon xanthan gum omit if your flour blend already contains it
- 1/2 cup tapioca starch
- 1/2 teaspoon fine sea salt
- 3 large eggs
- 1 large egg yolk
- 1 tablespoon water
Instructions
- In a large mixing bowl, combine the gluten-free flour, xanthan gum (if required), tapioca starch, and fine sea salt. Mix thoroughly to ensure even distribution of the ingredients.
- Create a well in the center of the flour mixture. Add the eggs, egg yolk, and water into the well.
- Gradually incorporate the flour mixture into the wet ingredients using a fork or your fingers until a shaggy dough forms.
- Transfer the dough to a clean, lightly floured surface once it begins to come together. Knead the dough for 5-7 minutes until it becomes smooth and elastic. Adjust the dough consistency by adding a little more water if too dry or a sprinkle of gluten-free flour if too sticky.
- Shape the kneaded dough into a ball and cover it with plastic wrap. Allow it to rest at room temperature for about 30 minutes to hydrate the gluten-free flour and relax the dough.
- After resting, divide the dough into 4 portions to make handling easier. Flatten each portion into a disk using your hands.
- Lightly flour a parchment paper and rolling pin with gluten-free flour. Roll out each portion of dough into a thin rectangular sheet, approximately 1/16 to 1/8 inch thick.
- Cut the rolled-out dough into strips and repeat the rolling and cutting process with the remaining dough portions.
- To cook the gluten-free egg noodles, bring a large pot of salted water to a rolling boil. Add the noodles and cook for approximately 2 minutes, or until they reach al dente texture. Drain the cooked noodles and serve immediately with your preferred sauce or toppings.
Notes
• Add more water if the dough is too dry, or add more flour if it’s too sticky.
• To Store: Cover uncooked noodle dough and refrigerate for up to 24 hours before using. Let the dough come to room temperature before shaping into noodles.
• To Freeze: Cut the noodles to shape and freeze them flat on a baking sheet. Once frozen, transfer to a freezer-safe bag or container for up to 2 months. Cook from frozen and add a few minutes extra to the cooking time.
• Mama says, “Check all of your labels!”

Leave a Reply