This homemade chicken gravy recipe is pure comfort in liquid form! Made with or without pan drippings, it’s rich, velvety, and puts store-bought gravy to shame. I’ve spent years perfecting this recipe, and I’m excited to share all my tips for achieving that perfect silky consistency every single time.
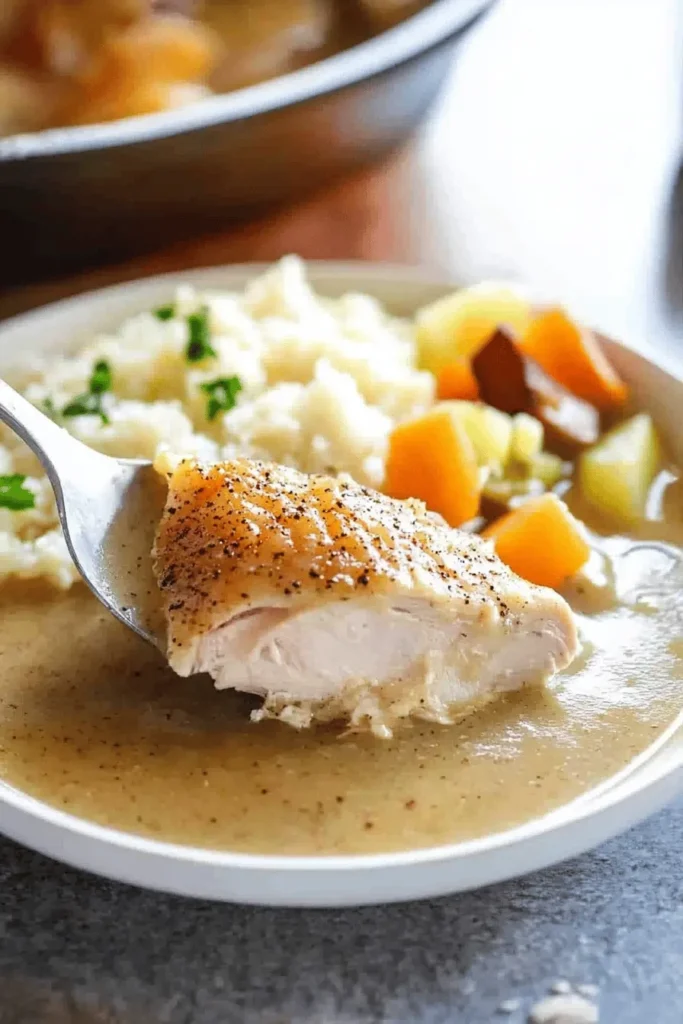
Why You’ll Love This Chicken Gravy
- Takes just 15 minutes from start to finish
- Uses simple pantry ingredients you already have
- Rich, deep flavor that beats any packaged version
- Perfectly smooth and lump-free thanks to my foolproof roux method
- Works beautifully with or without chicken drippings
- Versatile enough for any meal – not just holiday dinners!
Growing up, my mom always insisted on making gravy from scratch, and now I understand why. There’s something magical about transforming simple ingredients into this luxurious sauce that makes everything it touches taste better. Whether you’re pouring it over tender slow-cooked chicken or mashed potatoes, this gravy adds that perfect finishing touch.
The secret to this recipe’s success lies in creating the perfect roux – that’s the flour and fat mixture that gives the gravy its body. I’ll walk you through exactly how to achieve that gorgeous golden color and silky texture, even if you’ve never made gravy before. Trust me, once you master this technique, you’ll never go back to the packaged stuff!
What I love most about this recipe is its flexibility. While using pan drippings adds an incredible depth of flavor, I’ll show you how to make equally delicious gravy without them. Through countless testing sessions in my kitchen, I’ve discovered that a combination of good-quality broth and my special seasoning blend creates that same rich, homestyle taste we all crave.
Essential Ingredients for Perfect Gravy
Let me walk you through exactly what you’ll need to make this velvety-smooth chicken gravy. Each ingredient plays a crucial role in creating that perfect consistency and flavor we all love!
- Chicken Drippings: The golden ticket to amazing gravy! These precious juices from your roasted chicken contain concentrated flavors that give your gravy that deep, rich taste. Don’t worry if you don’t have them though – I’ll show you a fantastic alternative!
- All-Purpose Flour: This is our thickening superhero. When combined with fat, it creates that silky texture we’re after. I’ve found that ¼ cup gives us the perfect consistency, though you might need to adjust slightly based on your drippings.
- Chicken Broth: Use low-sodium broth so you can control the salt level. If you’re making this like my Greek lemon chicken, the broth helps extend those wonderful pan flavors.
- Chicken Bouillon Paste: My secret weapon when making gravy without drippings! Just a teaspoon adds that intense chicken flavor that makes people think you spent hours in the kitchen.
Success Tips for Silky-Smooth Gravy
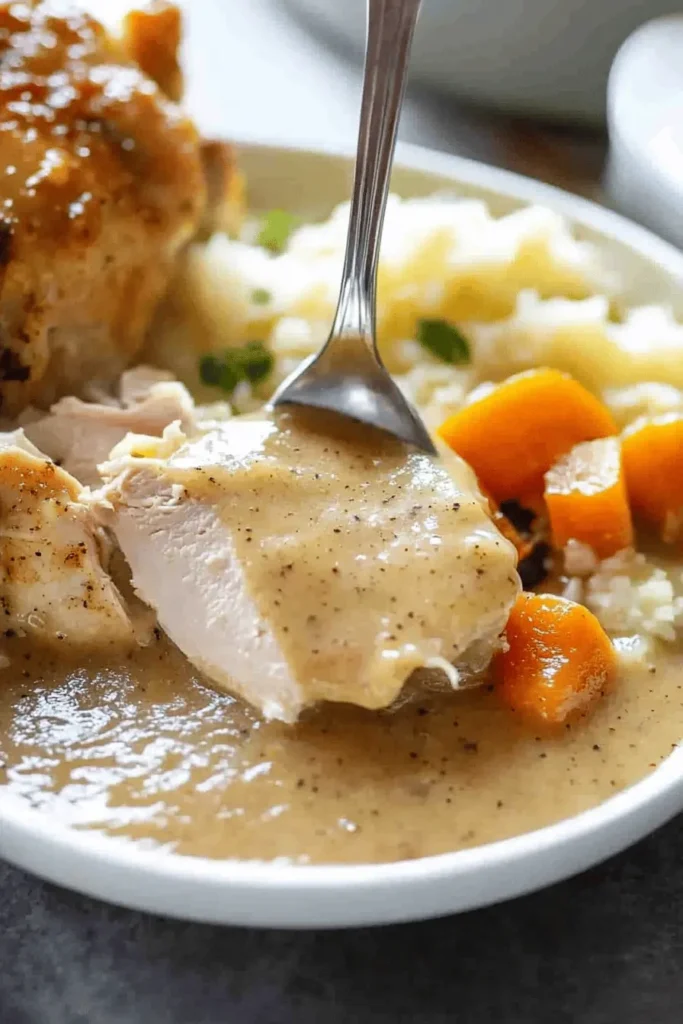
- Master the Roux: The key is patience here! Cook your flour and fat mixture until it turns light golden – this usually takes about 2-3 minutes. If you rush this step, your gravy might taste like raw flour (nobody wants that!).
- Temperature Matters: Keep your broth warm before adding it to the roux. Cold liquid hitting hot roux is a recipe for lumpy gravy. I learned this the hard way after many gravy disasters!
- Whisk Like You Mean It: Don’t stop whisking while adding your liquid – this is crucial for smooth gravy. I prefer using a flat whisk, but any whisk will do as long as you keep it moving.
- Trust Your Eyes: The gravy will look thin at first, but keep whisking and cooking. It typically takes 5-8 minutes to reach that perfect coating consistency when it clings beautifully to the back of a spoon.
Step-by-Step Gravy Making Instructions
Let me walk you through exactly how to make this dreamy chicken gravy – I promise it’s easier than you think! After countless times making this recipe, I’ve perfected each step to ensure you get silky-smooth results.
Creating the Perfect Base
1. Start with your pan drippings if using them. Pour them into a measuring cup and let them settle for about a minute – you’ll see the fat naturally rise to the top. Skim off most of that fat, leaving behind those precious flavored juices.
2. Heat your saucepan over medium heat. Add ½ cup of drippings (or broth if not using drippings) and sprinkle in ¼ cup flour. Here’s where the magic happens! Whisk these together until you get a smooth paste – this is your roux.
3. Keep whisking while the roux cooks for about 2-3 minutes. You’re looking for a light golden color, similar to sand at the beach. This step is crucial for getting rid of that raw flour taste!
Building the Gravy
1. Now comes my favorite part – slowly pour in 2 cups of warm chicken broth while whisking constantly. Add that remaining ¼ cup of drippings (or bouillon paste if using). The mixture will look thin at first, but don’t worry!
2. Keep whisking and cooking for 5-8 minutes. Watch how it transforms before your eyes into this gorgeous, velvety sauce. When it coats the back of a spoon beautifully, you’re almost there!
Delicious Ways to Use Your Gravy
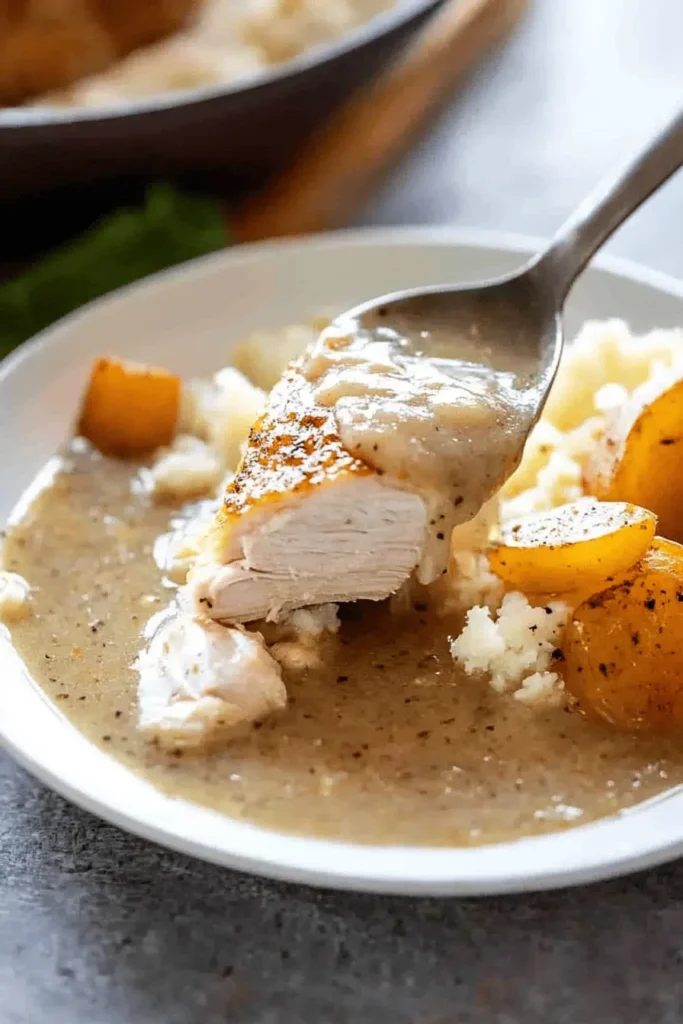
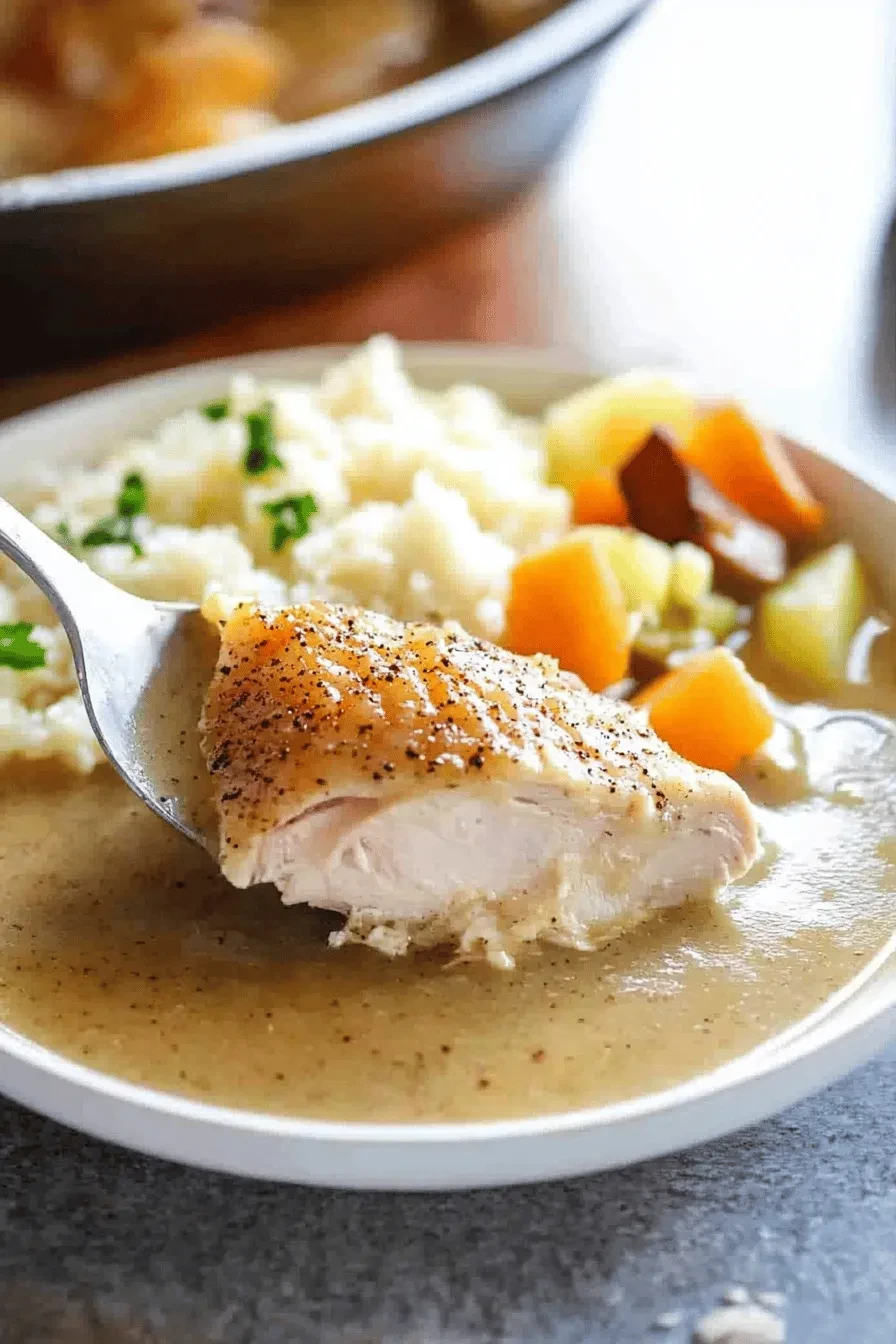
This gravy is incredibly versatile! I love serving it with my melt-in-your-mouth chicken for a truly comforting meal. Here are some other fantastic ways to use it:
- Classic Comfort Foods: Pour it over mashed potatoes, rice, or stuffing
- Quick Weeknight Meals: Use it as a sauce for egg noodles or steamed vegetables
- Creative Uses: Try it as a base for quick pot pies or as a savory crepe filling
Storage Tips
If you’re lucky enough to have leftovers (which rarely happens in my house!), store your gravy in an airtight container in the fridge for up to 3 days. When reheating, warm it gently on the stovetop, adding a splash of broth if needed to thin it out. Give it a good whisk and it’ll be just as delicious as when you first made it!
FAQs & Final Thoughts
Frequently Asked Questions
Lumpy gravy usually happens when cold liquid meets hot roux too quickly. To fix lumpy gravy, strain it through a fine-mesh sieve or blend it with an immersion blender. To prevent lumps, always whisk continuously while adding warm broth to your roux.
Yes! Make your gravy up to 3 days ahead and store it in an airtight container in the refrigerator. When ready to serve, reheat gently on the stovetop, whisking occasionally and adding a splash of warm broth if needed to reach desired consistency.
For thin gravy, simmer longer to reduce, or make a cornstarch slurry (1 teaspoon cornstarch mixed with 1 tablespoon cold water) and whisk it in. For thick gravy, gradually whisk in warm chicken broth until you reach your desired consistency.
Yes! Transfer cooled gravy to freezer-safe containers or bags and freeze for up to 4 months. When ready to use, thaw overnight in the refrigerator and reheat gently on the stovetop, whisking well to restore its smooth texture.
Final Thoughts
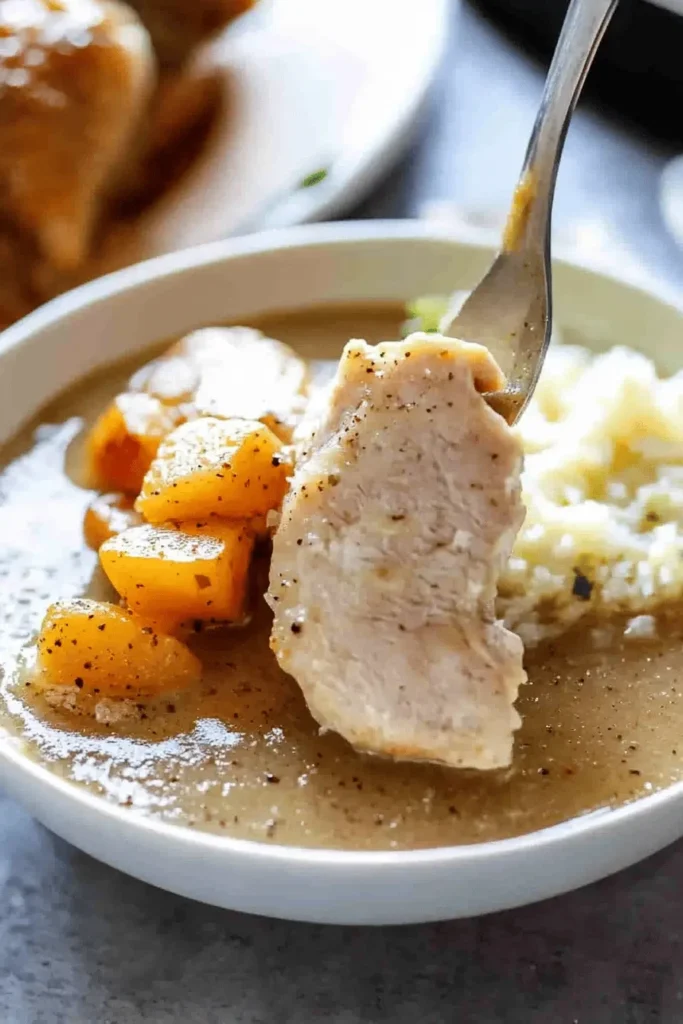
Making your own chicken gravy might seem intimidating at first, but I promise it’s worth every minute! Once you master this recipe, you’ll never look back at store-bought versions again. It’s perfect for transforming simple meals into something special, and makes a wonderful addition to everything from chicken pot pie to Sunday roasts.
Remember, practice makes perfect with gravy-making. If your first attempt isn’t restaurant-worthy, don’t give up! Each time you make it, you’ll get more confident with the process. I’d love to hear how your gravy turns out – drop a comment below to share your experience or ask any questions. Happy cooking!
CHICKEN GRAVY
Equipment (affiliate links)
- sauce pan large
- liquid measuring cup or a bowl
- large spoon or ladle
Ingredients
- 0.75 cup drippings from roasted chicken about
- 0.25 cup all-purpose flour
- 2.75 cups low-sodium chicken broth or turkey or vegetable broth, add extra 0.75 cup if not using drippings
- salt and pepper to taste
- 0.25 cup drippings additional or 1 teaspoon chicken bouillon paste for flavor if not using drippings
- 1 tablespoon cornstarch
- 1 tablespoon water
Instructions
- If using drippings (optional): When you have taken your chicken out of the oven, pour the liquid and drippings from the pan into a liquid measuring cup or a bowl. (Tip the pan away from your body and be careful not to burn yourself)! Let the drippings sit for a minute, allowing the fat to naturally separate from the rest of the drippings. You will notice that the fat will rise to the top, leaving the drippings and liquid on the bottom. Use a large spoon or ladle to skim (remove most of the fat from the top of the drippings).
- To make the gravy, use a large sauce pan and add ½ cup of drippings (or chicken broth) to the pan.
- Add ¼ cup flour to the pan and whisk together until it makes a smooth paste. (At this point, you’ll need to use a little of your own judgement. You want a pasty consistency. If yours seems a little greasy, add more flour).
- When you have found the right consistency, whisk the mixture slowly over the heat as it begins to brown. You are creating a roux.
- Once you get a nice lightly golden color, add 2 cups of chicken broth and ¼ additional cup of drippings (or 1 teaspoon chicken bouillon paste for flavor if not using drippings).
- Allow the gravy to cook, whisking constantly for about 5 to 8 minutes, or until thickened.
- If the gravy is too thick, add more broth or drippings liquid. If the gravy is too thin after cooking for 10 minutes, add a cornstarch slurry (mix 1 tablespoon of cornstarch with 1 tablespoon of water and then add to the gravy).
- Once you are happy with the consistency of your gravy, season with pepper (and salt if needed) to taste, and enjoy!
- Store leftover gravy covered, in the refrigerator.

Leave a Reply