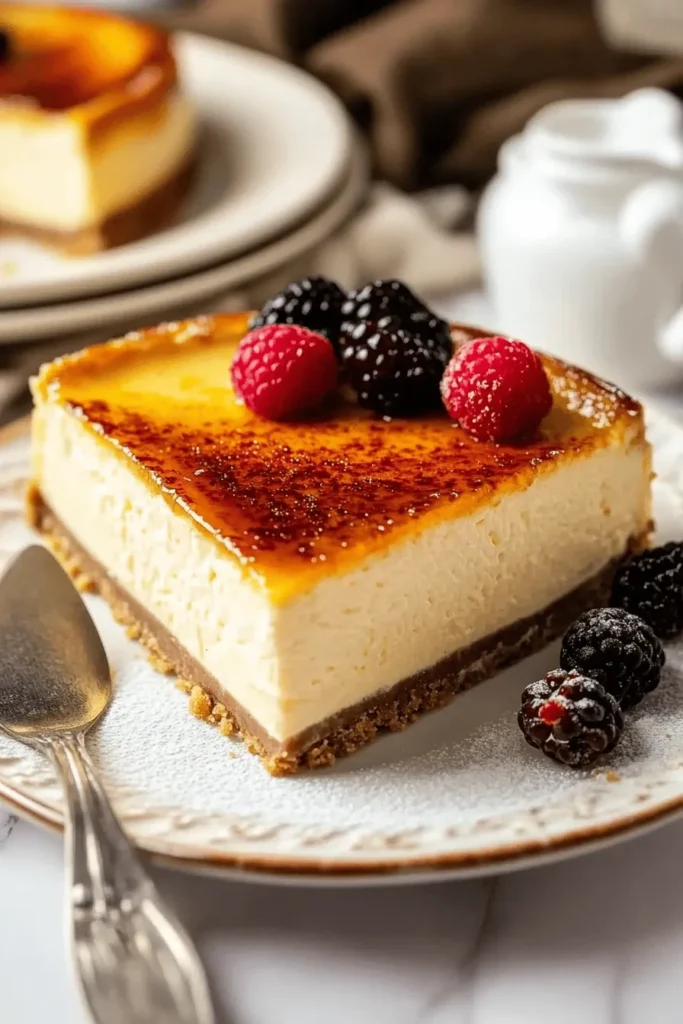
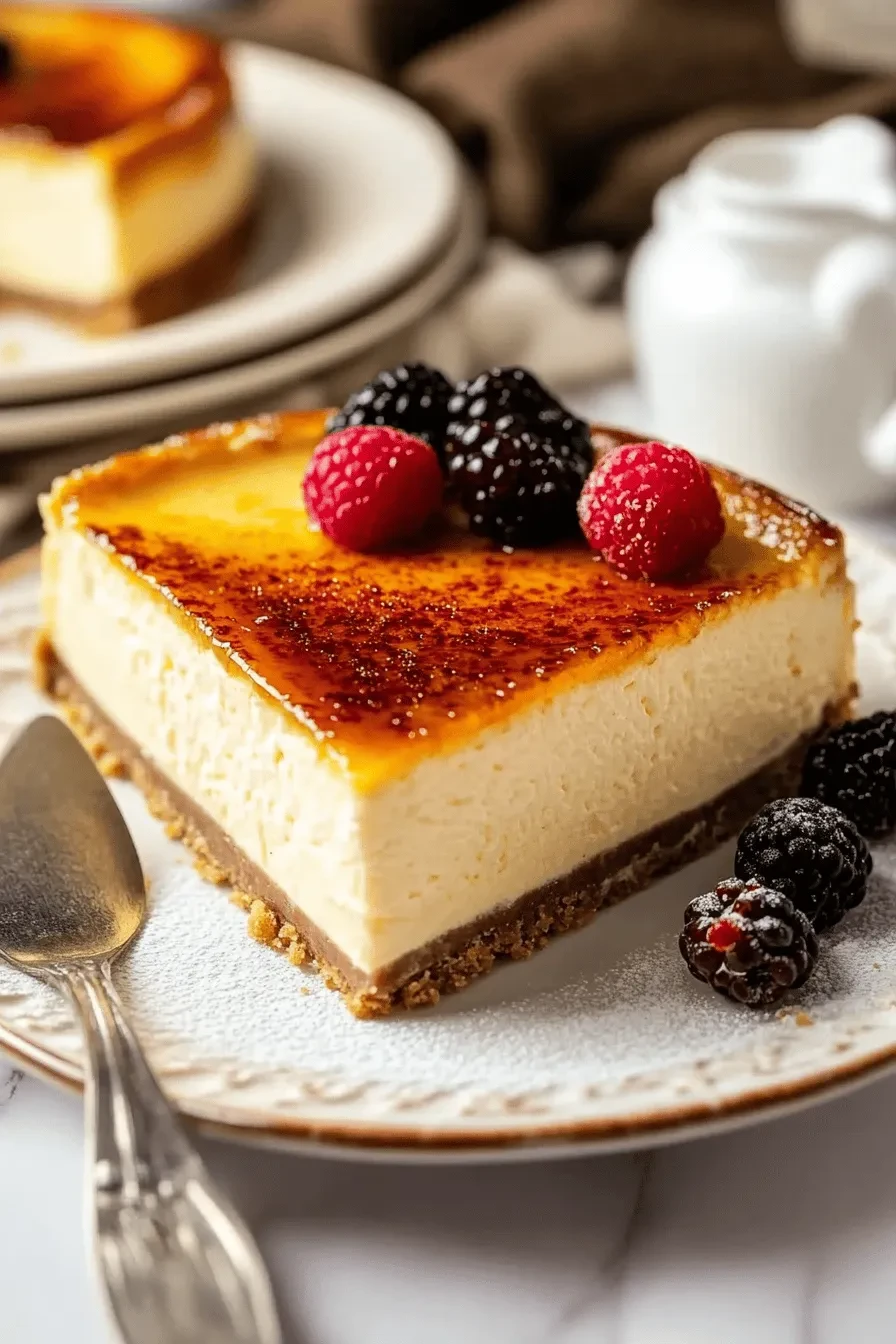
This indulgent crème brûlée cheesecake marries two beloved desserts into one showstopping treat. With its silky-smooth vanilla bean-speckled filling and that signature crack of caramelized sugar on top, it’s a dessert that never fails to impress. Perfect for special occasions or when you’re craving something extraordinary!
Why You’ll Love This Crème Brûlée Cheesecake
- Perfectly creamy cheesecake meets crispy caramelized topping
- Real vanilla beans create gorgeous speckles throughout
- No-crack baking method (thanks to the water bath technique!)
- Make-ahead friendly – perfect for celebrations
- Buttery graham cracker crust that doesn’t crumble
- That satisfying “crack” when breaking through the top
- Pairs beautifully with fresh berries
This recipe combines everything you love about classic cheesecake with that irresistible burnt sugar topping that makes cheesecake desserts so special. The filling is rich and creamy, flavored with real vanilla beans (though vanilla bean paste works beautifully too!). Each bite starts with a satisfying crack through the caramelized sugar top, then melts into the silky-smooth cheesecake beneath.
What makes this cheesecake truly special is the contrast between the cool, creamy filling and that warm, crispy top layer. I’ve tested this recipe countless times to perfect the ratios and technique – ensuring you get that picture-perfect caramelized top without compromising the cheesecake’s texture. The graham cracker crust provides the perfect buttery base that holds everything together beautifully.
While it might look fancy, I promise this recipe is completely approachable. I’ll walk you through each step, from achieving the perfect water bath to getting that gorgeous golden-brown sugar topping. Trust me, once you master this recipe, it’ll become your go-to impressive dessert!
Ingredients Overview
Let me walk you through each essential ingredient that makes this Crème Brûlée Cheesecake absolutely divine!
- Cream Cheese: The star of our show! Use full-fat blocks, not spreadable cream cheese. They need to be at room temperature – I usually leave mine out for about 2 hours. Cold cream cheese leads to lumps, trust me!
- Vanilla Beans: While they might seem fancy, vanilla beans create those gorgeous speckles and deep flavor we’re after. You can substitute with 1½ teaspoons of vanilla bean paste – I’ve done this many times when I’ve run out of beans, just like in my strawberry cheesecake cookies.
- Sour Cream: This is my secret weapon for that perfect creamy texture. It adds tanginess and helps prevent the dreaded dry cheesecake. Full-fat Greek yogurt works too!
- Graham Crackers: These create our buttery foundation. I’ve found that 12 full-sheet graham crackers make the perfect ratio of crust to filling. For a twist, try chocolate graham crackers!
Success Tips & Tricks
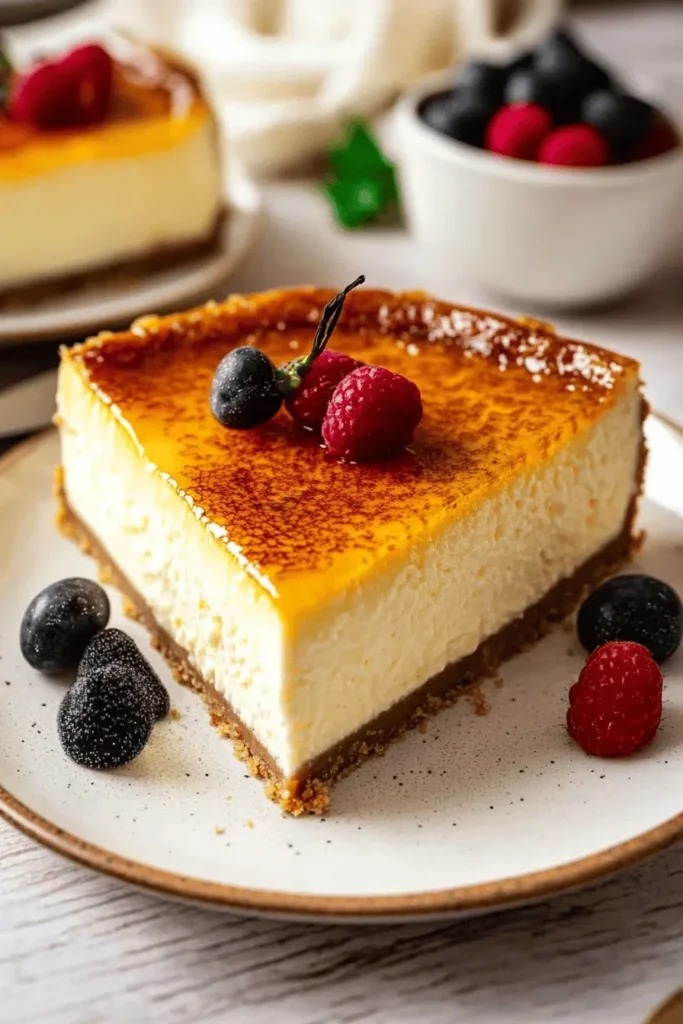
After years of testing (and yes, some spectacular fails), here are my non-negotiable tips for cheesecake perfection:
- The Water Bath is Everything: Don’t skip it! Just like my favorite dump cake recipe, moisture is key. Double-wrap your springform pan with foil – water is cheesecake’s friend in the oven, but not when it seeps into your crust!
- Room Temperature Ingredients: This isn’t just baking snobbery – room temp ingredients blend seamlessly. Cold ingredients = lumpy batter = sad cheesecake.
- Don’t Rush the Cooling: The gradual cool-down prevents cracks. Think of it like tucking your cheesecake into bed – it needs that gentle transition from warm oven to room temperature.
- Caramelizing Success: When torching the sugar top, keep the flame moving in small circles. I learned the hard way that holding the flame in one spot leads to burnt patches!
Remember, cheesecake baking is like a slow dance – take your time, follow the rhythm, and you’ll create something magical!
Step-by-Step Instructions
Let me walk you through making this showstopping Crème Brûlée Cheesecake! Just like my swirled strawberry cheesecake, the key is taking your time with each step.
Graham Cracker Crust
- Mix graham cracker crumbs and brown sugar in a bowl
- Stir in melted butter until evenly moistened
- Press mixture firmly into bottom and 1-inch up sides of a 8″ or 9″ springform pan
- Bake at 325°F for 10 minutes and let cool completely
Creamy Cheesecake Filling
- Beat softened cream cheese until completely smooth (no lumps!)
- Mix in sugar and vanilla bean seeds until creamy
- Blend in sour cream until incorporated
- Add eggs one at a time, mixing on low speed
- Pour into cooled crust
Baking Instructions
My #1 tip: Always use a water bath! Here’s how:
- Wrap pan bottom in 3 layers of heavy-duty foil
- Place in large roasting pan and add hot water halfway up sides
- Bake 60-75 minutes until edges are set but center jiggles slightly
- Turn off oven, crack door, let cool 1 hour
Creating the Brûlée Top
Just like making cheesecake brownies, timing is everything for the perfect finish:
- Chill cheesecake completely (at least 4 hours)
- Sprinkle even layer of granulated sugar on top
- Torch sugar using circular motions until caramelized
- Let hardened for 5 minutes before serving
Recipe Variations
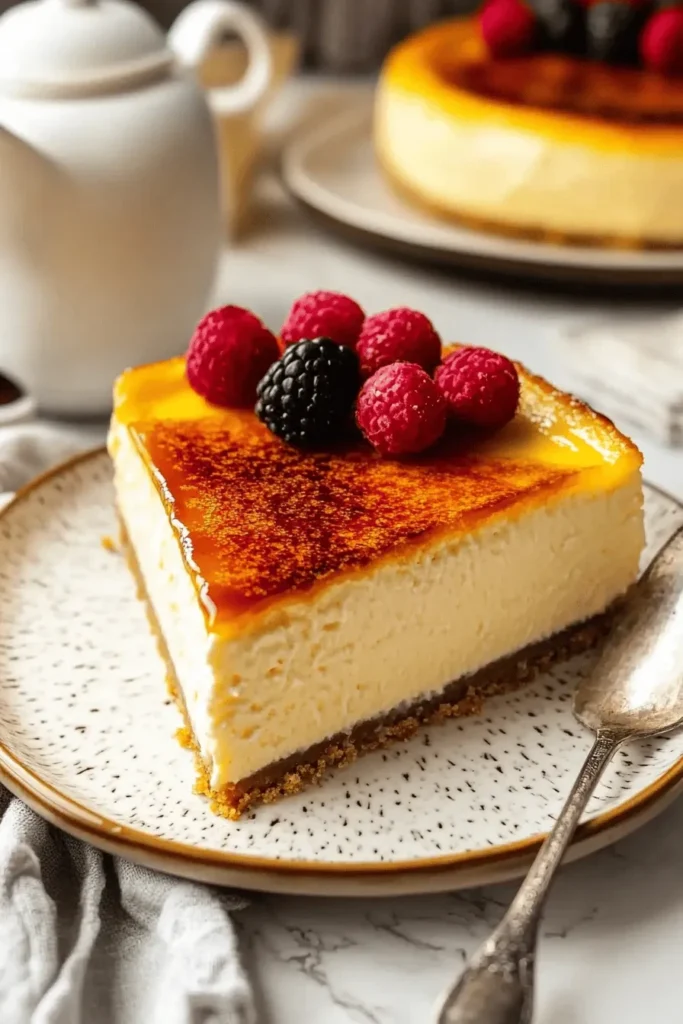
Love this base recipe? Try these creative twists that remind me of my favorite earthquake cake:
- Flavor Variations:
- Add espresso powder to the filling for a coffee-flavored twist
- Swap vanilla beans for 1 tablespoon orange zest
- Mix crushed chocolate cookies into the crust instead of graham crackers
- Topping Options:
- Fresh berries around the edge
- Chocolate shavings after brûléeing
- Whipped cream dollops between slices
Pro Tip: For extra decadence, drizzle warmed caramel sauce over individual slices just before serving!
FAQs & Final Thoughts
Frequently Asked Questions
Yes! While a kitchen torch gives the best control, you can use your oven’s broiler. Place the chilled cheesecake on the top rack, sprinkle with sugar, and broil for 1-2 minutes. Watch carefully to prevent burning!
Cracks usually happen from overmixing (especially after adding eggs) or temperature shock. Make sure to mix just until combined, use room temperature ingredients, and always let the cheesecake cool gradually in the turned-off oven.
You can make the cheesecake up to 3 days ahead! Just wait to add the caramelized sugar top until right before serving. Store in the fridge, covered loosely with plastic wrap.
Absolutely! Like my popular fried cheesecake bites, this cheesecake freezes beautifully for up to 2 months. Wrap well in plastic wrap and foil, then thaw overnight in the fridge before brûléeing.
Final Thoughts
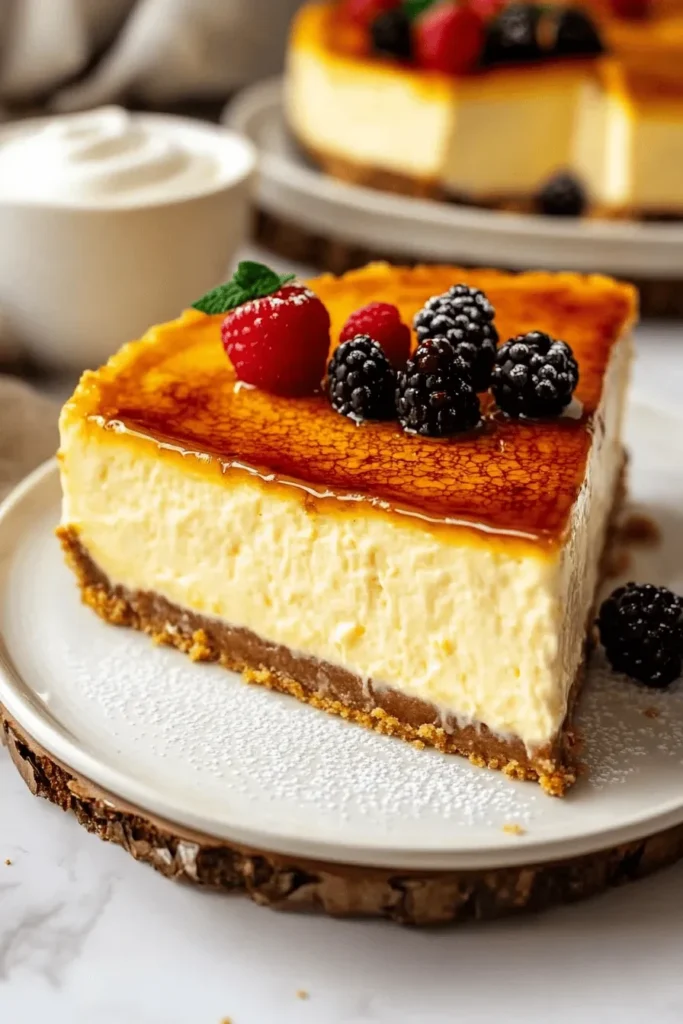
Oh my goodness, friends – this Crème Brûlée Cheesecake is truly something special! Every time I make it, the “crack” of breaking through that caramelized sugar top brings such joy to the table. The way the crispy caramel gives way to that silky-smooth cheesecake underneath… pure magic!
Remember, don’t feel intimidated by the fancy name – if you follow these steps, you’ll create a stunning dessert that’ll have everyone thinking you’re a professional pastry chef! I’d absolutely love to see your creations – snap a photo and tag me on social media, or leave a comment below sharing how it turned out. Happy baking! 🍰✨
Crème Brûlée Cheesecake
Ingredients
Graham Cracker Crust
- 1 1/2 cups graham cracker crumbs 180 grams, or digestive biscuits
- 1/4 cup brown sugar 55 grams
- 6 tbsp unsalted butter melted 85 grams
Cheesecake batter
- 907 grams cream cheese softened 4 packages of 8 oz.
- 1 1/3 cup granulated sugar 266 grams
- 2 vanilla bean pods see notes
- 1/2 cup sour cream 120 grams
- 4 large eggs room temp
- 1/2 tbsp vanilla extract
- 1/2 tsp salt
For the topping
- 1/4 cup granulated sugar 50 grams
Instructions
Graham Cracker Crust
- Pre-heat the oven to 325°F.
- Place the graham cracker in a food processor and process to obtain fine crumbs.
- Add the brown sugar and mix to combine.
- Melt the butter and mix with the crumbs and sugar.
- Press the mixture on the bottom of an 8″ or 9″ cheesecake pan. If using an 8″ springform pan, it must be deep.
- Bake the crust in the oven for 10 minutes.
- Remove it from the oven and let it cool down.
Cheesecake Batter
- Grease the sides of the cheesecake pan. (Read notes)
- Beat the cream cheese for 3 minutes with a mixer at medium speed, until creamy.
- Add the granulated sugar to the bowl.
- Split the vanilla bean pods in half with a pairing knife then open them and scrape the seeds from into the bowl with the sugar and cream cheese.
- Beat the cream cheese, vanilla bean seeds, and sugar for 2 minutes at medium speed.
- Scrape the bowl and beat for another 30 seconds.
- Add the sour cream and mix to combine. Scrape the bowl.
- Make sure to scrape the bowl a few times during the mixing process, to avoid the cream cheese from forming lumps in the batter.
- Add the eggs one at a time to the bowl, mixing until incorporated before adding the next one.
- Avoid over mixing once the eggs are added, to prevent cracking of the cheesecake.
- Add the vanilla extract (and or vanilla bean paste), salt, and mix briefly.
- Pour the cheesecake batter in the pan, over the baked and cooled crust.
- Wrap the bottom of the pan with a few layers of foil.
- Place the pan in a larger roasting pan, and add hot water to the roasting pan, to form a water bath. This is very important so the cheesecake doesn’t crack.
- Bake the cheesecake in the pre-heated 325°F oven for 60 to 75 minutes.
- To check if the cheesecake is done baking, give the pan a little wiggle, it should jiggle slightly in the center, but the edges should look set.
- Turn the oven off, and leave the cheesecake in there for 1 hour.
- Remove the cheesecake from the oven, let it cool down. Don’t remove the ring of the pan yet, place the cheesecake in the fridge to chill for at least 6 hours.
To decorate
- After the cheesecake has been done chilling, remove from the fridge. Remove the ring from around the pan.
- Sprinkle the sugar on an even layer on top of the cheesecake. Use a torch to caramelize the sugar on top. I like to use my torch on the lowest setting and do this step slowly, to avoid burned spots on the surface.
- Use a circular motion, and don’t hover over one spot for too long, keep it moving, trying to get the whole surface of the cheesecake evenly.
- Allow for the caramelized sugar to harden up on top, which should take a few minutes. Slice and serve.
- If you have cheesecake leftovers, the caramelized sugar on top will become soft. I found that if you take the torch and toast the top of the cheesecake again, using a low setting, it should harden the sugar up again. It won’t be as crunchy as it was when you first did it, but it will do the trick.

Leave a Reply