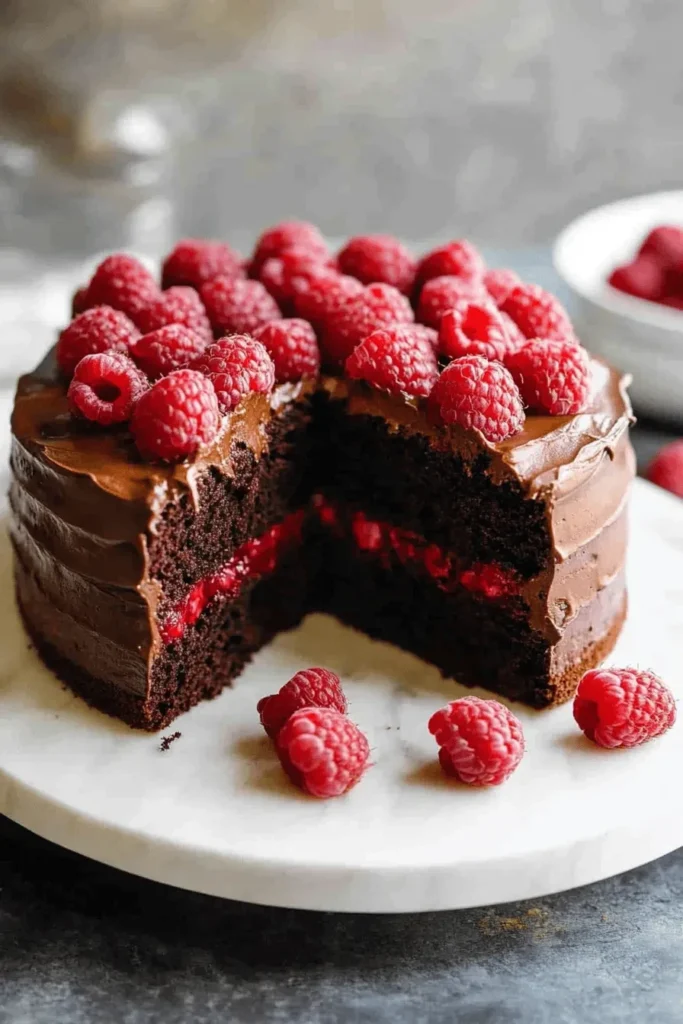
This decadent chocolate raspberry cake combines two of my favorite flavors – rich, moist chocolate cake and sweet-tart raspberry filling. After testing countless variations, I’ve created the perfect balance of flavors that will make this your new go-to celebration cake. The deep chocolate layers are incredibly tender, while the fresh raspberry filling adds bright bursts of flavor in every bite.
Why You’ll Love This Chocolate Raspberry Cake
- Incredibly moist chocolate cake layers thanks to buttermilk and oil
- Fresh raspberry filling that’s perfectly balanced – not too sweet or tart
- Rich chocolate frosting that’s silky smooth and pipes beautifully
- Make-ahead friendly – cake layers can be frozen for up to 1 month
- Perfect for special occasions but simple enough for any day
- No fancy decorating skills needed
What I love most about this cake is how the flavors complement each other so perfectly. The chocolate cake has the perfect amount of richness without being overwhelming, while the raspberry filling adds a gorgeous pop of flavor and color. I’ve tested this recipe countless times to get it just right, and it reminds me of my favorite chocolate bundt cake but with an elegant twist.
The secret to keeping this cake super moist is using oil instead of butter in the cake batter. While I usually love butter in my cakes, oil creates an incredibly tender, melt-in-your-mouth texture that stays fresh for days. And trust me on the buttermilk – it adds the perfect tang while keeping the crumb ultra-soft. Don’t have buttermilk? No worries! I’ll show you my quick trick for making your own.
Whether you’re baking for a birthday, holiday, or just because, this chocolate raspberry cake is guaranteed to impress. The combination of flavors is absolutely irresistible, and the presentation is stunning with minimal effort required. Get ready for this to become your new favorite celebration cake!
Key Ingredients That Make This Cake Special
Let me walk you through the star players in this chocolate raspberry masterpiece! Each ingredient has been carefully chosen through countless hours of testing to create the perfect balance of flavors and textures.
- Cocoa Powder: We’re using unsweetened cocoa powder for deep, rich chocolate flavor. I’ve found that Dutch-process cocoa gives the cake a darker color and smoother taste, but natural cocoa powder works beautifully too!
- Oil: Instead of butter, we’re using vegetable oil which creates an incredibly tender, moist crumb that stays fresh for days. Trust me on this one – while I love butter in most cakes, oil is the secret to this cake’s heavenly texture.
- Buttermilk: This ingredient is non-negotiable! It adds tenderness and a subtle tang that enhances the chocolate flavor. Don’t have buttermilk? Mix 1 cup of whole milk with 1 tablespoon of lemon juice or vinegar and let it sit for 5 minutes.
- Fresh Raspberries: The filling’s bright, sweet-tart flavor comes from fresh raspberries, though frozen work just as well. They cook down with sugar and cornstarch into a luscious, jammy filling that pairs perfectly with the chocolate, just like in my favorite chocolate roll cake.
Essential Baking Tips for Perfect Results
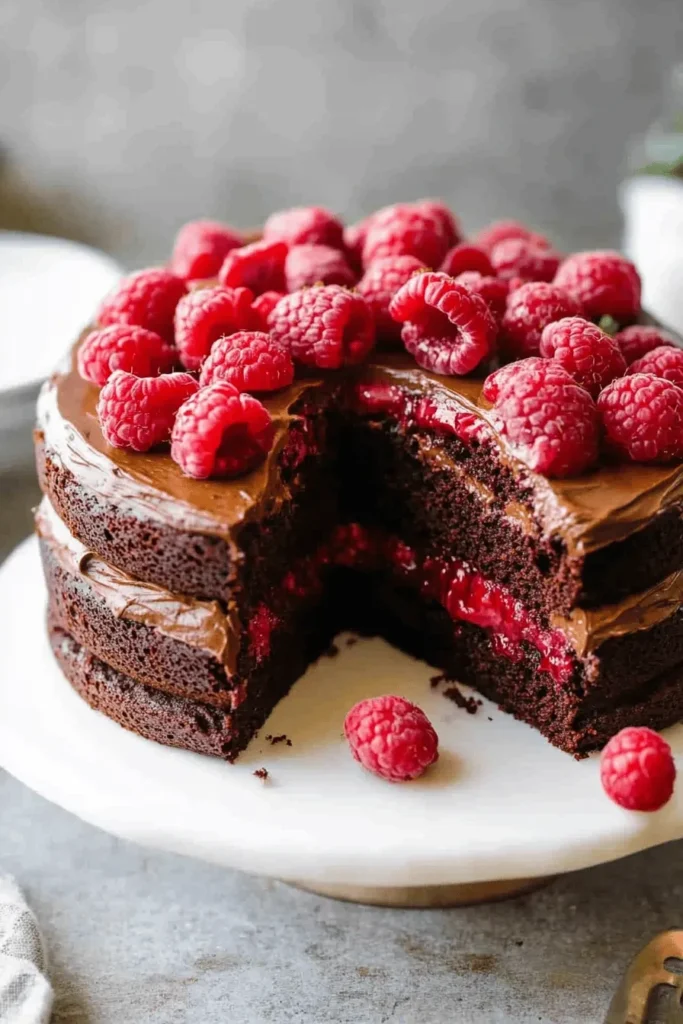
After years of recipe testing, these are my tried-and-true tips for achieving bakery-worthy results every time:
- Room Temperature Ingredients: This isn’t just baking snobbery – room temp eggs and buttermilk blend more easily and create a smoother, more uniform batter. Set them out about an hour before baking.
- Proper Flour Measurement: Resist the urge to scoop flour directly with your measuring cup! Instead, spoon it into the cup and level off with a knife. This prevents packing and ensures you don’t end up with a dense cake.
- Don’t Rush the Process: Let those cake layers cool completely before filling and frosting. I mean completely! Even slightly warm layers can melt your frosting and turn your masterpiece into a mess.
- Level Your Layers: For a professional-looking cake, use a long serrated knife to trim any domed tops off your cake layers. Those scraps make excellent baker’s snacks!
Step-by-Step Guide to Making Chocolate Raspberry Cake
Let me walk you through creating this showstopper cake! I’ve broken it down into manageable steps that will help you achieve perfect results, just like my beloved chocolate half moon cookies.
Making the Chocolate Cake Layers
First, let’s tackle those incredibly moist chocolate layers:
- Start with your dry ingredients – whisk together the sugar, flour, cocoa, baking powder, baking soda, and salt until well combined. This ensures even distribution of our leaveners.
- Add your wet ingredients – eggs, vanilla, oil, and buttermilk. Beat for exactly 2 minutes – I use my timer! This creates the perfect texture.
- Here comes my favorite part – add that boiling water! The batter will become quite thin, but don’t worry – this creates the most incredibly moist cake you’ve ever tasted.
- Divide between your prepared pans. I like to weigh them for perfectly even layers.
Creating the Perfect Raspberry Filling
While your cakes cool, let’s make that gorgeous filling:
- Combine sugar, water, lemon juice, and cornstarch in your saucepan first. Whisk until smooth – this prevents lumps!
- Add those beautiful raspberries and cook until they break down and the mixture thickens. You’ll know it’s ready when it coats the back of a spoon.
- Pro tip: Let it cool completely before using. I sometimes make this a day ahead!
Creative Ways to Customize Your Cake
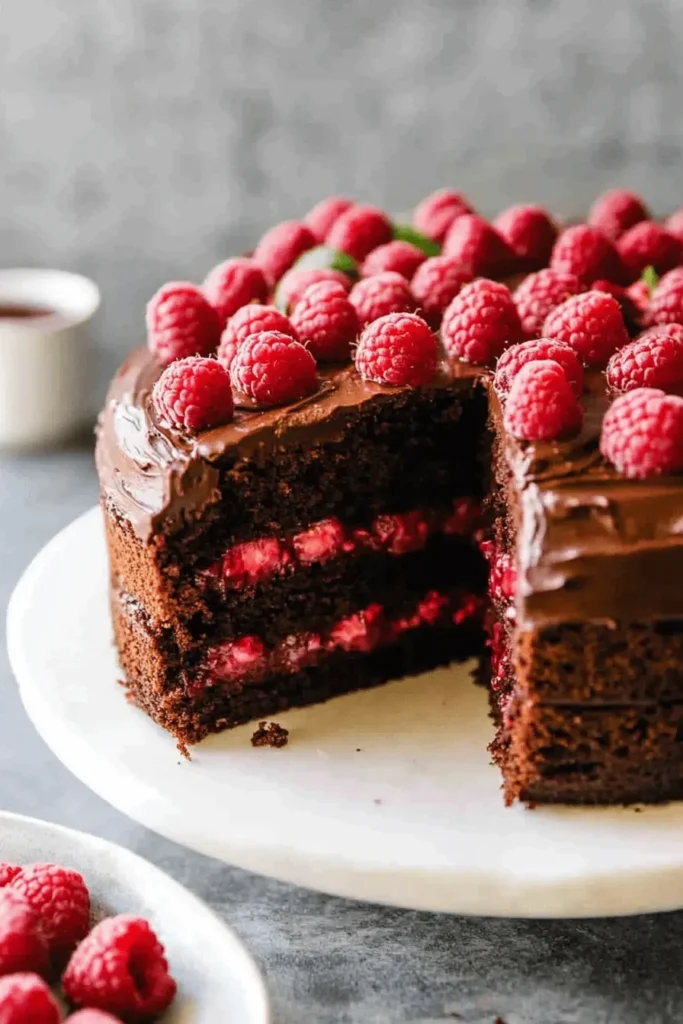
Here are some of my favorite ways to make this cake your own:
- Filling variations: Try mixing some chocolate chips into the raspberry filling for extra decadence
- Frosting twists: Add a tablespoon of raspberry preserves to the chocolate frosting for a subtle fruit note
- Decoration ideas:
- Fresh raspberries and chocolate shavings on top
- Chocolate ganache drip for extra drama
- White chocolate curls for contrast
Make-Ahead Tip: The unfrosted cake layers can be wrapped tightly and frozen for up to a month. I actually prefer working with frozen layers – they’re easier to frost and fill without crumbs!
FAQs & Final Thoughts
Frequently Asked Questions
Yes! Make your own buttermilk by mixing 1 cup regular milk with 1 tablespoon lemon juice or white vinegar. Let it sit for 5 minutes until slightly curdled, then use as directed in the recipe.
The raspberry filling can be made up to 3 days ahead and stored in an airtight container in the refrigerator. Just let it come to room temperature before spreading between the cake layers.
For clean slices, refrigerate the assembled cake for at least 2 hours before serving. Use a long, sharp knife dipped in hot water and wiped clean between each cut. Just like my red velvet brownies, chilling helps everything set perfectly!
Absolutely! Wrap individual slices tightly in plastic wrap, then aluminum foil. Freeze for up to 3 months. Thaw overnight in the refrigerator for best results.
Final Thoughts
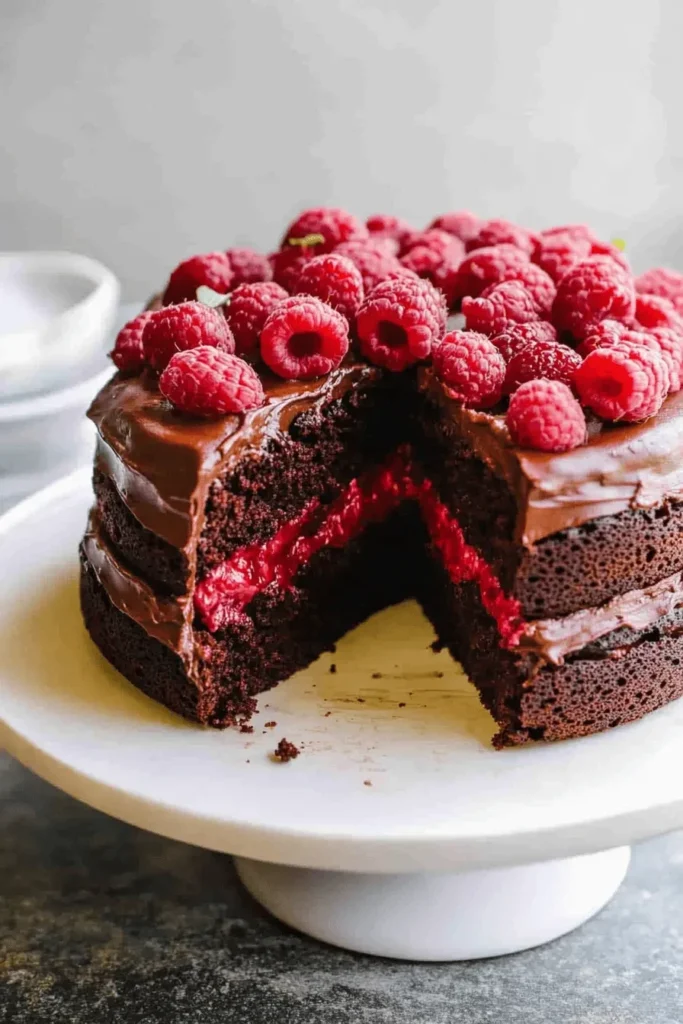
This chocolate raspberry cake has become my go-to celebration cake for good reason – it’s that perfect balance of rich chocolate and bright berry flavors that makes everyone smile! Don’t be intimidated by the multiple components – I’ve broken everything down into manageable steps that even beginning bakers can master.
Remember, the key to success is taking your time and letting those layers cool completely before assembling. And if something doesn’t look perfect? That’s what fresh raspberries and chocolate shavings on top are for! They hide any imperfections while making the cake look absolutely stunning.
I’d love to hear how this recipe turns out in your kitchen! Drop a comment below sharing your experience or tag me in your cake photos on social media. Happy baking, friends! 🍫🍰
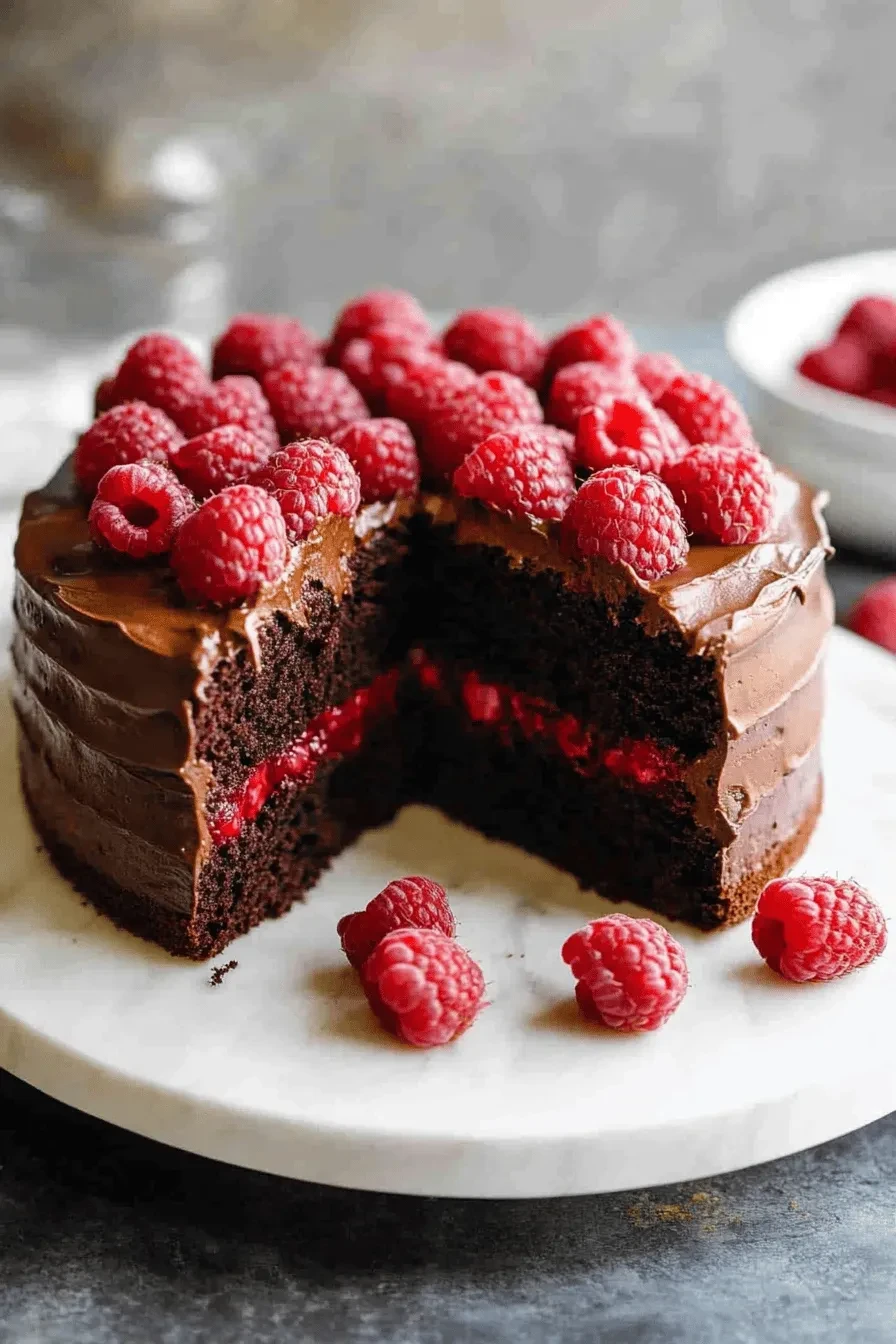
Chocolate Raspberry Cake
Equipment (affiliate links)
- Parchment Paper
- Cake Pans
Ingredients
- 2 cups granulated sugar
- 1 3/4 cups all-purpose flour + 2 Tablespoons
- 3/4 cup unsweetened cocoa powder
- 1 1/2 teaspoons baking soda
- 1 1/2 teaspoons baking powder
- 1 teaspoon salt
- 2 large eggs
- 1 cup buttermilk
- 1/2 cup oil (vegetable or canola oil)
- 2 teaspoons vanilla extract
- 1 cup boiling water
- 1/2 cup butter melted
- 2/3 cup unsweetened cocoa powder
- 3 cups powdered sugar
- 1/3 cup milk
- 1 teaspoon vanilla extract
- 2 cups raspberries fresh or frozen
- 1/4 cup sugar
- 1 tablespoon cornstarch + 1 teaspoon
- 1 tablespoon water
- 1 tablespoon lemon juice
- Fresh raspberries for topping on the cake , optional
Instructions
- CHOCOLATE CAKE: Preheat oven to 350 degrees. Grease two 8 or 9 inch round baking pans (I also like to line them with parchment or wax paper).
- Stir dry ingredients together: sugar, flour, cocoa, baking powder, baking soda, and salt.
- Add eggs, vanilla, oil, buttermilk and beat for 2 minutes. Stir in boiling water, which will make the batter very thin. Pour batter into prepared cake pans.
- Bake for 30-35 minutes or until a toothpick inserted into the center of the cakes comes out clean. Cool for 10 minutes. Run a knife around the edges to loosen cake from sides of pan. Invert cakes onto cooling racks.
- Once cooled completely you can wrap them with plastic wrap and store them room temperature for one day, or you can wrap them with plastic wrap and store in a freezer bag to decorate them another day.
- RASPBERRY CAKE FILLING:* Add sugar, water, lemon juice and cornstarch to a medium saucepan over medium heat. Stir well to combine. Add raspberries and cook, stirring often, until raspberries have softened into the sauce and the sauce has thickened. Allow to cool completely before filling cake. (See notes for seedless raspberry filling.)
- CHOCOLATE FROSTING: Combine butter and cocoa powder. Add powdered sugar, milk, and vanilla extract and beat until smooth and creamy! Add additional powdered sugar, to thicken, or milk, to the the frosting, if needed.
- ASSEMBLE YOUR CAKE: Place one cake round on plate or cake stand. Add desired amount of raspberry filling and spread into a smooth layer. Top with second cake round. Frost the outside of the cake with chocolate frosting. Add fresh raspberries on top, if desired.

Leave a Reply