These indulgent chocolate covered Oreos are pure magic – just two ingredients transform classic sandwich cookies into an irresistible treat that’s perfect for gifts, parties, or satisfying those intense chocolate cravings. With a satisfying snap from the cookie and smooth chocolate coating, they’re impossible to resist! The best part? They’re incredibly simple to make and customize for any occasion.

Why You’ll Love These Chocolate Covered Oreos
- Just 2 ingredients needed – Oreos and chocolate!
- No baking required – just melt and dip
- Perfect make-ahead treat (keeps for 2 weeks!)
- Endlessly customizable with different cookies and chocolates
- Kid-friendly recipe that’s fun to make together
- Great for gifting and special occasions
- Works with any Oreo variety you love
I absolutely adore how versatile these chocolate-dipped cookies are! Some days I’ll use classic milk chocolate for that nostalgic candy bar taste, while other times I’ll grab white chocolate and festive sprinkles for a holiday party. They’re absolutely perfect alongside my favorite comfort food dishes for entertaining.
What Makes These Extra Special
The real secret to these treats is using quality chocolate that melts smoothly and tastes amazing. I love using chocolate melting wafers since they’re specifically made for coating treats like this. The chocolate sets up with the perfect snap and beautiful shine every single time. Plus, the ratio of chocolate to cookie is just right – enough to fully enrobe the Oreo but not so thick that it overwhelms the classic cookie taste we all know and love.
My favorite part? Getting creative with the toppings! Crushed candy canes for Christmas, pastel sprinkles for Easter, or a drizzle of contrasting chocolate for everyday indulgence. The possibilities are endless, which is why I find myself making batch after batch throughout the year.
Simple But Essential Ingredients
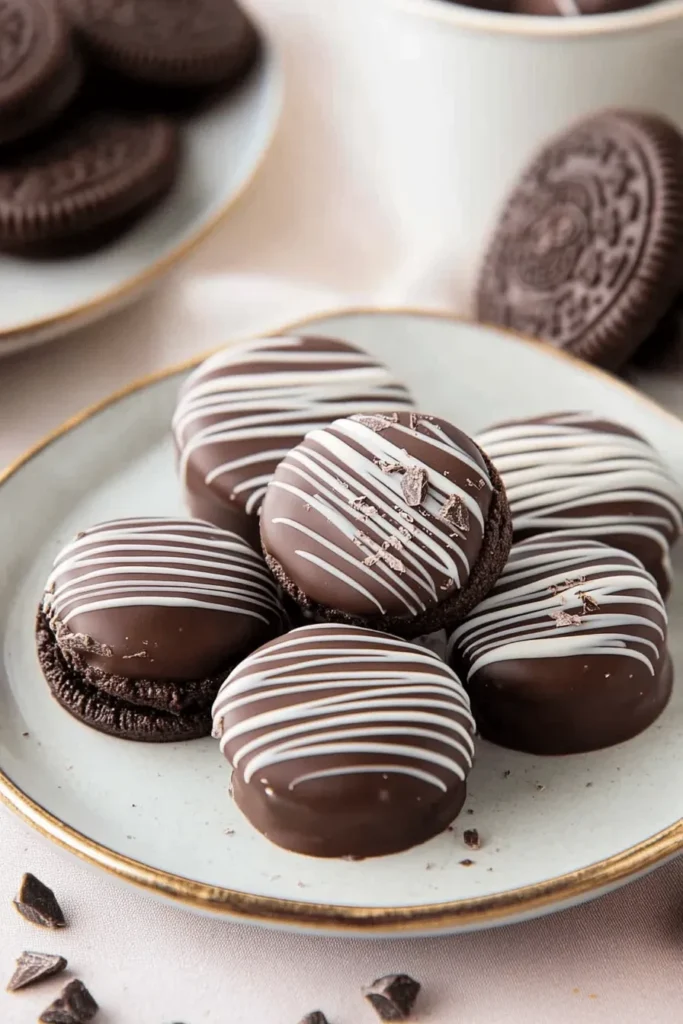
Hey bakers! Let me walk you through the starring ingredients that make these chocolate-dipped treats absolutely irresistible – and trust me, they’re simpler than you might think!
- Oreo Cookies – While basic Oreos are fantastic, just like in my favorite snack recipes, the magic lies in choosing your perfect variety. Double Stuf, Mint, or Golden all work beautifully. The cream filling actually helps stabilize the cookie during dipping, keeping everything intact.
- Chocolate for Coating – Here’s where we need to be a bit particular! Candy melts are my go-to for their reliability, but good-quality chocolate bars work wonderfully too. If using chocolate bars or chips, you’ll need to add 1-2 teaspoons of coconut oil per cup of chocolate – this creates that perfect, glossy coating that snaps when you bite into it.
- Optional Toppings – Sprinkles aren’t just pretty – they add wonderful texture contrast! I love using seasonal colors or crushing some extra Oreos for topping. For something different, try chopped nuts or even a light dusting of sea salt!
My Favorite Success Tips
Just like perfecting my kitchen basics, mastering these chocolate-covered Oreos comes down to a few simple but crucial tips:
- Temperature is everything – Keep your melted chocolate around 90°F (32°C) for the smoothest coating. Too hot and it’ll be thin and messy; too cool and you’ll get thick, clumpy coverage.
- The tap-tap trick – After dipping each cookie, gently tap your fork against the bowl’s edge 2-3 times. This creates that beautiful, thin coating without puddles around the base.
- Work in small batches – Only melt what you’ll use in about 10 minutes. If the chocolate starts to thicken, give it a quick 10-second microwave burst and stir well. This ensures every cookie gets that perfect, glossy finish.
Step-by-Step Instructions
Making chocolate covered Oreos is one of my favorite simple treats! Let me walk you through exactly how I make these irresistible cookies:
- Prep Your Workspace: First, line a large baking sheet with parchment paper or wax paper. Set up everything you need – Oreos, chocolate, decorations, and tools within easy reach. Trust me, having everything ready makes the process so much smoother!
- Melt the Chocolate: Place your chocolate or candy melts in a medium microwave-safe bowl. Heat in 15-second bursts, stirring well between each interval. Stop microwaving when there are still a few small pieces – they’ll melt as you stir. The chocolate should be smooth and glossy, like when I make my favorite cannoli dip.
- Dipping Method: Here’s my foolproof technique – balance an Oreo on a fork and dip it completely in the melted chocolate. Gently tap the fork on the bowl’s edge to let excess chocolate drip off. This prevents those pesky chocolate puddles!
- Setting & Decorating: Transfer each coated Oreo to your prepared baking sheet. If you’re adding sprinkles, do it right away before the chocolate sets. For a fancy touch, I love letting the first coating set completely, then drizzling with contrasting chocolate.
Creative Variations
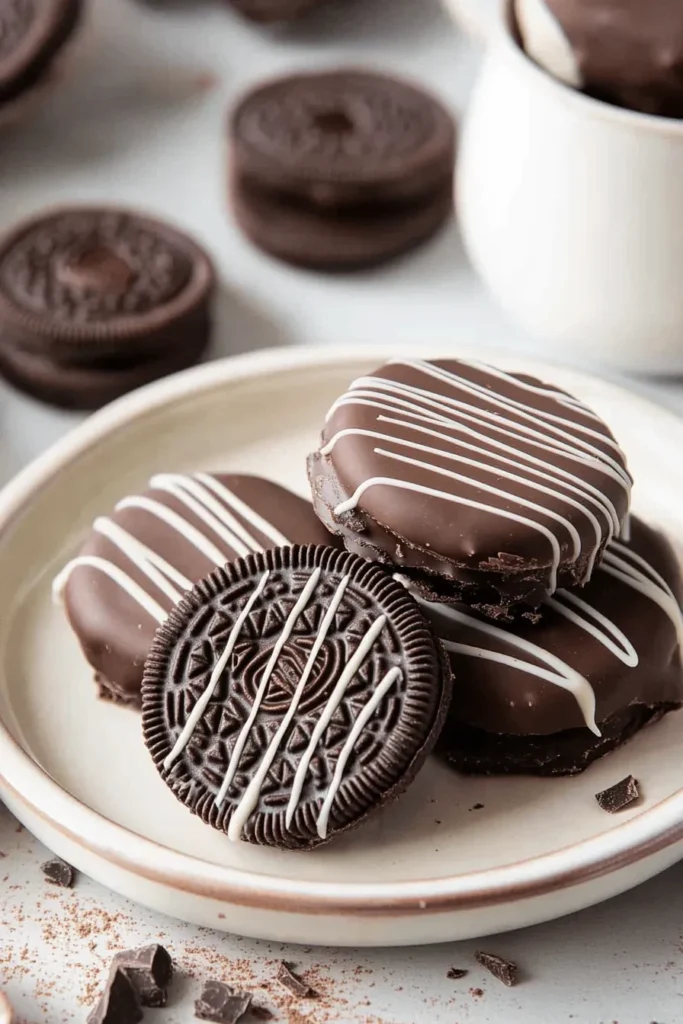
Just like my banana pudding recipe, these cookies are wonderfully versatile! Here are my favorite ways to mix things up:
- Flavor Combinations: Try mint Oreos with dark chocolate coating, or golden Oreos with white chocolate. During holidays, I love using seasonal Oreo flavors!
- Decoration Ideas:
- Crushed candy canes for Christmas
- Rainbow sprinkles for birthdays
- Gold and silver sprinkles for New Year’s
- Chopped nuts or toffee bits for extra crunch
- Gift Packaging: These make beautiful gifts! I arrange them in clear cellophane bags tied with pretty ribbon, perfect alongside my chicken parmesan sandwiches for a complete care package.
Baker’s Tip: For the smoothest coating, keep your chocolate around 90°F (32°C). If it starts to thicken, give it a quick 10-second warmup in the microwave. Working with properly tempered chocolate makes all the difference in achieving that perfect shine!
FAQs & Final Thoughts
Yes! These chocolate covered Oreos keep beautifully for up to 2 weeks when stored in an airtight container at room temperature. I often make them 2-3 days before parties. Just be sure to keep them away from direct sunlight or heat to prevent the chocolate from getting soft.
If your chocolate coating is cracking, it’s likely because the Oreos were too cold when dipped. Let your cookies come to room temperature before coating them. Also, avoid refrigerating the dipped cookies unless you live in a very warm climate – the temperature changes can cause the chocolate to crack.
These make wonderful gifts! I like placing them in clear cellophane bags tied with pretty ribbon, or arranging them in decorative cookie tins. For something extra special, pair them with my homemade Star Crunch for a nostalgic treat box that everyone loves!
Final Thoughts
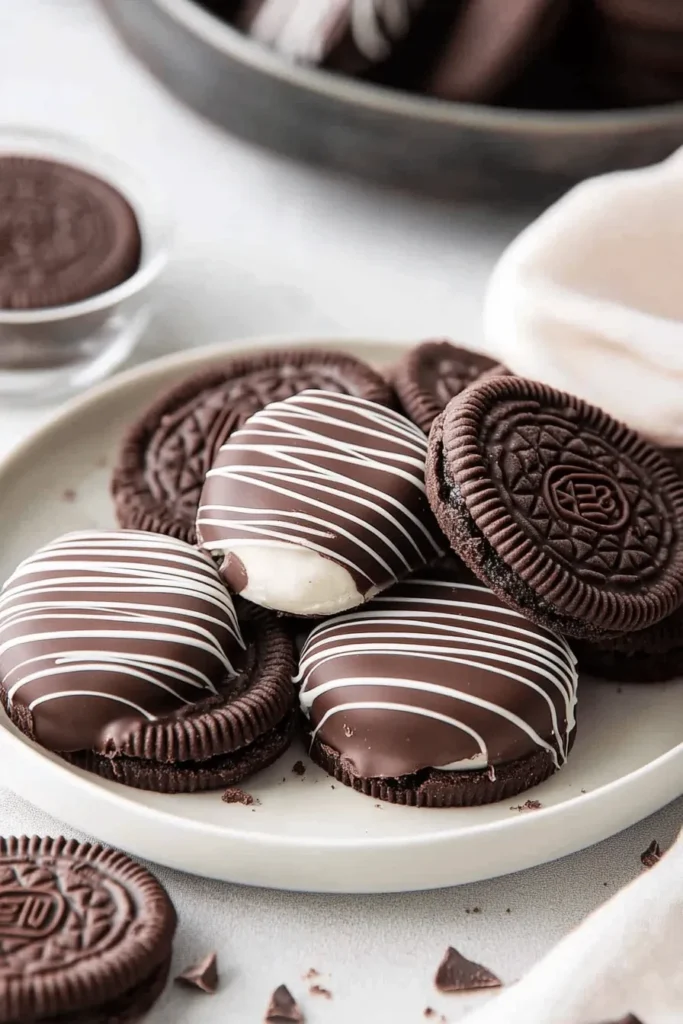
I absolutely love how these chocolate covered Oreos bring smiles to everyone’s faces! They’re one of those magical treats that manage to be both simple and spectacular at the same time. Whether you’re making them for a special celebration or just because it’s Tuesday, they’re sure to become a favorite in your recipe collection.
The best part? You can get as creative as you like with decorations and flavors. I’ve made these countless times, and each batch feels like a new adventure. Don’t be afraid to experiment with different Oreo flavors or decoration combinations – there’s really no wrong way to make these delicious treats!
Remember to have fun with the process, and don’t worry if your first few cookies aren’t picture-perfect. Before you know it, you’ll be creating gorgeous chocolate covered Oreos that look like they came from a fancy candy shop! Happy dipping, friends!
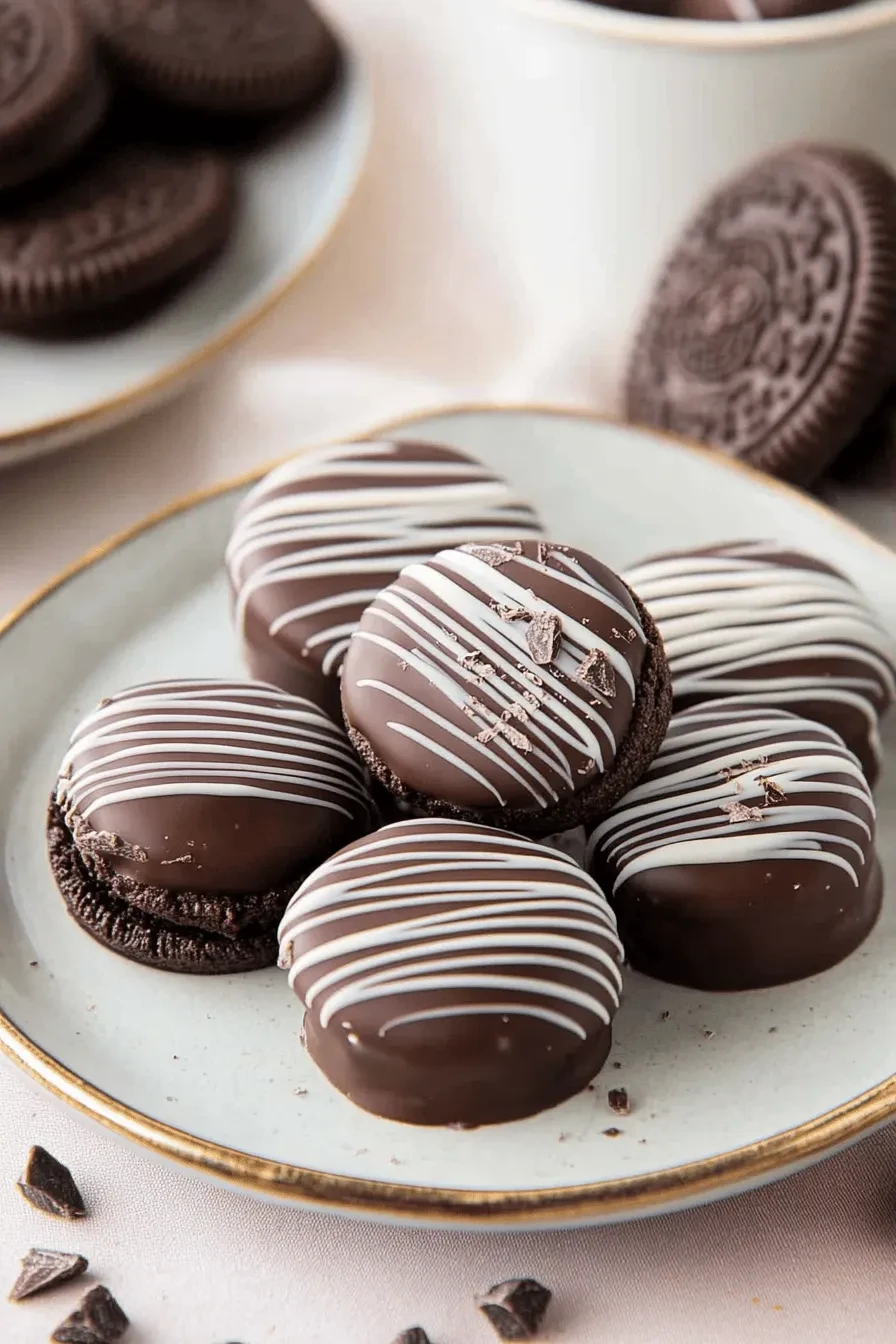
Chocolate Covered Oreos
Equipment (affiliate links)
- Bowl
- Baking Sheet
- Parchment paper or wax paper
Ingredients
- 1 1/2 cups chocolate chips or candy melts semi-sweet chocolate, white chocolate, milk chocolate (280g)
- 24 Oreo sandwich cookies
- Sprinkles optional
Instructions
- Line a large baking sheet with wax paper or parchment paper.
- In a medium bowl, melt the chocolate in the microwave in 15-second intervals stirring between each, or the candy melts according to the package instructions.
- Use a fork to dip the Oreos into the chocolate, turning it to fully coat. Tap the fork to shake off any excess chocolate and place on the parchment paper to dry.
- Top with sprinkles before the coating sets, if desired. Or, let the coating set, then drizzle with more melted chocolate. Let the cookies sit at room temperature or chill until dry and the coating has fully set.

Leave a Reply