These easy, mouthwatering Chicken Caesar Wraps are my go-to solution for busy weeknights when I need something quick but still crave those fresh, satisfying flavors. Featuring tender chicken, crisp romaine, and a creamy homemade dressing, these wraps have become a family favorite that takes just 15 minutes to prepare. They’re perfect for lunch, dinner, or even cut into pinwheels for parties!
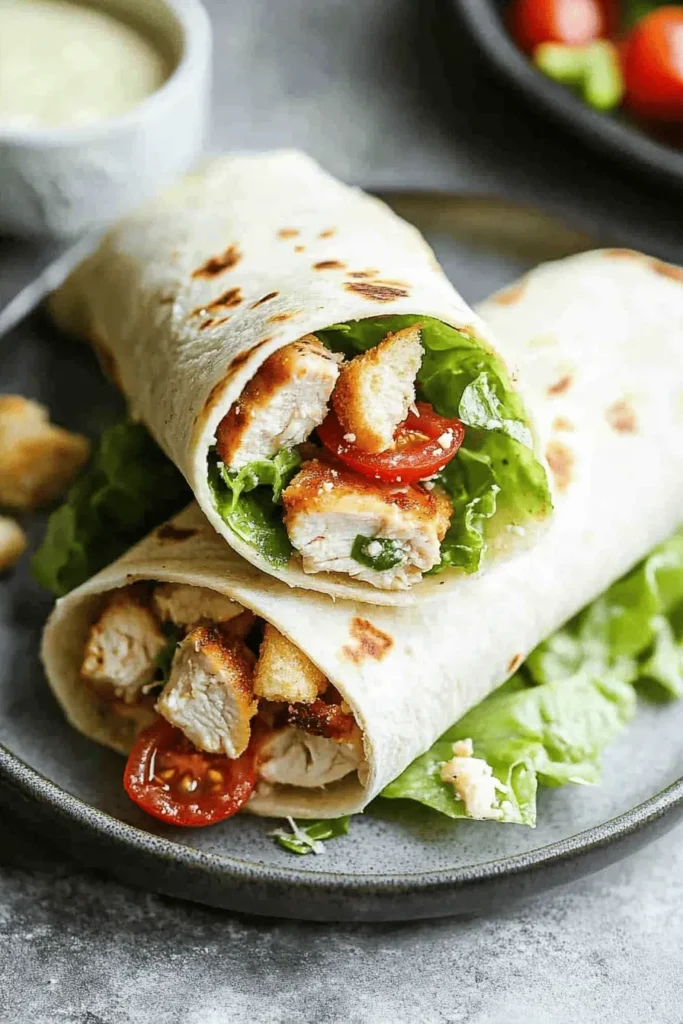
Why You’ll Love These Chicken Caesar Wraps
- Ready in just 15 minutes from start to finish
- Perfect make-ahead lunch option
- Customizable with your favorite add-ins
- Restaurant quality taste made right at home
- Kid-friendly and great for picky eaters
- Travel well for picnics and lunch boxes
- Uses simple ingredients you probably have on hand
Trust me when I say these wraps are a total game-changer. I love serving them alongside my tres leches cupcakes for an easy dinner party menu that always impresses. The key is starting with high-quality ingredients and taking a few extra seconds to properly layer everything – it makes such a difference in the final result!
What makes these wraps extra special is the perfect balance of textures – from the crispy romaine and crunchy croutons to the tender chicken and creamy dressing. I’ve tested countless versions over the years, and this combination hits all the right notes. The parmesan adds that perfect salty bite while the fresh tomatoes bring a pop of brightness that takes these wraps from good to absolutely irresistible.
Whether you’re meal prepping for the week ahead or looking for a quick dinner solution, these wraps check all the boxes. They’re satisfying enough for dinner but light enough for lunch, and the leftovers (if you have any!) taste even better the next day.
Essential Ingredients for Perfect Chicken Caesar Wraps
Let me walk you through exactly what you’ll need to make these incredible wraps! Each ingredient plays a crucial role in creating that perfect balance of flavors and textures.
- Chicken: You’ll need 2 cups of cooked, chopped chicken. I love using leftover roasted chicken or rotisserie chicken for convenience. The chicken should be slightly warm or room temperature – not cold straight from the fridge, as this helps the flavors blend better.
- Romaine Lettuce: Fresh, crisp romaine is non-negotiable here! We need 3 cups, chopped into bite-sized pieces. The lettuce adds that signature crunch and fresh element that makes these wraps so satisfying.
- Caesar Dressing: While store-bought works great (I love Newman’s Own!), nothing beats my homemade caesar dressing for the best flavor. You’ll need ½ cup to perfectly coat all ingredients.
- Parmesan Cheese: Please, please use freshly grated parmesan! Pre-grated just doesn’t melt and blend the same way. A quarter cup gives us that perfect salty, nutty bite.
- Tortillas: Large flour tortillas work best here – they’re sturdy enough to hold all our fillings without tearing. I warm mine slightly to make them more pliable.
Success Tips for the Perfect Wrap
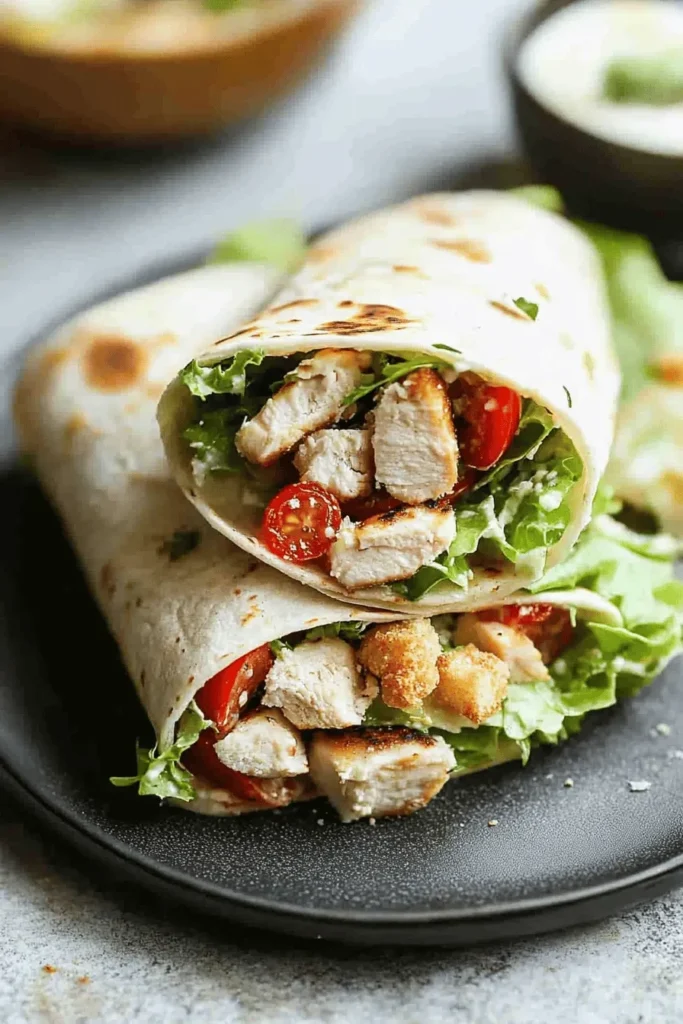
After making these wraps countless times, I’ve learned some game-changing tricks that make all the difference:
- Don’t overdress the filling – Start with less dressing than you think you need. You can always add more, but too much will make your wraps soggy.
- Layer strategically – Place the lettuce down first, followed by chicken, then cheese and tomatoes. This prevents the tortilla from getting soggy and helps everything stay in place.
- Warm your tortillas – Just 10-15 seconds in the microwave makes them more flexible and less likely to crack when rolling. Trust me, this simple step is worth it!
- Roll tightly – Keep everything snug as you roll, tucking in the sides like you’re wrapping a burrito. This helps hold all the delicious filling in place when you take that first bite.
Step-by-Step Instructions
Let me walk you through exactly how to make these incredible wraps! I’ve perfected this method through countless test batches in my kitchen, and I’m excited to share all my tips with you.
- Prep Your Station: Start by laying out all your ingredients. I like arranging everything assembly-line style – it makes the process so much smoother!
- Mix the Filling: In a large bowl, combine your chopped chicken, romaine lettuce, halved tomatoes, and grated parmesan. Drizzle with just enough caesar dressing to lightly coat everything – about ¼ cup to start. You can always add more later!
- Warm the Tortillas: This is my secret for perfect wraps! Warm each tortilla for 10-15 seconds in the microwave between damp paper towels. They’ll become so much more pliable and less likely to tear.
- Assembly Time: Place a warm tortilla on a clean surface. Spread about ½ cup of the filling mixture slightly off-center, leaving about 2 inches of space on each side. Like my favorite comfort foods, it’s all about the right proportions!
- The Perfect Roll: Fold the bottom edge up and over the filling, then fold in both sides. Continue rolling from the bottom, keeping it tight as you go. If needed, secure with a toothpick.
Creative Variations
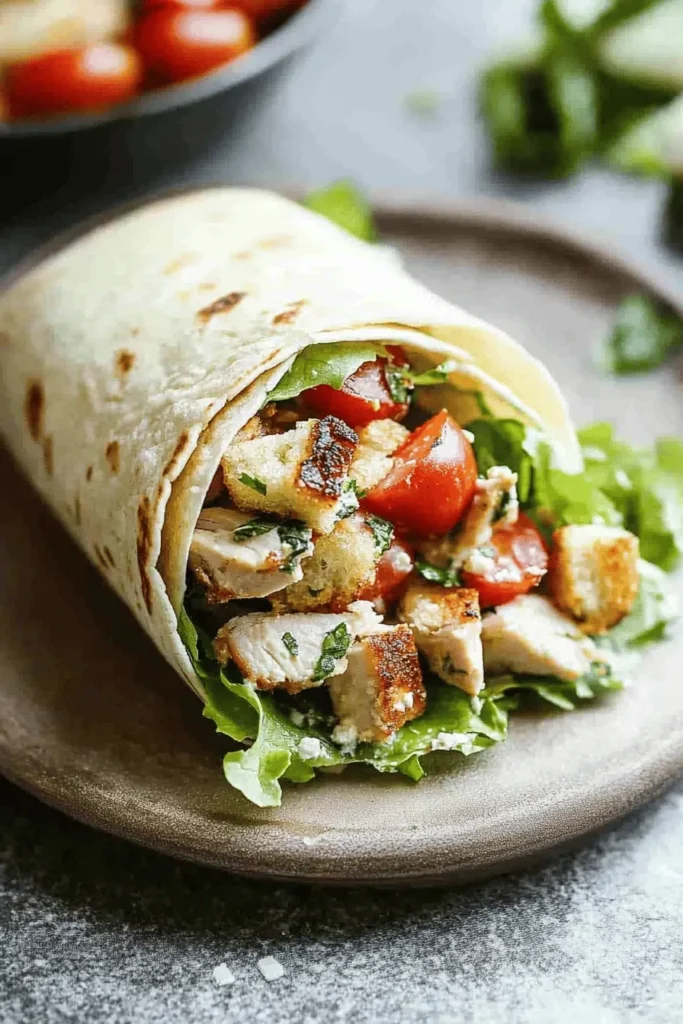
These wraps are wonderfully versatile! Here are some of my favorite ways to switch things up:
- Greek-Style: Add cucumber, red onion, and swap the caesar dressing for tzatziki
- Spicy Southwest: Mix in avocado, bacon bits, and a dash of hot sauce with your caesar dressing
- Vegetarian Option: Replace chicken with crispy chickpeas or grilled portobello mushrooms
- Low-Carb: Use large lettuce leaves instead of tortillas
For make-ahead prep, keep your ingredients separate and assemble just before serving. The dressed components will stay fresh in the fridge for up to 2 days in an airtight container.
FAQs & Final Thoughts
Yes! You can prep all ingredients up to 24 hours in advance. Just store the components separately and assemble right before serving. If you need to make the complete wraps ahead, wrap them tightly in foil and refrigerate for up to 4 hours. Any longer and the tortillas might get soggy.
The key is layering! Start with your lettuce as a barrier between the tortilla and other ingredients. If you love extra dressing like I do, serve it on the side for dipping. For packed lunches, I recommend wrapping them in parchment paper first, then foil.
While romaine gives that classic Caesar crunch, you can definitely switch it up! I’ve made these with butter lettuce or even mixed greens. Just make sure whatever lettuce you choose is fresh and crisp. For something different, try my chicken ranch wraps which use a different lettuce blend.
My favorite trick is to wrap them in parchment paper and secure with a toothpick. You can also try warming your tortilla slightly – it becomes more pliable and sticks to itself better when rolled. If serving immediately, simply slice them diagonally – the weight of the filling helps keep everything in place.
Final Thoughts
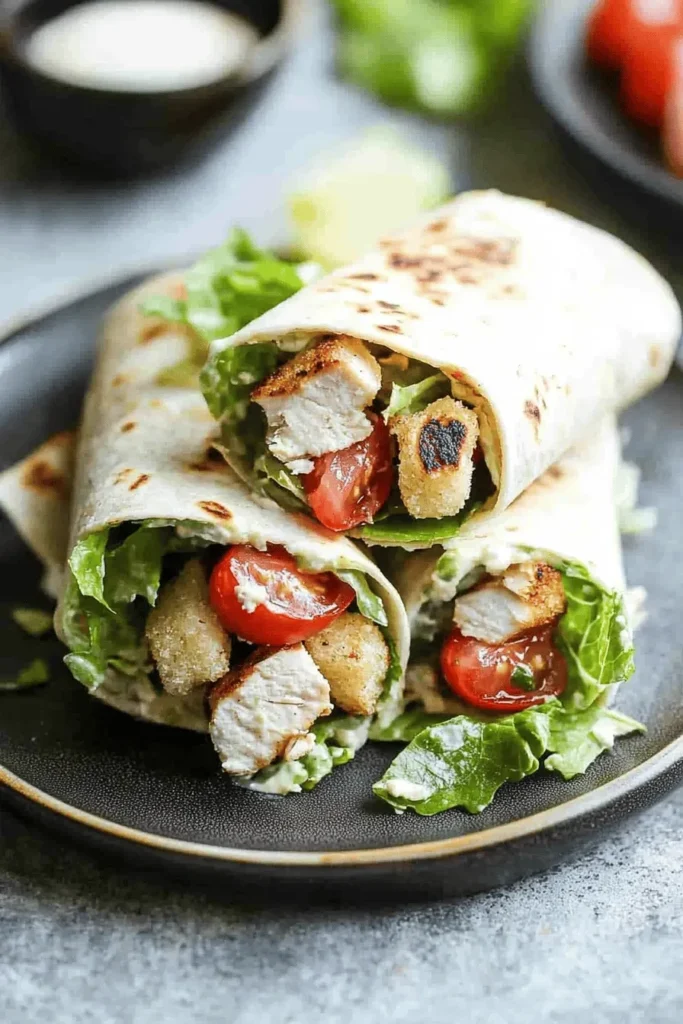
These Chicken Caesar Wraps have saved dinner at my house more times than I can count! They’re my go-to when I want something fresh and satisfying but don’t have hours to spend in the kitchen. The best part? Everyone can customize their wrap exactly how they like it.
I’d love to hear how these wraps turn out in your kitchen! Drop me a comment below if you try them, or tag me in your photos. And remember – don’t skip warming those tortillas. It’s such a tiny step, but it makes such a big difference in the final result. Happy wrapping, friends! 🌯✨
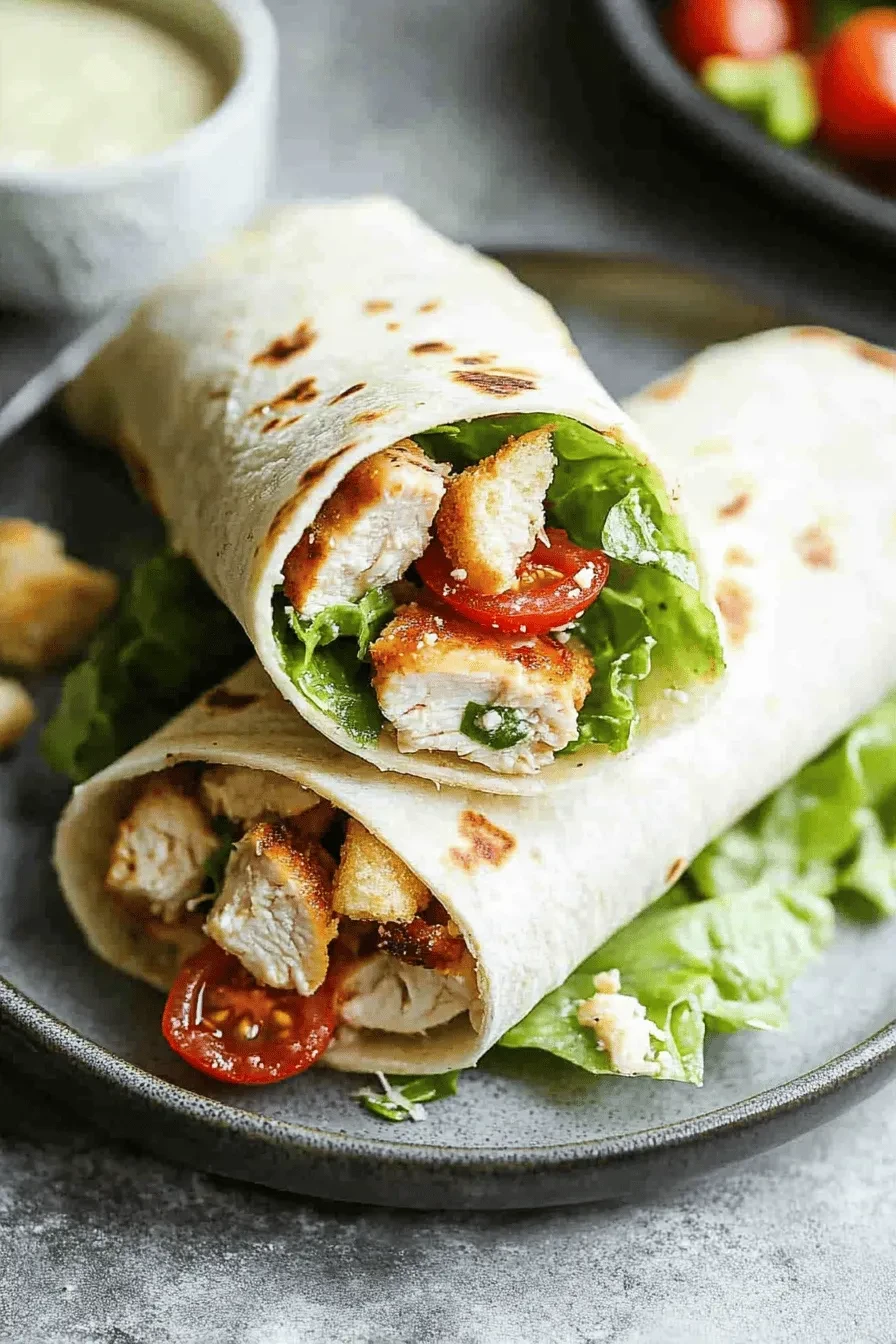
Chicken Caesar Wrap
Equipment (affiliate links)
- 1 large mixing bowl
Ingredients
- 2 cups cooked chicken chopped
- 3 cups Romaine lettuces chopped
- 2/3 cup cherry tomatoes halved
- 1/4 cup freshly grated parmesan cheese
- 1/2 cup croutons
- 1/2 cup caesar salad dressing
- freshly ground black pepper to taste
- 5 large flour tortillas (or whole wheat tortillas)
Instructions
- Toss all ingredients, except for tortillas, together in a large mixing bowl.
- Place a large spoonful of mixture in a line along the edge of a tortilla.
- Roll up tightly, like a burrito, and secure with toothpicks, if necessary.

Leave a Reply