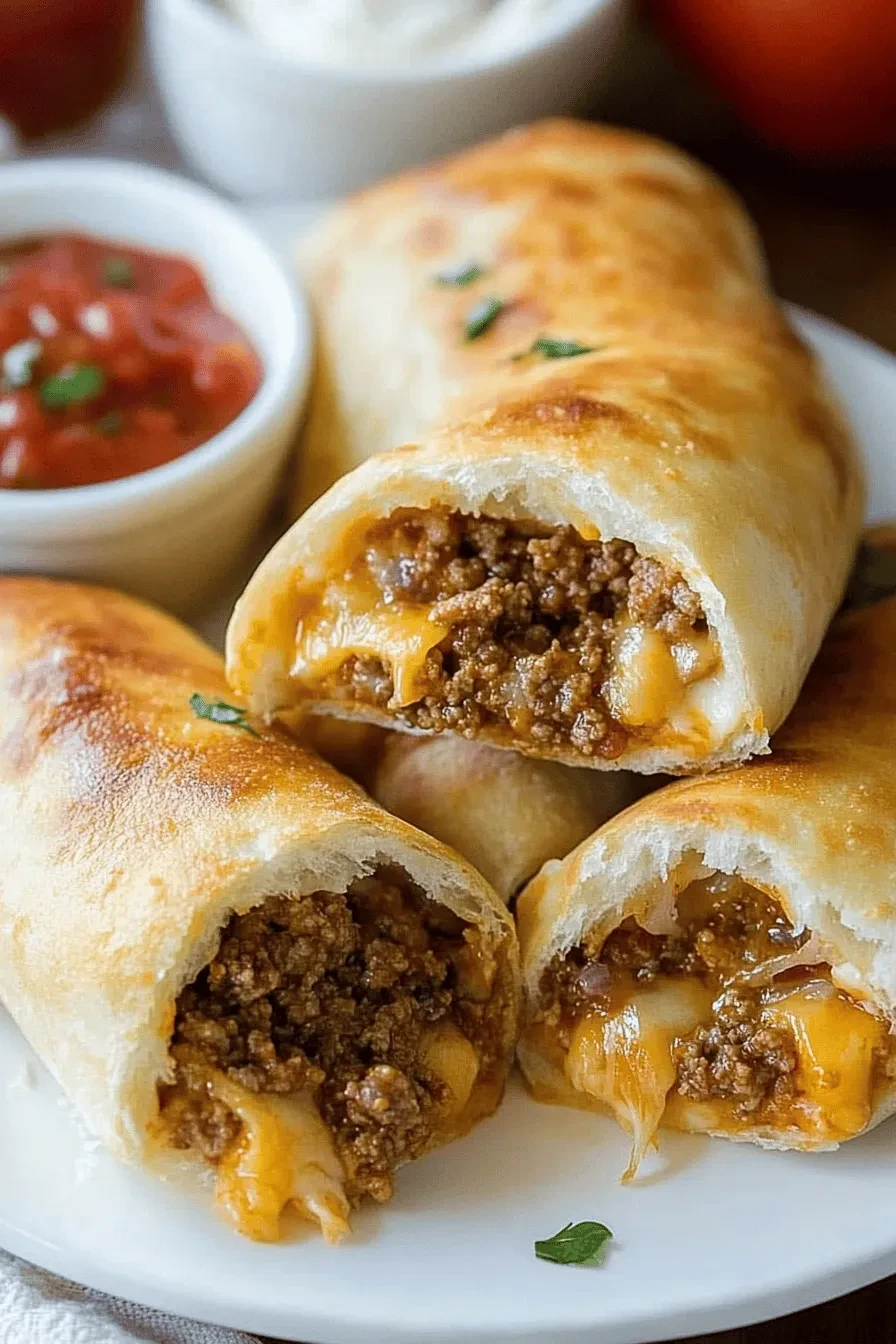
Oh my goodness, friends – let me tell you about these incredible Cheesy Taco Sticks! If you love my cheesy pizza sticks, you’re going to flip over this Mexican-inspired twist. Picture this: warm, buttery breadsticks stuffed with perfectly seasoned taco meat and gooey melted cheese. They’re the kind of snack that makes game day even better!
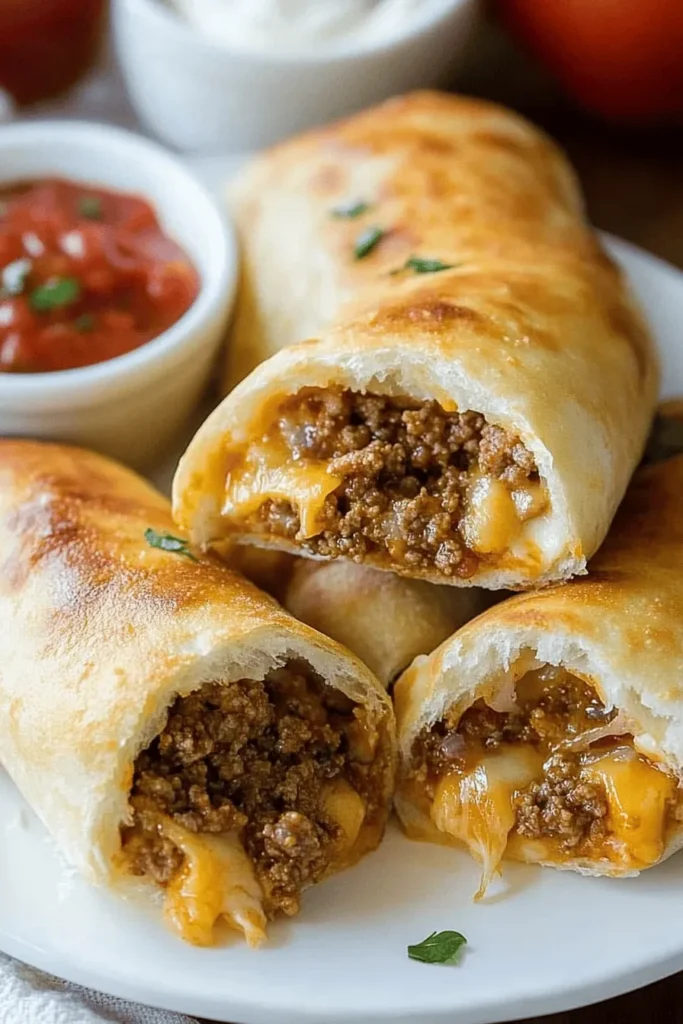
You know those nights when you have just a bit of taco meat left over? That’s exactly what inspired these! I was staring at some leftover taco meat in my fridge, thinking about those pizza sticks you all love so much, when it hit me – why not combine the two? The result is pure comfort food magic!
Why You Need To Try These Taco Sticks
Let me count the ways you’ll fall in love with this recipe:
- They’re the perfect solution for leftover taco meat (we all have it!)
- That irresistible combination of buttery bread, seasoned meat, and melty cheese (just like in my favorite cheesy appetizers)
- They’re completely customizable – spice them up or keep them mild
- Perfect party food that’s easy to grab and go
The best part? These aren’t just your average breadsticks. The outside gets perfectly golden brown while the inside stays wonderfully tender, with pockets of gooey cheese and seasoned meat in every bite. I’ve tested these multiple times (the things I do for you all!), and I can promise they’ll be the first thing to disappear at your next gathering!
Think of these as your new favorite way to transform Taco Tuesday leftovers into something totally crave-worthy. The buttery, tender bread wrapped around that warm taco filling – it’s comfort food perfection!
Ingredients Overview
Let’s talk about what makes these cheesy taco sticks absolutely irresistible! Just like my favorite homemade stromboli, we’re working with just a few key ingredients that pack serious flavor.
The star players in this recipe are:
• Pizza Dough: Whether store-bought or homemade, look for dough that’s at room temperature. Cold dough won’t stretch properly and can lead to tears when we’re filling these beauties.
• Taco Meat: This is where those leftovers shine! The pre-seasoned meat adds amazing flavor and saves prep time. The fat content helps keep our sticks moist while baking.
• Cheese Sticks: I’ve learned through testing that string cheese works perfectly here. Cut them in half lengthwise – this prevents that frustrating cheese explosion during baking while still giving you that perfect gooey pull we’re after.
• Optional Toppings: Salsa, sour cream, and jalapeños aren’t just garnish – they’re game-changers for serving.
Success Tips & Tricks
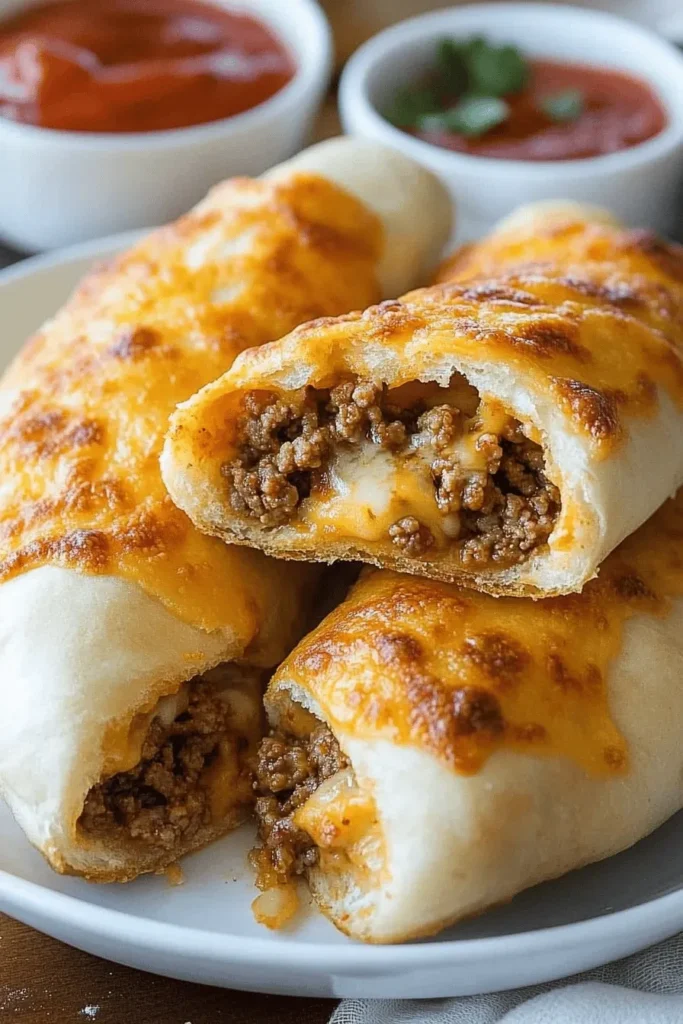
Just like my crispy chicken recipes, getting these taco sticks just right comes down to technique and timing. Here are my tried-and-true tips:
• Temperature Matters: Let your dough come to room temperature – about 30 minutes on the counter. Cold dough fights back when you’re trying to work with it!
• The Cheese Trick: Cut those cheese sticks in half lengthwise. Trust me, this simple step makes all the difference between perfectly melted cheese and a messy overflow.
• Sealing Success: Pinch those edges really well! Any gaps will lead to cheese escaping during baking. I like to press with the tines of a fork for extra insurance.
• Heat Management: Position your rack in the middle of the oven. Too close to the bottom, and you’ll risk burning before the cheese melts properly.
These little tricks might seem simple, but they’re what separate good taco sticks from great ones. And remember, if some cheese does escape (it happens to the best of us!), those crispy cheese bits are actually pretty delicious!
Step-by-Step Instructions
Let me walk you through making these incredible cheesy taco sticks! I’ve tested this recipe multiple times to get the perfect balance of meat, cheese, and bread.
Preparing the Dough
1. Preheat your oven to 375°F (190°C)
2. Roll out your pizza dough into a large rectangle, about 12×15 inches
3. Cut the dough into 8 equal rectangles using a sharp knife or pizza cutter
4. Cut your cheese sticks in half lengthwise (trust me on this – it prevents too much oozing!)
Assembly
1. Place about 2 tablespoons of prepared taco meat in the center of each rectangle
2. Add half a cheese stick on top of the meat
3. Carefully fold the dough over the filling, pinching all edges firmly to seal
4. Place seam-side down on a parchment-lined baking sheet
5. Brush each stick with melted butter
6. Sprinkle with a little taco seasoning for extra flavor
Baking Instructions
1. Bake for 12-15 minutes until golden brown
2. Let cool for 5 minutes before serving (the filling will be hot!)
Recipe Variations
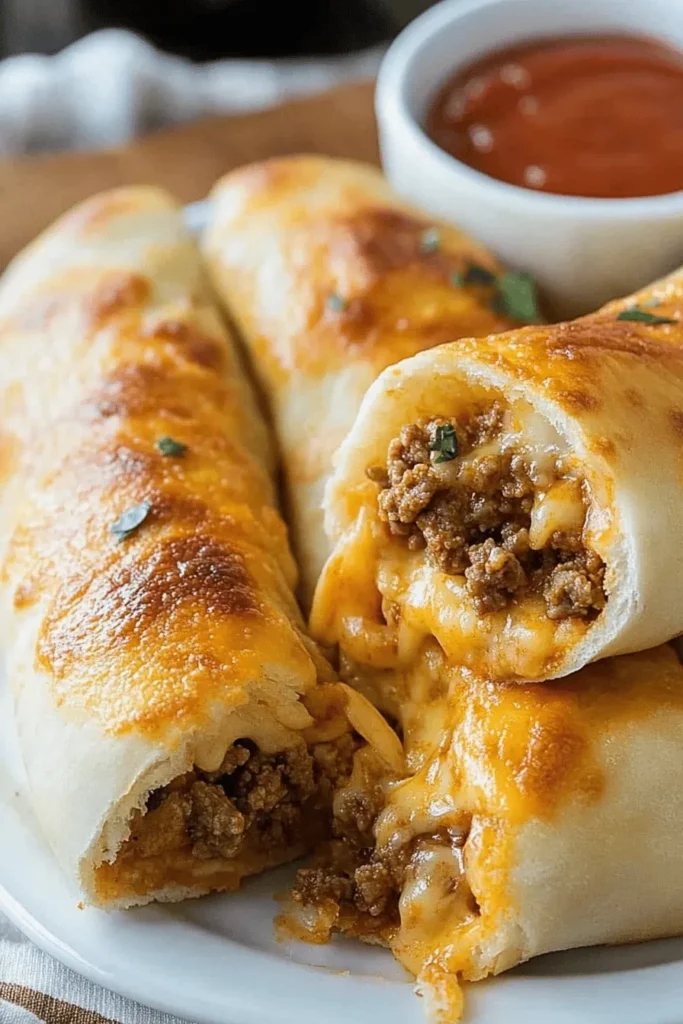
These taco sticks are wonderfully versatile! Here are some of my favorite ways to customize them:
Filling Variations
– Mix some diced peppers into your taco meat before filling
– Add a layer of refried beans for extra creaminess
– Try pepper jack cheese instead of mozzarella for a spicy kick
– Include sliced jalapeños (my personal favorite!)
Serving Suggestions
These crowd-pleasing taco sticks are perfect with:
– Warm salsa for dipping
– Cool sour cream
– Guacamole
– Pickled jalapeños
– Shredded lettuce and diced tomatoes on the side
Pro Tip: Make a double batch and freeze half before baking. When ready to enjoy, bake straight from frozen, adding 3-4 minutes to the baking time.
Frequently Asked Questions
Can I make these ahead of time?
You bet! These are perfect for meal prep. Assemble them up to 24 hours in advance, cover with plastic wrap, and refrigerate. Just brush with butter right before baking. They’re also amazing for game day – just like my mini mac sliders that everyone goes crazy for!
Can I freeze these taco sticks?
Absolutely! I freeze these all the time for quick after-school snacks. Freeze them unbaked on a baking sheet until solid, then transfer to a freezer bag. When ready to bake, no need to thaw – just add 3-4 minutes to the baking time.
Help! My cheese is oozing out everywhere!
This is exactly why I started cutting the cheese sticks in half! Make sure you’re really pinching those seams well. If you still notice some oozing, don’t worry – they’ll still be delicious. Just let them cool a few minutes before serving.
Can I use different types of cheese?
Go for it! While mozzarella is my go-to for that perfect stretch, pepper jack adds amazing heat, and cheddar works beautifully too. Just avoid very soft cheeses that might melt too quickly.
Recipe Notes & Tips
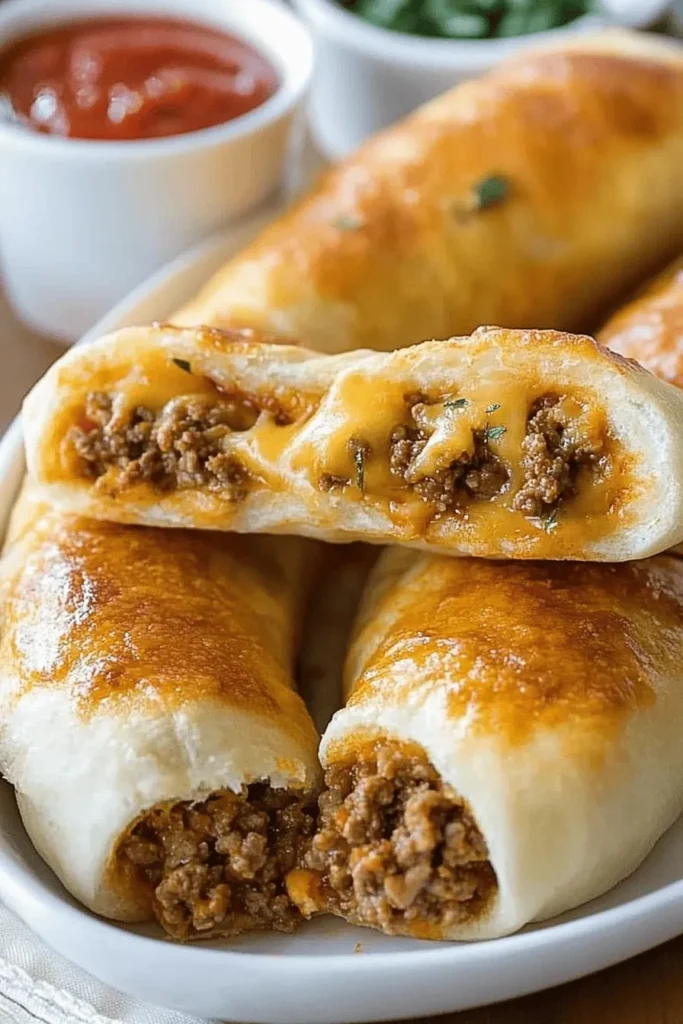
Let me share some of my favorite tricks I’ve learned after making these countless times:
– If your dough is fighting you (shrinking back while rolling), let it rest for 5-10 minutes at room temperature. Works like magic!
– For extra-golden tops, brush with butter twice – once before baking and once halfway through
– Keep the filling away from the edges when assembling – it makes sealing so much easier
– If serving to little ones, I usually skip the taco seasoning on top and serve mild salsa on the side
You know what makes my day? When you all send me pictures of these creations from your kitchen! There’s something so special about knowing these recipes are bringing joy to your family gatherings and game day celebrations. Whether you stick to the classic recipe or jazz it up with your own twist, I’d love to hear how these turned out for you. Happy baking, friends! 🌮✨
Cheesy Taco Sticks
Ingredients
- 1 lb. ground beef
- 1 packet taco seasoning mix or homemade taco seasoning
- 1 tube Pillsbury Pizza Dough
- 5 colby jack and cheddar cheese sticks halved
- 4 tbsp butter melted
- 1 tsp garlic powder
- 1 tsp dried parsley
Instructions
- Preheat oven to 425 degrees F.
- Lightly coat a large baking sheet with non-stick spray and set aside.
- Cook the ground beef in a skillet, breaking up with a wooden spoon until fully browned and crumbled. Drain any fat and return skillet to stove top. Mix in the taco seasoning packet (but no water), and stir until fully coated. Remove from heat and let cool to room temperature.*
- Spread the pizza dough out until it’s flat and cut in half lengthwise and then 4 cuts up and down, creating a total of 10 small rectangles. Place about a tablespoon or more of the taco meat in the center of each pizza dough, top with a halved cheese stick and then carefully roll up the pizza stick, making sure to pinch all seams closed.
- Combine the melted butter, garlic powder and parsley in a small bowl and brush it on the tops of the cheesy taco sticks. Bake for 10 to 12 minutes or until golden brown on top. Serve hot with your favorite taco toppings!

Leave a Reply