Friends, get ready for the most incredible fall treat that will make your kitchen smell like heaven! These baked apple fritter bites are pure magic – they’re perfectly portioned, bursting with fresh apple flavor, and best of all, they’re baked instead of fried! I’ve been testing this recipe over and over (tough job, right?) to bring you the most irresistible little bites of apple-cinnamon goodness.

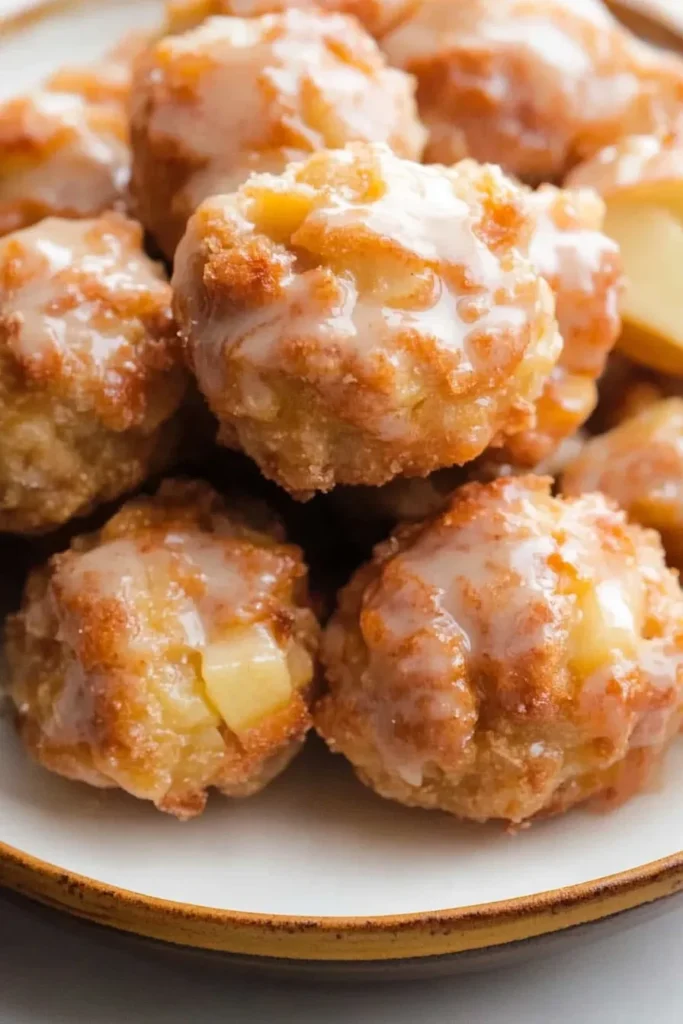
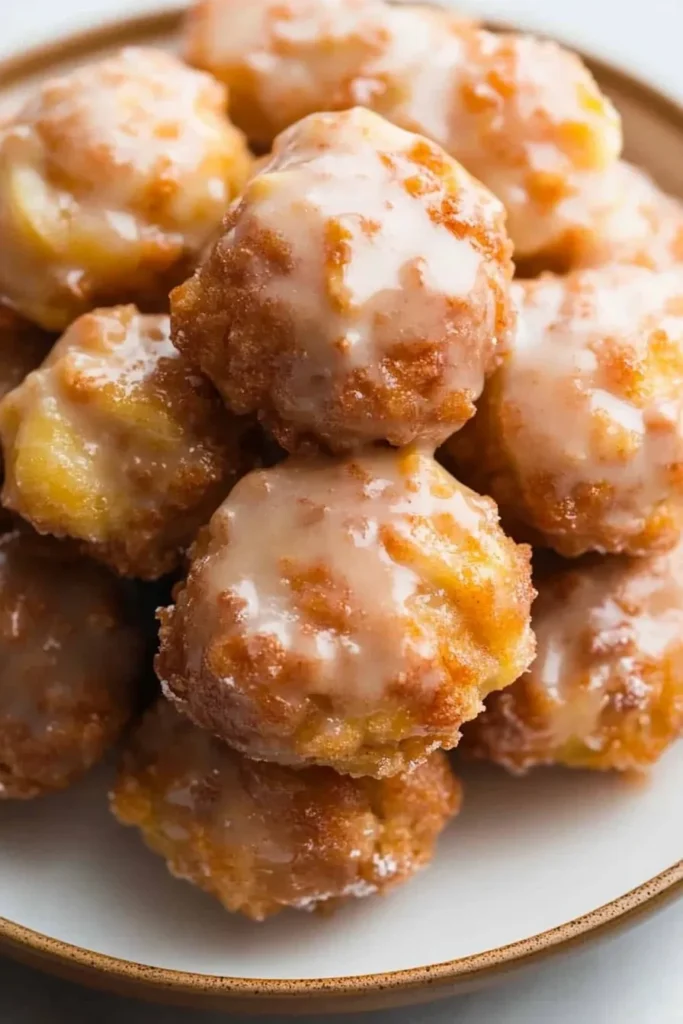
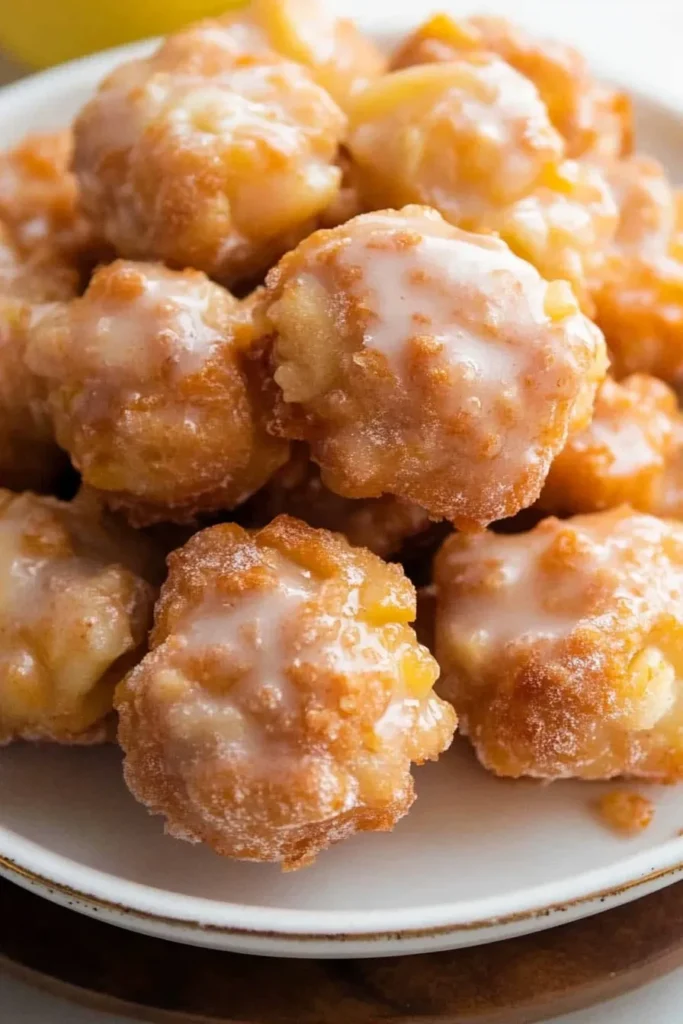
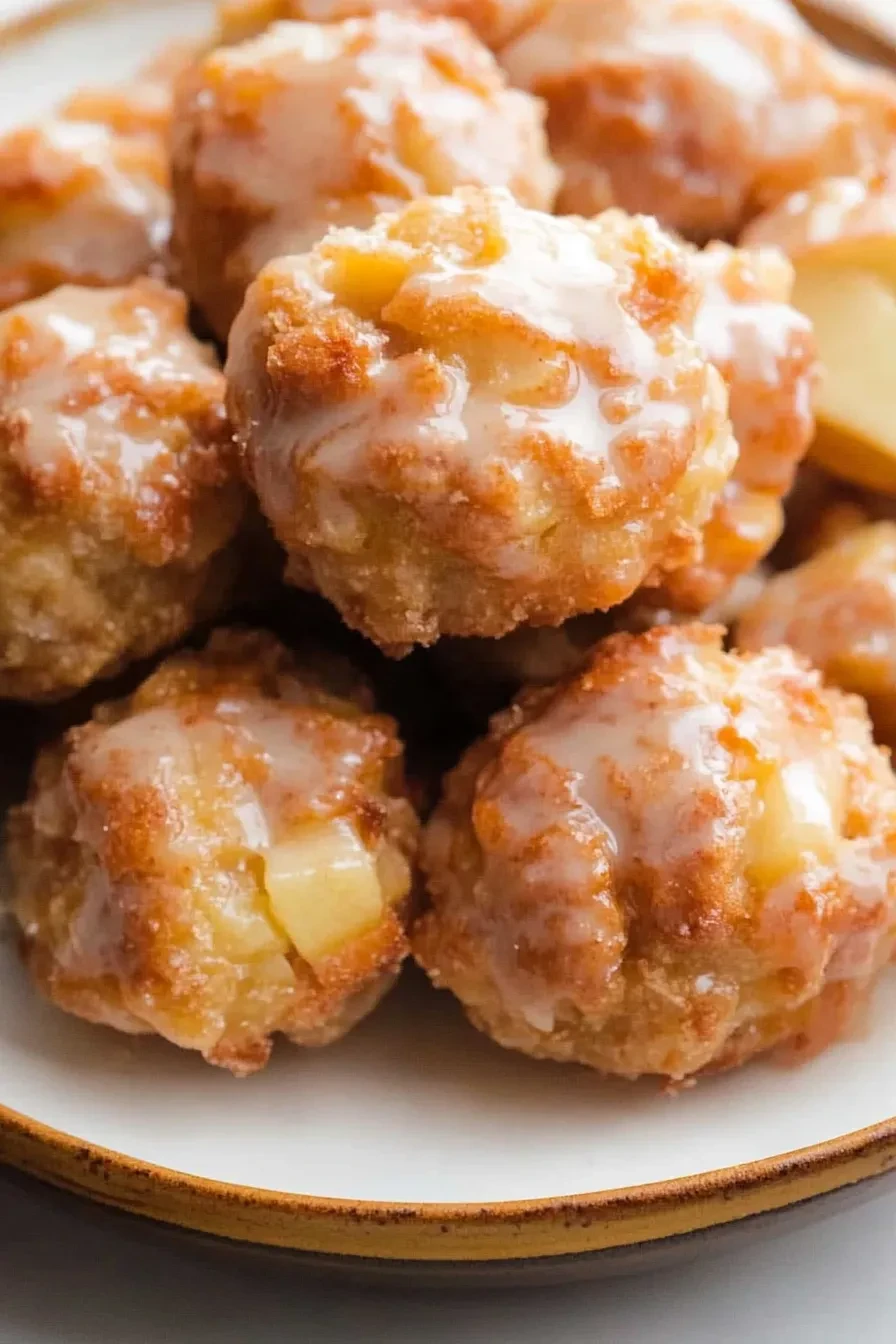
Picture this: fluffy, tender nuggets of sweet dough, studded with chunks of fresh apple, and topped with a gorgeous apple glaze that creates the most delightful crispy coating. The best part? You won’t have to deal with hot oil or deep frying – your oven does all the work!
Why You’ll Need to Make These
Let me tell you exactly why these apple fritter bites need to be your next baking project:
- They’re perfectly bite-sized, which means you can enjoy just a few (or more – I won’t tell!) without any guilt
- The baked version gives you all that classic fritter flavor but with way less mess and fewer calories
- Each bite is packed with real apple pieces and warming cinnamon
- That apple glaze creates the most amazing sweet crust when broiled
- They’re SO much easier to make than traditional fritters
I’ve made countless batches of traditional fried apple fritters over the years, but there’s something special about these baked bites. They have a wonderfully tender crumb that reminds me of the best apple cider donuts, but with pockets of juicy apple in every bite. The glaze creates this gorgeous crackling top that makes them absolutely irresistible – my family can never wait for them to cool completely before diving in!
Ingredients Overview
Let’s talk about what makes these apple fritter bites so incredibly delicious! Just like my favorite crispy churros, the ingredients here work together beautifully for the perfect texture and flavor.
The Key Players
• All-purpose flour – Forms the foundation of our fritter bites. While cake flour would make them too delicate, AP flour gives us that perfect tender-yet-sturdy texture we’re after.
• Baking powder – This is our rising star! Fresh baking powder ensures these bites puff up beautifully. Always check the expiration date – old baking powder leads to dense, flat fritters.
• Cinnamon and vanilla – These warming spices complement our apples perfectly. The vanilla adds depth while cinnamon brings that classic fall flavor we all love.
• Applesauce – My secret weapon! It adds natural sweetness and keeps these bites incredibly moist without extra fat. Use unsweetened for best results.
• Fresh apples – The star of the show! Honeycrisp apples are my go-to since they hold their shape while baking and offer the perfect sweet-tart balance.
Success Tips & Tricks

After testing this recipe countless times (tough job, but someone’s gotta do it!), I’ve discovered some game-changing tips that’ll help you nail these fritter bites just like my favorite breakfast pastries.
Must-Know Tips
• Dice those apples small! Aim for ¼-inch pieces – this ensures even distribution and proper cooking.
• Room temperature ingredients are crucial. Cold eggs or applesauce can make your batter lumpy.
• Don’t overmix! Stop stirring as soon as the flour disappears. Overmixing leads to tough, chewy fritters.
• When broiling for that golden finish, position the rack in the middle of your oven. This prevents too-quick browning and gives you better control.
• Let the glaze set completely before stacking or storing. This takes about 30 minutes but makes handling much easier.
These little bites are surprisingly forgiving – just remember to keep your ingredients fresh, your apple pieces small, and your mixing gentle. The result? Perfectly puffed, tender fritter bites every single time!
Step-by-Step Instructions
Let me walk you through making these irresistible Apple Fritter Bites! The process is straightforward and fun – I make these whenever I’m craving something sweet but don’t want to deal with deep frying.
Making the Batter
First, preheat your oven to 400°F and give your baking sheet a good coating of non-stick spray. In a medium bowl, whisk together:
– 2 cups all-purpose flour
– 2 teaspoons baking powder
– 1/2 teaspoon kosher salt
– 1 teaspoon ground cinnamon
In a separate large bowl, melt 4 tablespoons butter, then whisk in 3/4 cup sugar until it looks like wet sand. Add your egg and whisk until smooth and creamy. Next, stir in 1 teaspoon vanilla and 1/2 cup applesauce until well combined.
Folding and Baking
Here’s where the magic happens! Gently fold your flour mixture into the wet ingredients – just until combined, being careful not to overmix. Like my favorite breakfast biscuits, overmixing will make them tough. Fold in your diced apples with a light hand.
Drop tablespoon-sized portions onto your prepared baking sheet, leaving about 2 inches between each bite. Pop them in the oven for 10 minutes at 400°F.
The Perfect Glaze Finish
While they’re baking, whisk together:
– 1 cup powdered sugar
– 2-3 tablespoons apple cider
The glaze should be thin enough to drip slowly off your whisk. Once the bites are done, brush them with glaze and pop them under the broiler for 2-4 minutes until they get those gorgeous golden tops – just like you’d find at your favorite breakfast spot.
Recipe Variations

These little bites are wonderfully versatile! Here are some of my favorite ways to switch things up:
Apple Variations
– Mix different apple varieties for complex flavor
– Add extra cinnamon for a more intense spice
– Drizzle with caramel sauce instead of glaze
– Include chopped nuts in the batter
Serving Ideas
These make an amazing addition to any breakfast spread. I love serving them:
– Arranged on a fall brunch board
– Packed in lunch boxes
– As an afternoon snack with coffee
– Warmed slightly and topped with vanilla ice cream
For special occasions, try making a glaze variety plate – classic apple, maple, vanilla, and caramel glazes give everyone options to choose their favorite!
Frequently Asked Questions
Can I make these ahead of time?
You bet! I often make a double batch of these apple fritter bites when my family visits. They keep beautifully at room temperature for 2 days in an airtight container. For longer storage, pop them in the fridge for up to a week. Just warm them slightly before serving – 10 seconds in the microwave makes them taste fresh-baked!
My glaze isn’t hardening – what went wrong?
If your glaze stays too runny, you probably need a bit more powdered sugar. Start with the recipe amounts, then add powdered sugar 1 tablespoon at time until you reach that perfect drizzling consistency. Remember, humidity can affect your glaze, so don’t worry if you need to adjust!
Can I freeze these apple fritter bites?
Absolutely! They freeze beautifully for up to 3 months. I recommend freezing them unglazed, then adding fresh glaze after reheating. Just like my cinnamon roll french toast, these taste amazing when warmed up!
What if my apples are really juicy?
No problem! If you’ve got super juicy apples, just pat them dry with paper towels after dicing. This helps keep the batter from getting too wet. Trust me, I learned this trick after a few too-moist batches!
Final Recipe Notes

These apple fritter bites have become such a favorite in my kitchen, and I just know you’re going to love them too! They’re perfect for those times when you’re craving something sweet but don’t want the fuss of deep frying.
Remember these key points:
– Let the fritters cool completely before storing
– The glaze will harden as it sets
– Different apple varieties will give slightly different results – all delicious!
– Don’t skip the broiling step – it gives that authentic fritter finish
I’d love to hear how these turn out for you! Drop a comment below or tag me in your photos – seeing your baking successes always makes my day! Happy baking, friends! 💕

Apple Fritter Bites
Equipment (affiliate links)
- 1 Nonstick baking sheet These baking sheets are so great
- 1 Pastry Brush Set includes several sizes
- 1 Medium bowl For dry ingredients
- 1 Large bowl For wet ingredients and combined batter
- 1 Small Bowl For glaze ingredients
Ingredients
Apple Fritters
- Nonstick cooking spray for greasing
- 1 1/2 cups all-purpose flour
- 2 tsp baking powder
- 1/2 tsp kosher salt
- 2 tsp cinnamon
- 1/4 cup unsalted butter melted
- 1/2 cup granulated sugar
- 1 large egg
- 1/2 tsp vanilla extract
- 1/2 cup no-sugar added applesauce
- 1 1/2 cups Honeycrisp apples peeled and finely diced, about 2 medium apples
Glaze
- 2 cups powdered sugar
- 1 1/2 cup apple cider or apple juice plus 2 TBSP
Instructions
- Preheat the oven to 400 F (200 C); spray a baking sheet with cooking spray.
- In a medium bowl, whisk together the flour, baking powder, salt, and cinnamon until well combined.
- Add the melted butter to a large bowl, then whisk in the sugar followed by the egg. Once combined, stir in the vanilla and applesauce. Add the flour mixture and stir until well combined, then fold in the chopped apples.
- Scoop 1 TBSP of batter into mounds a few inches apart on the prepared baking sheet. Bake for 10 minutes, then remove the fritters from the oven. Turn the broiler on high.
- In a small bowl, whisk together all the glaze ingredients. The glaze should be thin.
- Brush some of the glaze over each fritter and let it drip down the sides. Return the fritters to the oven and broil for 2-4 minutes, until the glaze starts to caramelize the tops. Rotate the baking sheet every minute to ensure even caramelization. Be sure to carefully watch the fritter so they don’t blacken and burn.
- Brush the remaining glaze evenly over the broiled fritters. Let set on the baking sheet until the glaze hardens, about 15 minutes.

Leave a Reply