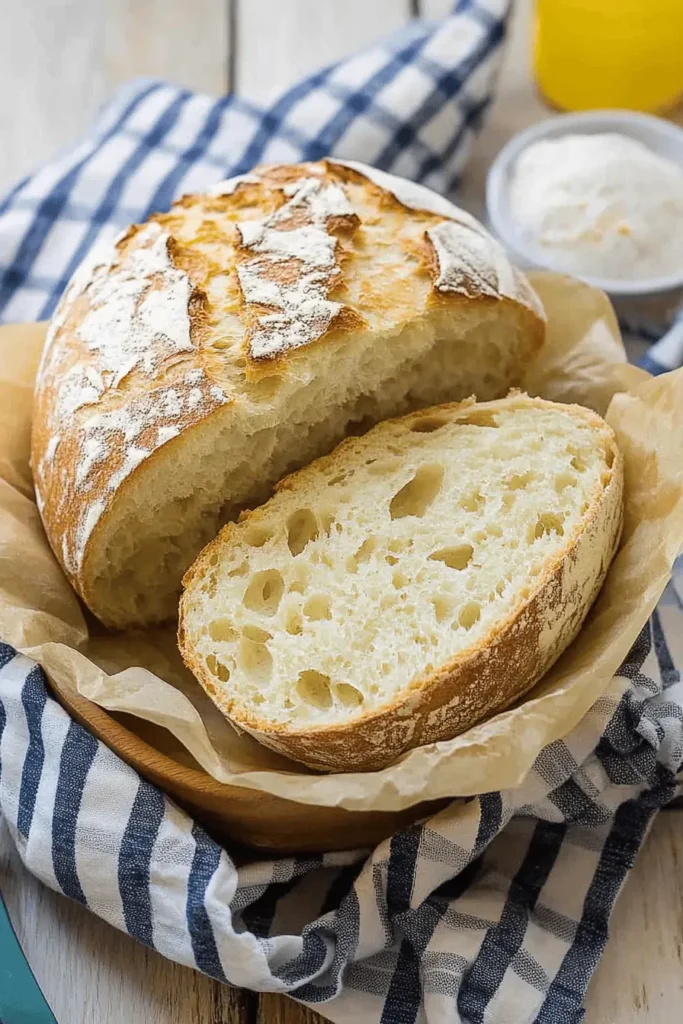
This incredibly simple 3 ingredient bread transforms into a crusty, golden loaf with barely any hands-on work. With just flour, yeast, and salt, you’ll create bakery-style bread right in your own kitchen. The overnight method develops deep flavor while you sleep, making this my go-to recipe for busy days when I’m craving homemade bread!
Why You’ll Love This 3 Ingredient Bread
- Requires just 3 basic pantry ingredients
- No kneading needed – the dough does all the work
- Creates a crusty exterior with soft, chewy interior
- Perfect for beginners – nearly impossible to mess up
- Makes incredible sandwiches and toast
- Pairs beautifully with soups and fresh salads
- Freezes well for later
- No fancy equipment required
You know those moments when time seems to slip through your fingers? That’s exactly how I felt looking at photos of my little Oscar pushing his toy train through the mall 5 years ago. Now he’s starting Grade 1! While I’m not quite ready for pumpkin spice everything, this cozy homemade bread brings that perfect touch of comfort we all need during life’s transitions.
What I love most about this bread is how it transforms just 3 simple ingredients into something magical overnight. While you sleep, the yeast works its science, creating bubbles that develop into that perfect chewy texture we all crave. And let’s be honest – is there anything better than the smell of fresh bread filling your kitchen? Especially when it requires such little effort from us!
Think of this as your gateway to artisan bread baking. The overnight method builds flavor that rivals fancy bakeries, but without any complicated techniques. Just mix, wait, and bake – it’s truly that simple. The hardest part? Waiting for it to cool before slicing into that first warm piece (though I’ll admit, I rarely have the patience myself!).
Ingredients Deep Dive
Let me walk you through why these simple ingredients create such magic together!
- Bread Flour: This is our star player! The higher protein content (around 12-14%) creates more gluten, giving us that perfect chewy texture and beautiful crust. Don’t worry if you only have all-purpose flour – it works too, though your bread might be slightly less chewy. Just like when I make my favorite French toast recipe, the quality of bread starts with quality flour!
- Active Dry Yeast: Think of yeast as tiny bread champions! They feast on the natural sugars in flour, creating bubbles that make our bread rise. I love using active dry yeast because it’s more stable than instant yeast. Just make sure your water is warm (around 110°F) – too hot and you’ll kill these little friends, too cold and they’ll be sluggish.
- Sea Salt: More than just flavor! Salt controls yeast growth and strengthens gluten structure. I prefer sea salt for its pure taste, but kosher salt works beautifully too.
- Water: While technically our fourth ingredient, water temperature matters enormously! Think bath-water warm – when you touch it, it should feel comfortable, not hot.
Baker’s Tips for Perfect Bread
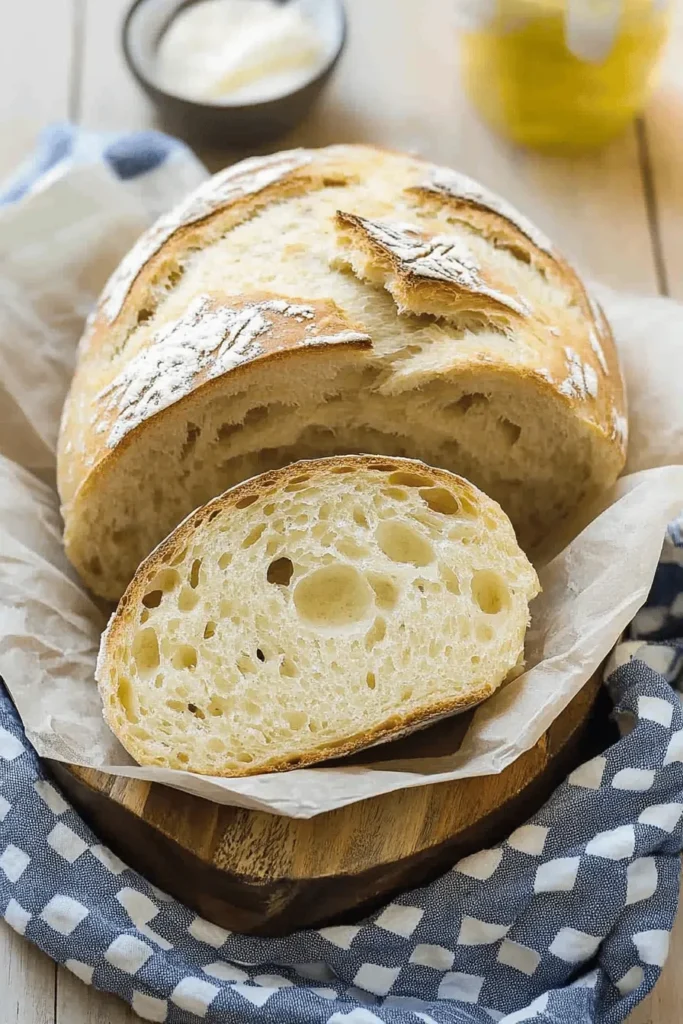
My years of bread-making have taught me these non-negotiable tips:
- Temperature is Everything: Find a cozy spot for overnight rising. I put mine near (not on!) my stovetop where it stays consistently warm. Like my 3-ingredient honey mustard, sometimes simple ingredients need perfect conditions!
- The Poke Test: After the overnight rise, gently poke the dough with your finger. If it springs back slowly but leaves a small indentation, it’s perfect. If it springs back immediately, it needs more time.
- Dutch Oven Magic: Preheating your Dutch oven creates steam when the dough hits the hot surface. This steam = crusty exterior, tender interior. If you skip this step, you’ll miss out on that professional bakery-style crust.
- Patience Pays: I know it’s tempting to cut into hot bread (I’m guilty too!), but waiting 20 minutes helps the crumb set properly. The steam inside is still working its magic during this time.
Step-by-Step Instructions
Let me walk you through making this incredibly simple yet rewarding bread! The process spans about 18-24 hours, but most of that is hands-off time while the dough works its magic.
Making the Dough (Evening Before)
- In a large mixing bowl, whisk together 3 cups bread flour, 1 teaspoon active dry yeast, and 1½ teaspoons sea salt
- Add 1½ cups warm water (about 110°F) and stir until a shaggy dough forms
- Gently shape into a rough ball – don’t worry about making it perfect!
- Cover with plastic wrap and place in a draft-free spot, like next to that warm apple cake you just baked
Shaping and Final Rise (Next Day)
- After 12-18 hours, your dough should be bubbly and doubled in size
- On a floured surface, shape into a smooth ball using floured hands
- Place on parchment paper on a clean kitchen towel
- Cover gently and let rest for 2 hours
Baking the Bread
- Place Dutch oven in the oven and preheat to 450°F (30 minutes before baking)
- Carefully transfer dough with parchment into the hot Dutch oven
- Score top with a sharp knife to allow steam release
- Cover and bake for 30 minutes
- Reduce temperature to 375°F, remove lid, bake 15 more minutes
- Cool for 20 minutes before slicing
Recipe Variations & Serving Suggestions
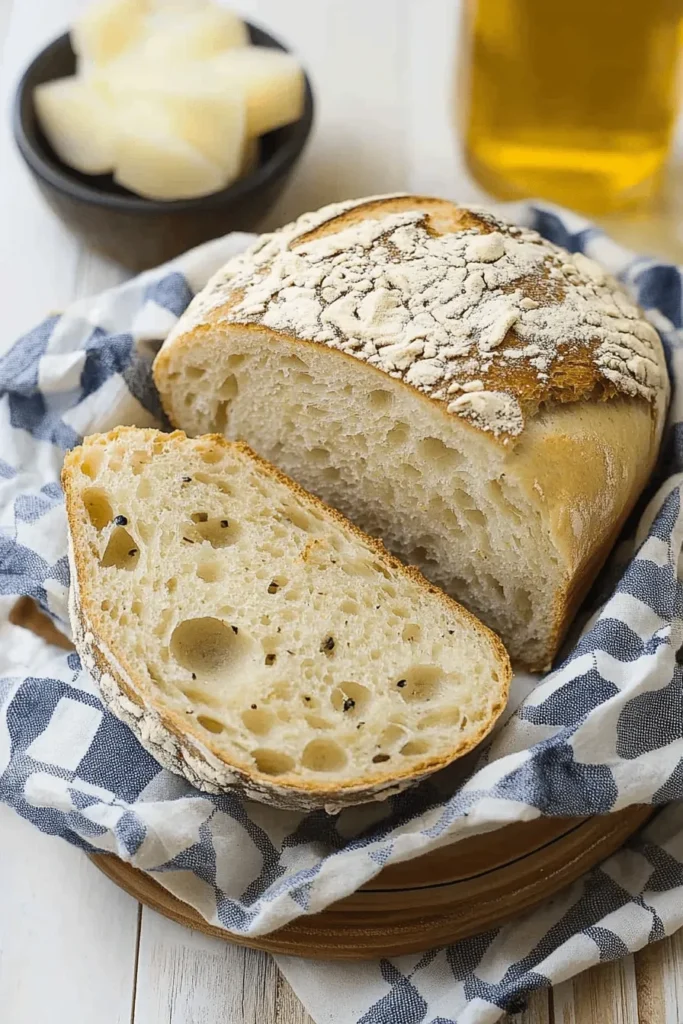
This bread is wonderfully versatile! It pairs beautifully with creamy whipped feta dip or alongside a hearty plate of easy baked ziti.
Flour Variations
- Half & Half Mix: Try 1½ cups bread flour + 1½ cups whole wheat flour for a heartier loaf
- All-Purpose Option: While bread flour is ideal, all-purpose flour works in a pinch
- Rye Blend: Replace ½ cup bread flour with rye flour for complex flavor
Flavor Add-ins
- Herbs: 2 tablespoons fresh rosemary or thyme
- Seeds: Add 3 tablespoons sunflower or pumpkin seeds
- Garlic: 2 tablespoons roasted garlic creates amazing depth
Storage Tip: Keep your bread in a paper bag at room temperature for up to 3 days. For longer storage, slice and freeze for up to 3 months!
FAQs & Final Thoughts
While a Dutch oven creates the best crust, you can use a heavy baking stone or pizza stone. Just place a shallow pan of water on the bottom rack of your oven to create steam during baking.
The most common reason is not letting it rise long enough. Make sure your room temperature isn’t too cool and give it the full 12-18 hours for the first rise. Also, check that your yeast is fresh and active.
This bread is best within 2-3 days. Store it cut-side down on a wooden cutting board, or in a paper bag. If you won’t finish it in time, slice and freeze it! It makes wonderful toast, just like our 4-ingredient pasta salad makes perfect leftovers.
Yes! After the first rise, you can refrigerate the dough for up to 3 days. Just bring it to room temperature for about 2 hours before shaping and baking.
Final Thoughts
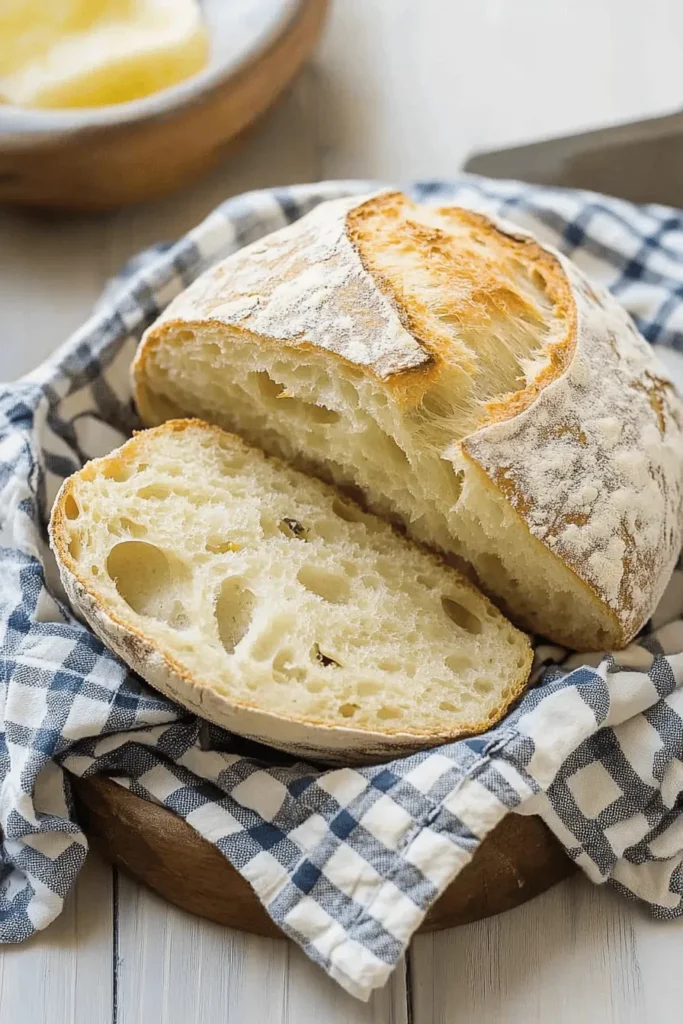
You know what makes my heart skip a beat? Pulling a perfectly golden loaf of bread from the oven, hearing that lovely hollow sound when you tap the bottom, and cutting into those beautiful air pockets. The smell alone is worth making this bread!
I’d love to hear how your bread-making adventure goes! Drop a comment below if you try this recipe – especially if you experiment with different flour combinations. There’s nothing quite like sharing fresh-baked bread with family and friends. And remember, even if your first loaf isn’t picture-perfect, it’ll still taste amazing with a pat of butter!
Happy baking, friends! 💕
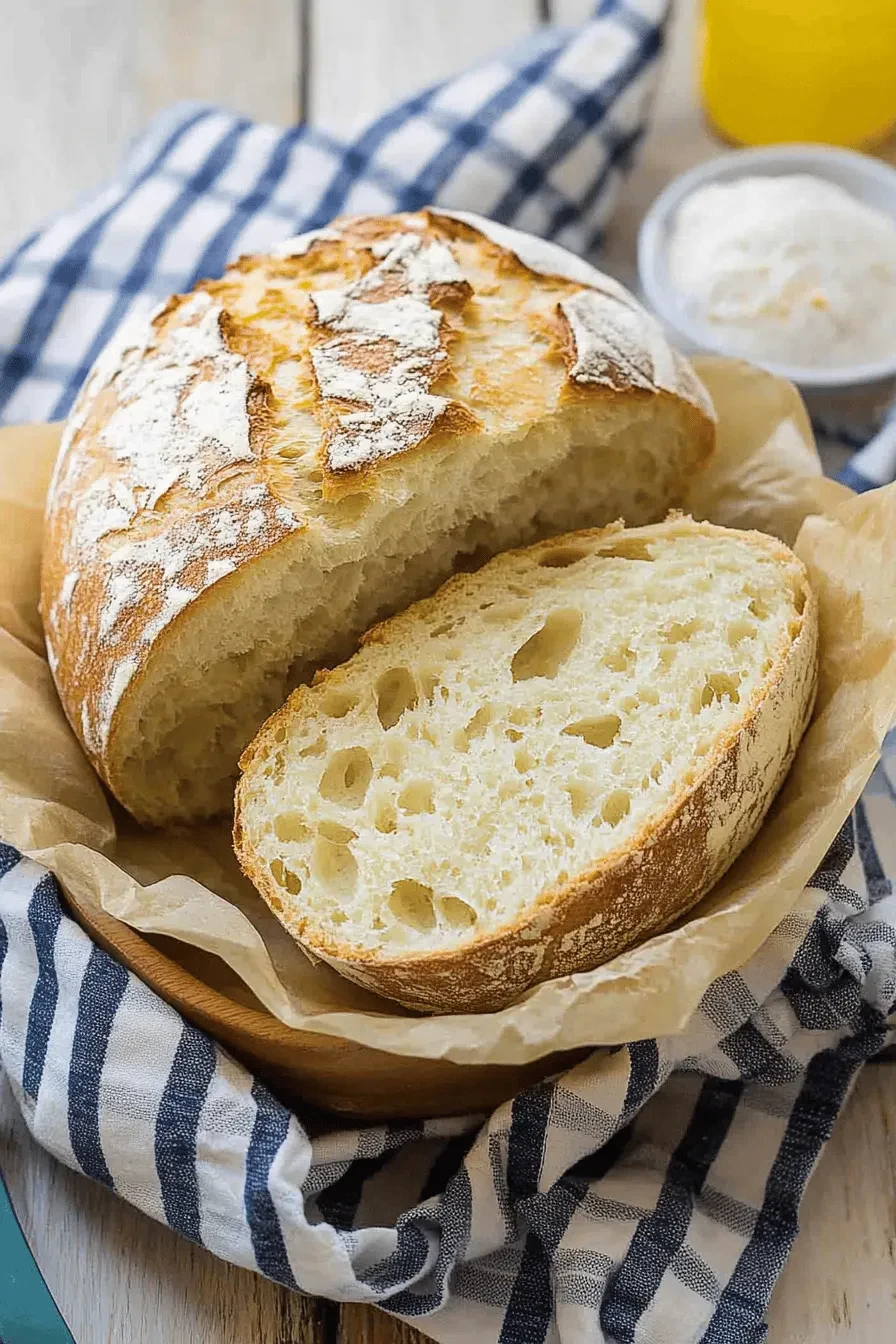
3 Ingredient Bread
Equipment (affiliate links)
- large mixing bowl
- Saran wrap
- Dutch oven or baking stone
- Parchment Paper
- Clean dish towel
- Oven mitts
Ingredients
- 3 cups bread flour *
- 1/2 tsp active dry yeast
- 1/2 tsp sea salt
- 1 1/4 cups warm water
Instructions
- The night before you want to bake the bread, stir together the flour, yeast and salt in a large mixing bowl. Add the warm water into the bowl and stir to combine until a loose, shaggy dough forms. Pack the dough into a bit of a ball, then cover the bowl tightly with saran wrap and leave on your counter for overnight (12-18 total hours of rise time), in a warmish place, away from any cool drafts.
- When the bread dough has risen to about double in size, it’s ready to bake. About 2 hours before you’re ready to bake, empty the dough onto a floured surface and use your hands to shape the dough into a smooth ball. Place the dough ball on to a piece of parchment, on top of a clean dish towel. Cover the ball gently with the towel, letting it sit like that until you’re ready to bake.
- 30 minutes before you’re ready to bake the bread, place a Dutch oven or a baking stone in the oven and preheat the oven to 450 F. After 30 minutes has passed, use oven mitts to remove the Dutch oven from the oven and carefully place the dough ball, in the parchment, into the vessel. You can slash a small cut through the top of the bread here, to allow steam to release.
- Place the lid on the Dutch oven then place it back into the oven, to bake for 30 minutes. After 30 minutes, remove the lid, and turn the oven down to 375. Bake for an additional 15 minutes.
- Remove the bread from the oven, and let it cool for about 20 minutes before slicing and enjoying!

Leave a Reply